1/2

2/2
Leave a note
By Mary Grace Quigley
Sourdough cinnamon buns
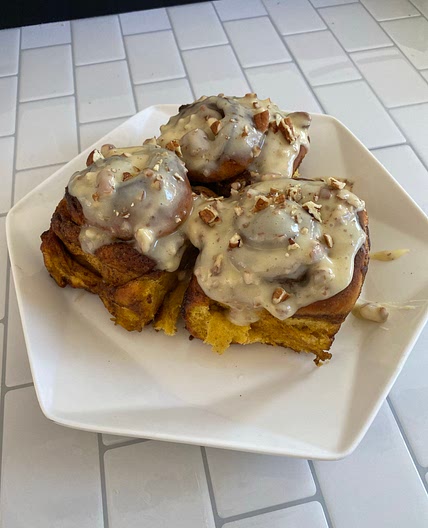
The recipe for these buns began with a recipe shared on Instagram by @theinvybaker. I never, ever get sick of watching him shape these buns. They just look so beautiful! So when the recipe came out I knew I had to try it! The original recipe uses fresh yeast, so over the last months, I’ve been working on my own interpretation of this recipe that uses sourdough. My technique for shaping these is somewhat ‘rustic’ and not too exact, I like each bun to come out a little different, with its own personality (you know, like in this video). I have a lot more fun that way! Note that because this dough has butter added to it, it proves more slowly, so don’t be afraid to give it some extra proofing time.
Updated at: Thu, 17 Aug 2023 00:03:15 GMT
Nutrition balance score
Unbalanced
Glycemic Index
70
High
Glycemic Load
37
High
Nutrition per serving
Calories368.9 kcal (18%)
Total Fat14.2 g (20%)
Carbs53.1 g (20%)
Sugars18.2 g (20%)
Protein6.7 g (13%)
Sodium218.7 mg (11%)
Fiber2.7 g (10%)
% Daily Values based on a 2,000 calorie diet
Ingredients
9 servings
Dough
80gsourdough starter
bubbly
70gwhite sugar
5gsalt
65gbutter
cubed, room temperature
150gwater
filtered, room temperature
370gflour
Cinnamon filling
Vanilla glaze
Instructions
Step 1
In a large mixing bowl, add the sourdough starter, sugar, salt, butter, and water. Mix using a wooden spoon to combine, then add the bakers flour and mix again, first using the wooden spoon, and eventually with wet hands.
Leave covered with a wet tea towel for 30 minutes.
Step 2
After 30 minutes, do some stretch and folds to help the dough come together more and to make sure that all ingredients are well combined. You can lift the dough up out of the bowl and smooth it over with your hands.
Step 3
Then leave covered with a wet tea towel for 8-12 hours depending on the weather. If you’d like to do a couple of extra coil folds during this time, you can, but I usually just go to bed and leave it on the counter.
Step 4
After 8-12 hours, when your dough is looking bubblier and puffier, begin to make the cinnamon filling. Mix together the sugar, butter, almond meal, cinnamon and vanilla in a bowl. Start out using a spoon and eventually squish it together with your hands until it forms a thick paste. Then take your dough and on a lightly floured work bench, roll it out to a rectangle about 30cmx40cm and around 5mm thick (it doesn’t need to be too exact).
Around now, you can also preheat your oven to 200C.
Step 5
Spread the cinnamon filling over the two bottom thirds of your rectangle. Fold down the top third and then fold up the bottom third. Then roll out your rectangle again until it’s around 30cmx40cm and around 5mm thick. Then cut your rectangle into strips about 5-6cm apart, you should end up with about 9 strips.
Step 6
Pick up each strip, gently stretch it out and then wrap it around your hand to make a loop. Then slide it off your hand and wrap the end of the strip of dough around the loop that you made. This video might help to visualise the process. (You can also just tie it in a knot if that extra loop is too much!) Place onto a deep baking tray lined with parchment paper (deep because sometimes some butter escapes during and the tray will catch it and let it caramelise and bake with your buns).
Step 7
Use a spray bottle to give the buns a few sprays of steam. Place a second baking tray on top of the baking tray that the buns are in to create a kind of lid and keep steam in.
Step 8
Bake at 200C with the fan on for 30 minutes. Then remove the lid and continue baking for 10-20 minutes further, until the buns are golden brown.
Step 9
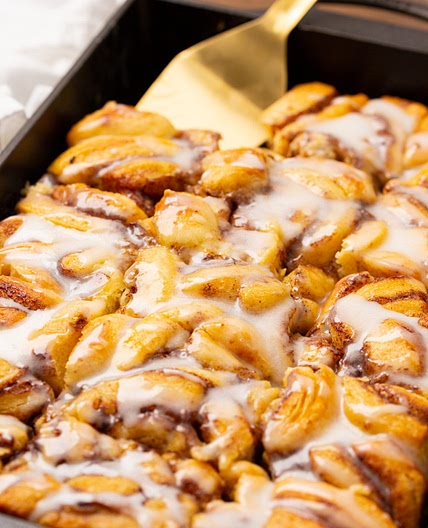
When the buns are nearly done, make the vanilla glaze by add boiling water to a mug and mixing in the brown sugar and vanilla extract. Then remove the buns from the oven and while they’re still sizzling, paint them with the glaze. Make sure you paint the tops as well as the sides. This makes them look beautiful and shiny.
Step 10
Move the buns to a cooling rack and let them cool at least a bit - I know it’s quite difficult!! Enjoy while super fresh with a morning coffee, or reheat if you’re eating them a day or two later so that they become nice and soft again. Yay!
View on Mary Grace Bread Newsletter
↑Support creators by visiting their site 😊
Notes
0 liked
0 disliked
There are no notes yet. Be the first to share your experience!
