Nutrition balance score
Good
Glycemic Index
74
High
Glycemic Load
11
Moderate
Nutrition per serving
Calories73.5 kcal (4%)
Total Fat0.3 g (0%)
Carbs15.1 g (6%)
Sugars1.1 g (1%)
Protein2.4 g (5%)
Sodium129.8 mg (6%)
Fiber0.6 g (2%)
% Daily Values based on a 2,000 calorie diet
Ingredients
36 servings


Instructions
Step 1
For the Sponge: Mix the yeast into the water in a medium bowl until it’s dissolved. Mix into the flour and spent grain with a spatula and create stiff, wet dough. Cover and let the sponge sit at room temperature for at least five hours, if not overnight. (It can be refrigerated for up to 24 hours, but should be brought back to room temperature before continuing.)
Step 2
Mix your water, honey, flour, and the sponge in the bowl of a KitchenAid or other workhorse mixer, using a spatula. Mix the dough with your dough hook attachment on a slow speed for about 12 minutes, then add the salt. Continue mixing with the dough hook for another 3 minutes.
Step 3
During the course of this process, the dough should be sticking to the bottom of the bowl, but easily clearing the sides. I tend to check halfway through by pushing the dough off the hook and seeing how it sticks to the bowl and my hands. If it’s really gluey and damp, add more flour in 1/8th cup increments, mixing between each addition. You want a dough that’s smooth and tacky but not actually glue-like.
Step 4
Transfer your dough to a big lightly oiled bowl, and cover it with plastic wrap that’s been greased. Let it rise about two hours, until it has roughly tripled in size.
Step 5
Grease three 9 x 5 inch loaf pans.
Step 6
Put your dough on a lightly floured surface. Working with floured hands, press it out into a rectangle, and use a bench knife to divide it into three equally sized pieces.
Step 7
Roll each piece of dough into a tight 9-inch cylinder and pinch the seam closed. Place the loaves, seam side down, in the prepared pans.
Step 8
Set each loaf into a greased 9 x 5-inch loaf pan.
Step 9
Cover loosely with a cloth or greased piece of aluminum foil and let the dough rise until it almost doubles in size, about 45 minutes.
Step 10
Meanwhile, put a deep metal pan or cast-iron skillet on the lowest shelf of the oven. Heat your oven up to 450 degrees F. Heat up two cups of water (not quite to boiling) and keep it on hand for your baking cycle.
Step 11
Cut two or three slashes on top of each loaf using a sharp serrated knife. Cut almost parallel to the top of loaf, not real deep, and without sawing or tearing.
Step 12
Put your loaves in the oven. Pour two cups of hot water into your pre-heated pan or skillet, to create steam.
Step 13
Bake for 15 minutes, then, if the loaves are browning unevenly, rotate each loaf 180 degrees. Bake for another 5-10 minutes (or until tops of loaves turn dark brown) and test the temperature with an instant read thermometer — 205-210 degrees F is perfect.
Step 14
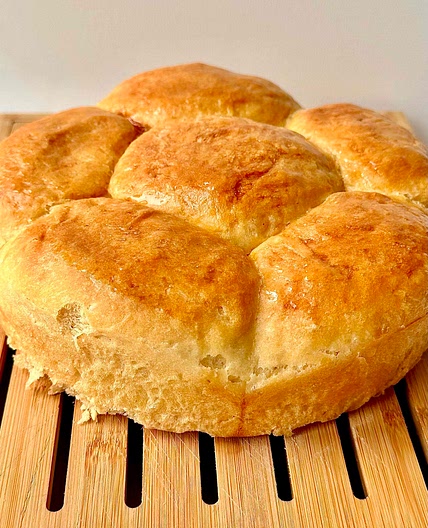
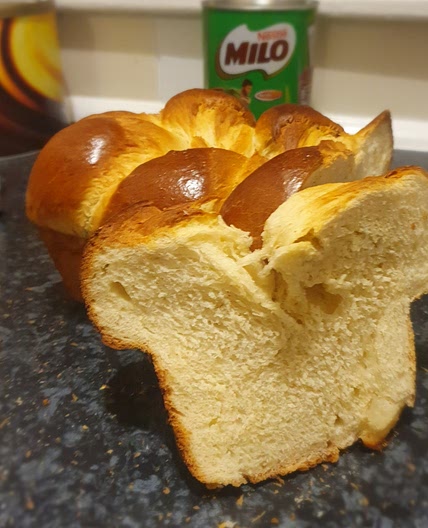
Take your pans out, let them cool 10 minutes, then put loaves on a cooling rack for an hour or two. Voila! Serve with local honey and/or butter, or make delicious little sandwiches.
Step 15
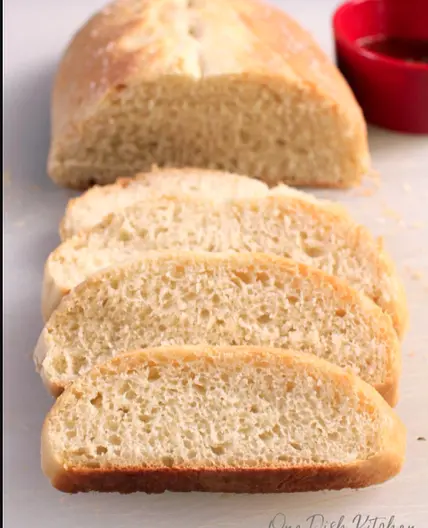
Note: The main thing that a would-be spent grain baker is confronted with is the moisture — it comes damp as heck from the brewing process. I’ve read that you can toast it, but I wanted to incorporate that malt/brewing-infused flavor into the bread. I started with a “rustic country bread” recipe and then started changing things around to make the bread more retiring and gentle (to let the sweet, malty spent grain shine) and also account for the extra liquid. I wanted a tender crumb that would be great for sandwiches or spreads, and this seemed to yield a good end product.
Step 16
Note: Note that you can freeze spent grain, and then thaw it out again before using in this recipe. It’s best to bring it up to room temperature before you start baking.
Step 17
`
Notes
1 liked
0 disliked
Delicious
Fresh
Moist
Special occasion