By Hailey
Cornish Pasties
11 steps
Prep:30minCook:45min
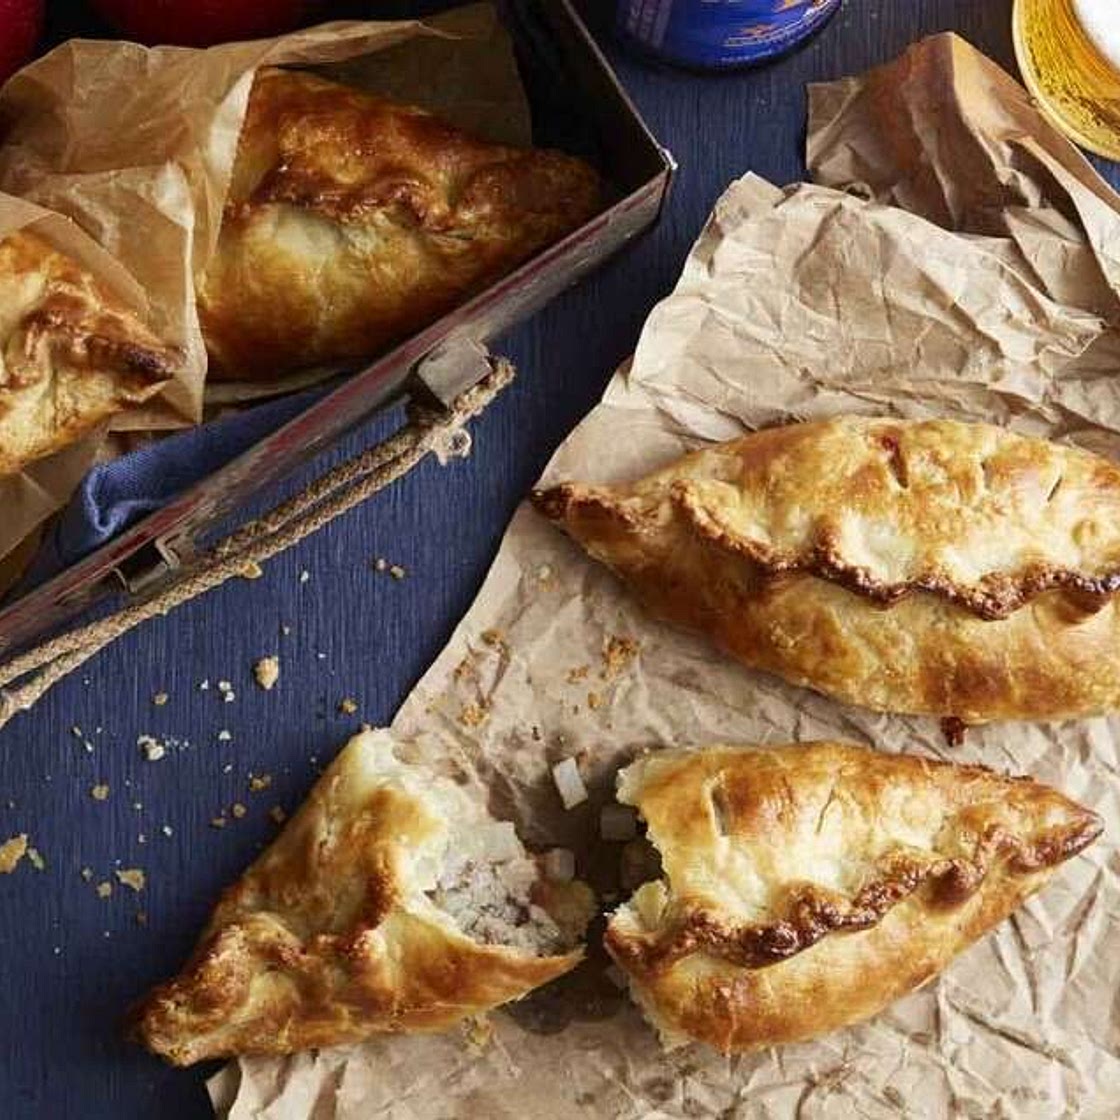
While pastry has served as a container for food for centuries, a Cornish pasty is unique to Cornwall. It's a tangible reminder of its mining past, although people now eat them whenever a quick and portable meal is needed. It was designed to accompany a miner to the mine in his pocket and it contained enough meat and turnips for at least a couple of meals. The miner's initials were usually carved into one end, to vent steam as it baked and so there would be no question to whom the pasty belonged. Editor's note: This recipe has been retested and adjusted to better match the filling and pastry amounts; the new yield (of slightly smaller pasties) is now 6.
Updated at: Sun, 27 Aug 2023 18:27:23 GMT
Nutrition balance score
Unbalanced
Glycemic Index
73
High
Glycemic Load
41
High
Nutrition per serving
Calories524.6 kcal (26%)
Total Fat23.4 g (33%)
Carbs55.6 g (21%)
Sugars1.6 g (2%)
Protein20.9 g (42%)
Sodium492.1 mg (25%)
Fiber3.3 g (12%)
% Daily Values based on a 2,000 calorie diet
Ingredients
6 servings
360gUnbleached All-Purpose Flour
¾ tspsalt
½ cuplard
or butter
1egg
beaten
3 Tbspwater
2 tspapple cider vinegar
Traditional Miners Filling
0.75 poundlean beef
cubed or diced
½ cupparsnip
diced
½ cuponion
diced
1 cuppotatoes
baking potatoes peeled and diced
1 Tbspfresh thyme
dried or freshly minced
salt
to taste
pepper
to taste
Egg wash
Instructions
For the pastry
Step 1
In a large bowl, whisk together the flour and salt. Cut the fat into small pieces and distribute evenly over the flour. Cut the fat into the flour until the mixture resembles coarse crumbs.
Step 2
In a small bowl, beat the egg with the water and vinegar. Drizzle this over the flour mixture while tossing everything together with a fork.
Step 3
Gather the dough together (a dough scraper is ideal for this), folding it over on itself until it becomes cohesive. Sprinkle any dry or crumbly bits with water, a tablespoon at a time, until the dough comes together. Divide into six pieces, shape them into discs, wrap and chill while you prepare the filling
For the filling
Step 4
Stir all of the ingredients together in a large bowl (uncooked; they'll cook in the oven).
To assemble and bake
Step 5
Preheat the oven to 400°F. Line a large baking sheet with parchment.
Step 6
Remove the wrapped pastry from the refrigerator and roll each piece into an 8" circle. Place 1/2 cup of the filling in the center of each circle. Brush the edge of the circle with water, and bring two opposite sides up and over the filling to pinch together over the filling. Flute the seam as you would a piecrust, so it looks like the back of a dinosaur. turn up the ends a bit to look a little like devil's horns.
Step 7
Cut a design (or initials) into one of the sides of the pasties to vent the steam. Place, fluted edges up, on the prepared baking sheet. Brush with egg wash.
Step 8
Bake at 400°F for the first 15 minutes, then reduce the temperature to 350°F and bake for a further 25 to 30 minutes. Remove from the oven and serve warm, or chill to reheat later.
Step 9
Store, covered, in the refrigerator for up to 5 days, or freeze in an airtight container for up to 2 months.
Tips
Step 10
As a result of the kneading, you will develop the gluten somewhat, usually a "no-no" in making pastry. In this case, because these are hand-held pastries, you want a dough that will hold together.
Step 11
For two-bite pasties, roll dough out into ten 3 1/2" circles. Note that the smaller pasties will cook more quickly.
Notes
3 liked
0 disliked
Delicious
Easy
Crispy
Go-to
Fresh
There are no notes yet. Be the first to share your experience!
