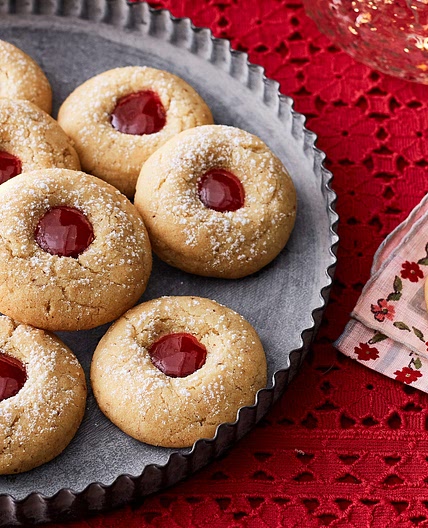
Authentic Hungarian Walnut Rolls
Leave a note
Nutrition balance score
Unbalanced
Glycemic Index
67
Moderate
Nutrition per recipe
Calories6297.1 kcal (315%)
Total Fat432.2 g (617%)
Carbs563.6 g (217%)
Sugars320.5 g (356%)
Protein83.6 g (167%)
Sodium1961.6 mg (98%)
Fiber22.8 g (81%)
% Daily Values based on a 2,000 calorie diet
Ingredients
0 servings
Instructions
Step 1
To make the Walnut Filling:
Step 2
Mix filling in a medium bowl using only ¼ cup of the boiled milk. The mixture should be thick.
Step 3
If the filling is not spreadable, use the rest of the milk. I used all of it. It will thicken as it sits.
Step 4
Note: You can make the filling ahead of time and freeze it until you are ready to use it. Just thaw at room temperature when you are ready to use.
Step 5
For the Pastry Dough:
Step 6
Sift flour and salt together in a medium bowl and set aside.
Step 7
Beat the cream cheese and butter together with a stand mixer or a hand mixer until completely incorporated and creamy (3-5 minutes).
Step 8
Reduce the speed of the mixer and slowly add in the flour. I used 5 additions and completely mixed in the flour each time. The dough will be soft but not sticky.
Step 9
Divide the dough into 4 equal parts and flatten each to ¾” thick. Wrap in plastic wrap and refrigerate until hard, at least 2 hours.
Step 10
Assembling the Walnut Rolls:
Step 11
Pre-heat the oven to 375F. Move the oven rack one setting higher than the center.
Step 12
Dust each side of the dough with flour. Generously coat a flat surface (countertop, marble board, etc.) with granulated sugar. Plop the dough on top and press gently to push some crystals into the dough. The sugar will keep your dough elevated off the rolling surface enough to keep it from sticking. Lightly coat the rolling pin with flour throughout the process, using as little as possible.
Step 13
With a pastry wheel or sharp knife, trim the dough into a square and then cut the square into 16 smaller squares. My dough never rolled out into a perfect circle so I would just cut as many 1 ½ “ squares a possible, saving the scraps for later.
Step 14
Place a dollop of filling in one corner of each square. I used ½ teaspoon.
Step 15
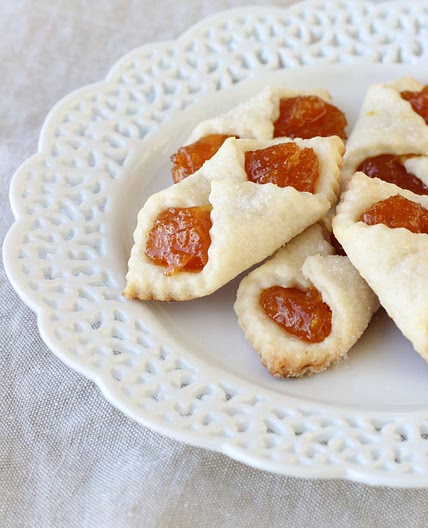
Starting in the corner with the filling, roll the dough around the filling from corner to corner, gently pressing down as you roll. Grab the roll on both sides and pinch as you bend the roll to create a crescent shape. Gently move it to a parchment covered baking sheet, placing the Rolls no closer than 1” apart.
Step 16
Repeat with all remaining squares.
Step 17
Sprinkle the middles of the Rolls with just a touch of granulated sugar.
Step 18
Bake 12-14 minutes or until the bottom edges are a golden and you can smell them. They should puff up slightly in the middle. With experience you can see when the dough is cooked. Let cool slightly on the pan on a wire rack and then move them gently to a wire rack to cool completely.
Step 19
Repeat with all remaining dough. Refrigerate and re-roll your scraps. Amazing.
Step 20
For a more traditional cookie, you can omit the granulated sugar and dust the final, cooled cookie with powdered sugar. I will warn you that it won’t be as divine
Step 21
The most difficult part about these cookies is storing them so that they don’t get soft. They will still taste yummy but the crispy flakey crust with the caramelized bottom is really sensational. I found that layering them between sheets of wax paper and then wrapping the stack loosely in foil will keep them as crisp as possible.
View on cheflindseyfarr.com
↑Support creators by visiting their site 😊
Notes
0 liked
0 disliked
There are no notes yet. Be the first to share your experience!
