By Mybakingdiary3
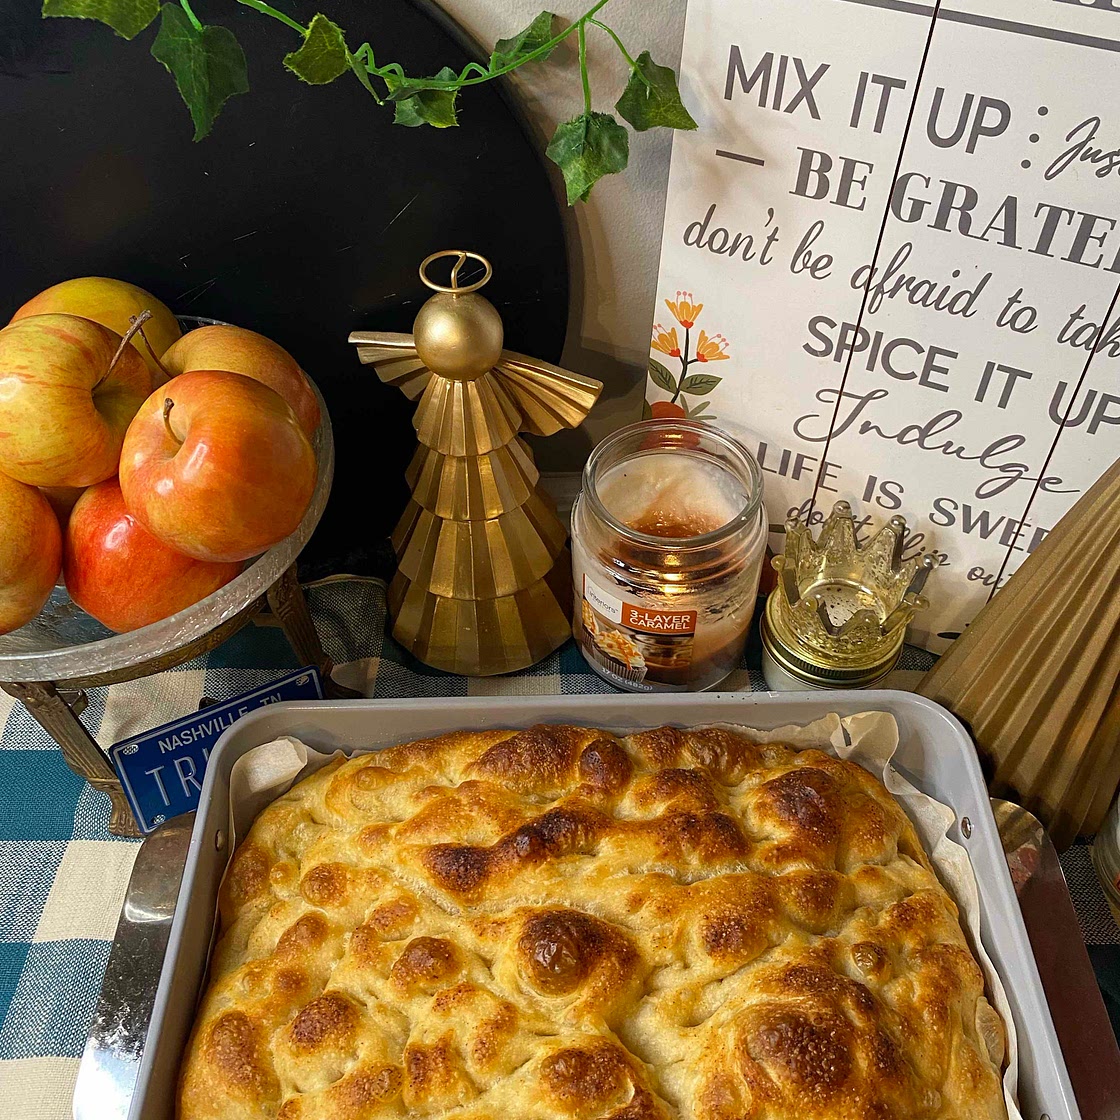
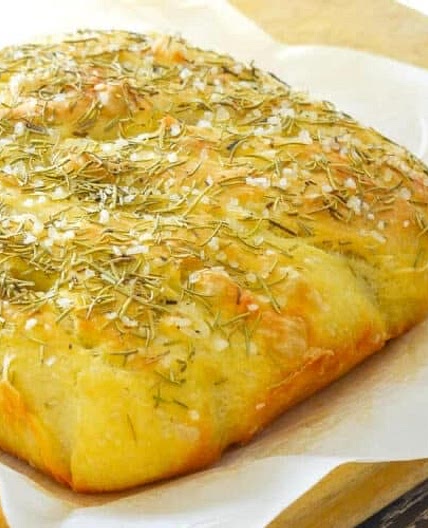
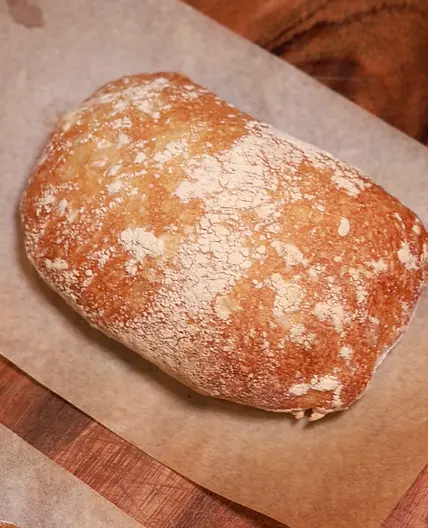
Sourdough Focaccia bread
16 steps
Prep:15minCook:23min
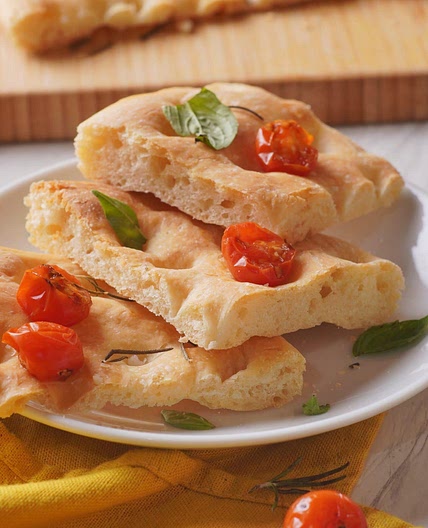
This sourdough focaccia is delicious, crispy and squishy and easy to make
Only requires a few minutes of hand time and rest left to magic of the sourdough and time.
Updated at: Thu, 10 Oct 2024 07:25:25 GMT
Nutrition balance score
Good
Glycemic Index
72
High
Glycemic Load
26
High
Nutrition per serving
Calories218.9 kcal (11%)
Total Fat5.3 g (8%)
Carbs36.2 g (14%)
Sugars0.2 g (0%)
Protein5.3 g (11%)
Sodium393.2 mg (20%)
Fiber2.3 g (8%)
% Daily Values based on a 2,000 calorie diet
Ingredients
12 servings
For focaccia dough
To assemble
Instructions
Step 1
Step 1
In a large missing bowl with together, the sourdough starter water and extra version olive oil with a large spoon. Stir in sea slat (Don’t whisk) once add salt the measure to stick to the whisk
Step 2
Step 2
Use the same spoon mix in the flour until everything is evenly combine no dry flour patches remain scrape down bowl with a dough scraper to keep everything tidy
Step 3
Step 3
Cover bowl with a tea towel or plastic wrap and let sit for 30 minutes at room temp
Step 4
Step 4
After the dough has rested for 30 minutes, wet your hands to prevent the dough from sticking and perform your first stretch in and fold. Your aim is to perform three set of stretch and fold within the first two hours of the dough proofing space roughly 30 minutes apart from one another.
Step 5
Step 5
After you performed your third stretch and fold cover the bowl and let the dough rest at room temp for round 3 to 4 hours. Basically, we are looking for the dough to have grown size and look puffy and jiggly and full of air. This may take shorter or longer in your kitchen, depending on the temperature in your home in the health and strength of your sourdough starter.
Step 6
Step 6
Cover the bowl with plastic wrap, a reusable plastic shower cap in place into the fridge overnight. It will continue to grow a bit in the bowl overnight, so make sure there’s room for the dough to expand if you would prefer to bake the focaccia on the same day Simply leave the bowl out our room temperature for an additional one hour and then carry on with the recipe as written, (skipped the fridge)
Step 7
Step 7
Prepare your 9”x13” (23cm x 33cm) baking tray also called a quarter sheet pan put a tiny bit of oil on the tray rub it all around and then place a sheet of parchment paper on top and press down the oil helps the parchment paper to stick in place then drizzle about 2 to 3 tablespoons of olive oil oil on the parchment paper spread it evenly around the base and the size of the paper lining the tray/pan. I lined my tray because I’ve had focaccia to stick in the past. You can skip this part if you’re confident that your bread will not stick to your tray.
Step 8
Step 8
Use a curve dough scraper oil hands gently release the dough from the size of the bow and tip the dough into your oiled and lined tray now you are going to oil your hands and fold one side of the dough towards the middle of the blob of the dough repeat with the other side it shit look like a bit like a burrito then flip the dough so the seams are at the bottom in the smooth side of the dough is up at the top - see my tutorial on TikTok for reference.
Step 9
Step 9
Cover the tray by placing plastic wrap on top, you want to ensure the dough isn’t being exposed to air because it may dry out while proofing if you don’t half plaster wrap, you can use a bigger size tray to put on top
Step 10
Step 10
Let proof in tray for about 2 to 3 hours the dough will spread a lot in the tray over this period of time if it hasn’t spread all the way to the address, then all your hands and gently slip your hands under the dough and pull the doll towards the edge. Be careful not to disrupt the bubbles in the dough too much. You want the dough to be even thickness in the tray. See video tutorial.
Step 11
Step 11
Once you think the dough is ready, it will be floods and jiggly when you shake the tray it’s time to preheat your oven to 220C/430F
Step 12
Step 12
Drizzle the top of the dough with a little more olive oil and then rub a bit of the oil onto your hands. Use both hands press your fingers into the dough, gently touching the bottom of the tray repeat the entire tray of the dough is dimpled There is such a thing as too much dimpling though… You can also lose some of the nice bubbles you created in the dough if you dimple too much. Just be mindful of the air pockets and try not to pop them. These bubbles are what makes the crumb of a focaccia so interesting and delicious.
Topping the Focaccia
Step 13
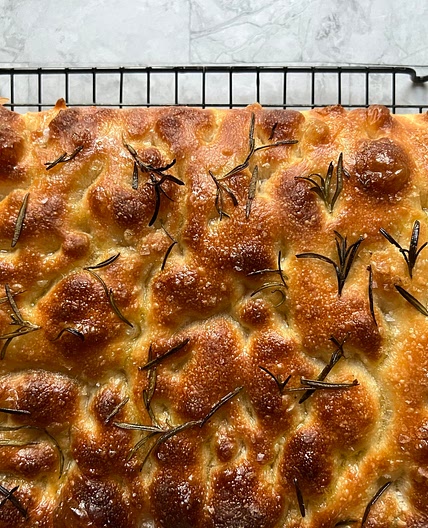
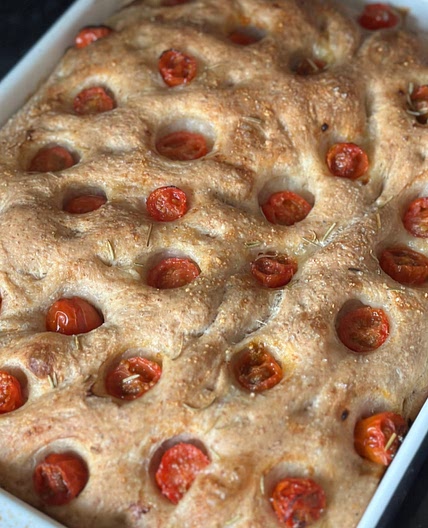
Top with a sprinkle of what he see salt and garlic powder you can also add rosemary cheese, onions, jalapeños, before dumpling you could talk with basil pesto or chimichurri sauce if using oil toppings with these the omit the drizzle of olive oil
Baking the focaccia
Step 14
Bake your focaccia for about 22 to 25 minutes in a 220 C/430 F oven. I bake it on the lowest rack in the oven because I think it has to crisps. The bottom of focaccia and prevent the top from burning if you have a piece of setting in your oven, use that the bulk of the heat source will come from the bottom which I think is ideal for baking focaccia. Check the focaccia. after 22 minutes it might still need more time. Remove from oven when it reached a deep golden brown color.
Step 15
Step 15
Let it cool for a couple of minutes in the pan and then transfer it to a cool rack so the bottom doesn’t seem while sitting in the tray. I want it to stay nice and crispy on the bottom you can top with more olive oil when it comes out of the oven if you wish for it to look like Listening if I’ve topped the focaccia I do not tend to do this with other toppings, I do a little drizzle and it soaks right into the crust when it’s hot outthe oven..
Storing the focaccia
Step 16
Focaccia best enjoy on the same day as it bakes. The focaccia the crust will lose its crispiness overtime if you’d like to save some for the next day wrap in in foil to store and then pop into oven still in foil and bake at 180 C/355F about 10 to 15 minutes remove the foyer from the last minute or two to finish crisping up the crust. This will bring the focaccia right back to life. You can also store it in a large plastic dip top bag. This will remain the moisture in the bread, but also be worn. The crust will lose its crispiness it can also be wrapped in foil and frozen bake the four wrap for focaccia straight from the frozen at 200 C/390 F for about 15 to 18 minutes. Remove the foil for the last minute or two to finish crispy up thecrusts.
Notes
0 liked
0 disliked
There are no notes yet. Be the first to share your experience!
