1/2

2/2
100%
1
By Tess Löwenhardt
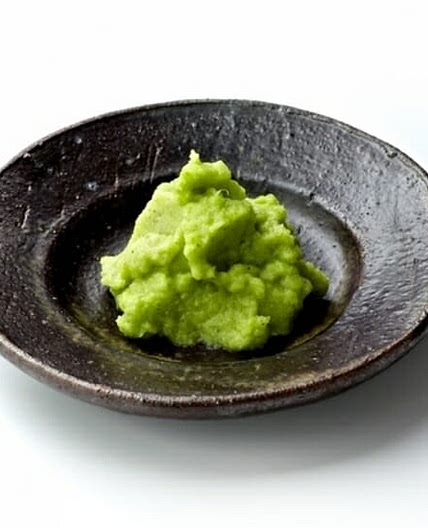
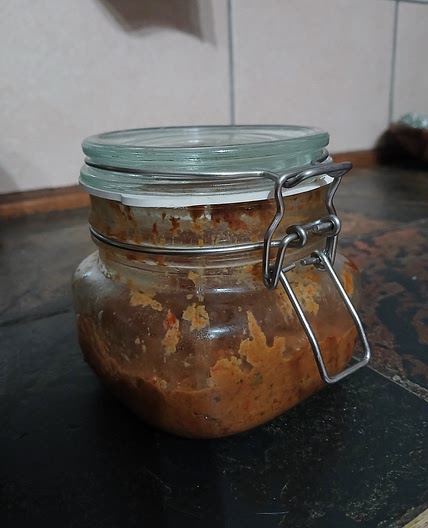
Miso garlic Ninniku Miso-zuke
7 steps
Prep:1minCook:4min
This simple recipe creates Two Delicious ingredients. A garlic infused miso AND miso pickled, soft garlic cloves. 🧄 Isn't that amazing?!
The amounts are approximate. You can make a smaller or bigger batch. Follow the instructions and you'll be fine.
All you need is miso, garlic cloves, and patience. When they're done, the cloves are buttery soft, umami packed, and even healthier than before!
Itadakimasu
Updated at: Tue, 24 Jun 2025 09:52:54 GMT
Nutrition balance score
Unbalanced
Glycemic Index
40
Low
Glycemic Load
2
Low
Nutrition per serving
Calories44 kcal (2%)
Total Fat1.2 g (2%)
Carbs6.1 g (2%)
Sugars1.3 g (1%)
Protein2.7 g (5%)
Sodium746.1 mg (37%)
Fiber1.1 g (4%)
% Daily Values based on a 2,000 calorie diet
Instructions
Step 1
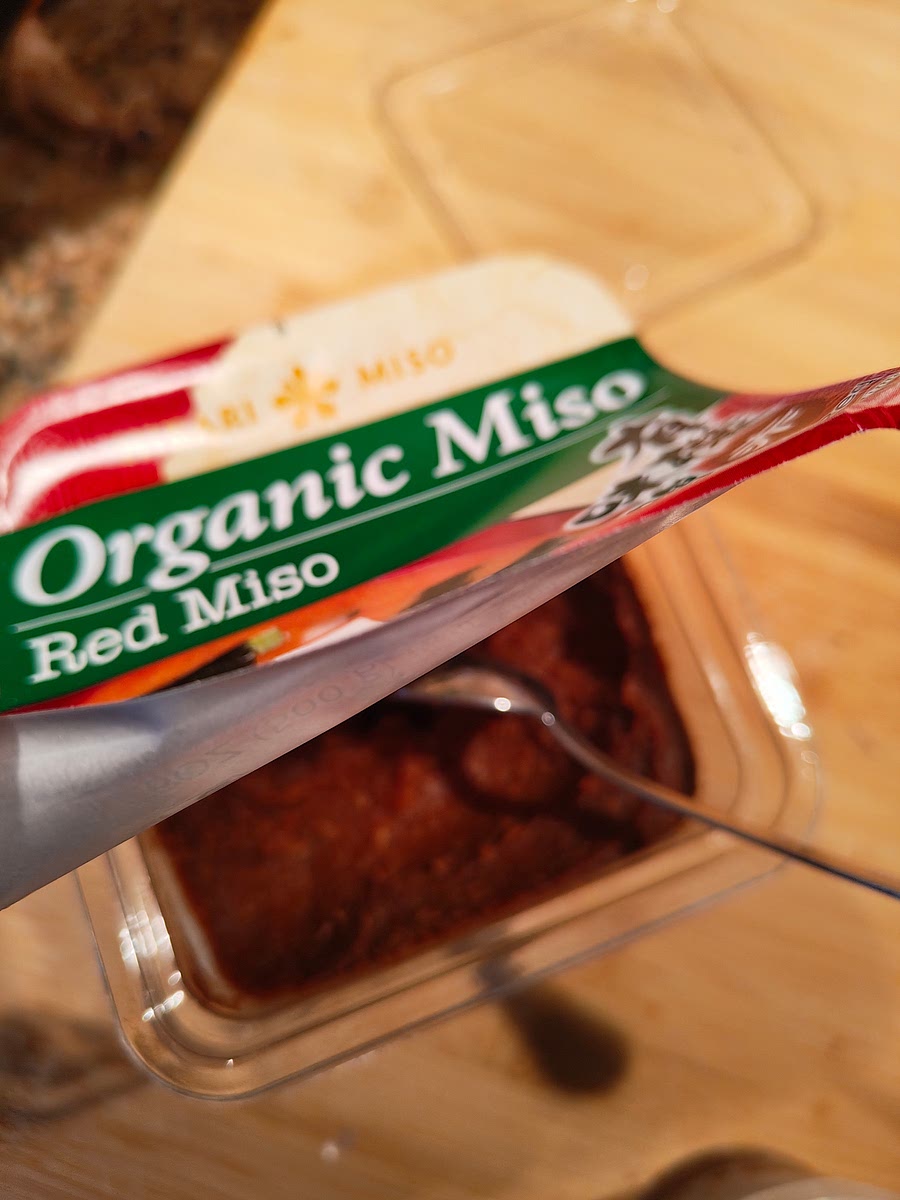
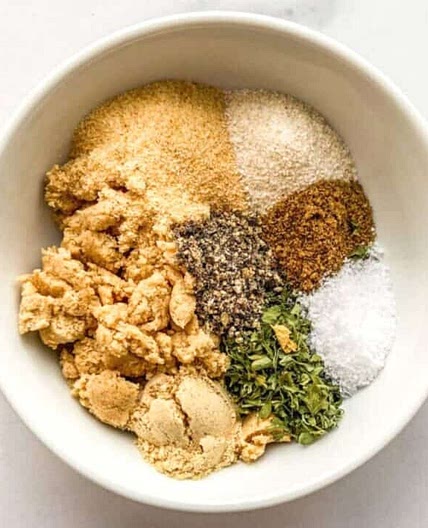
Choose your favorite miso. It's probably what you'll have or also use for other stuff. Don't have one yet? Get a white, or genmai red miso.
Step 2
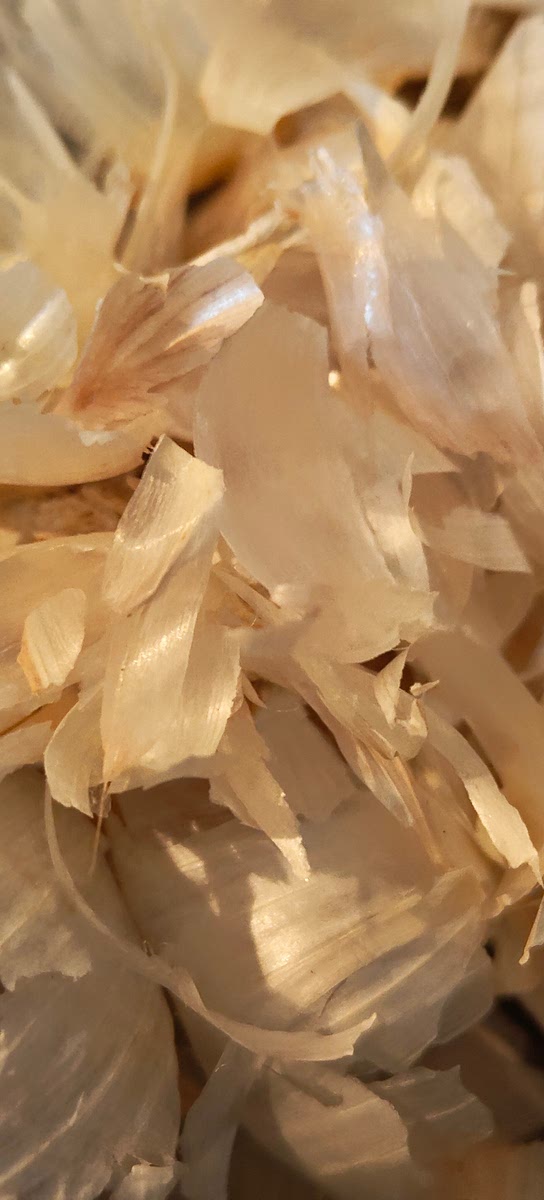
Peel the garlic cloves. Cut off the bottoms and any blemishes.
Step 3

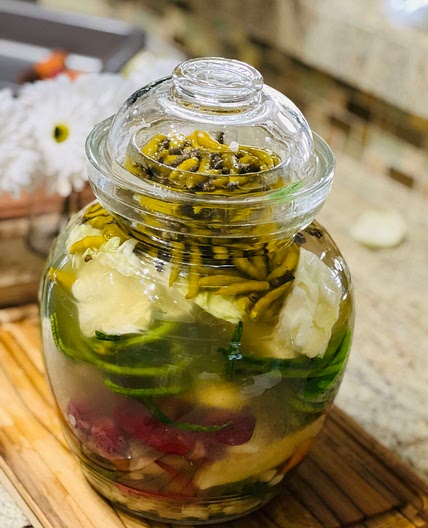
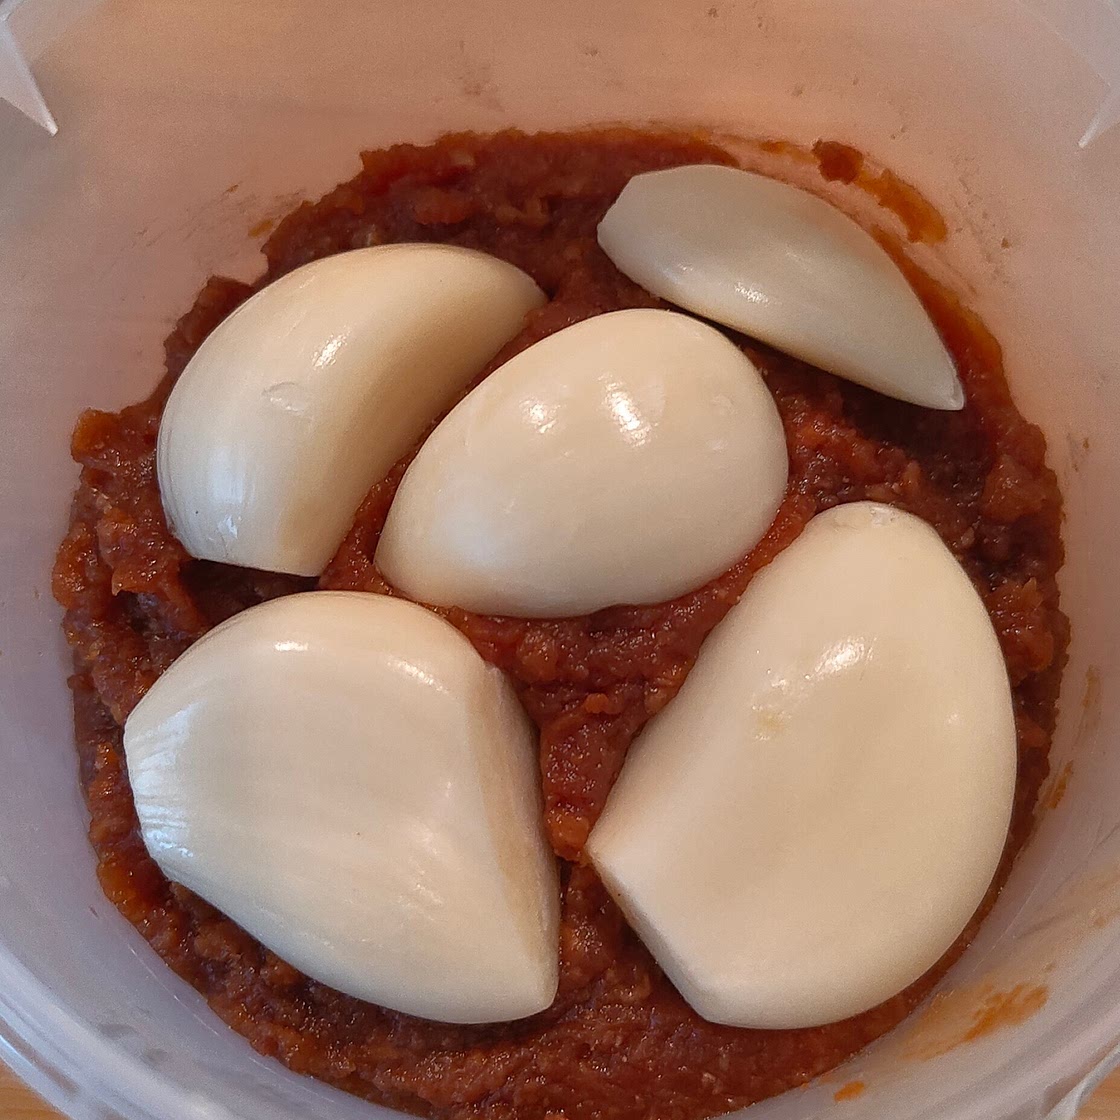
Get a very clean glass 🫙 jar. A bit bigger than you think you'll need. Start with a layer of miso. Add a layer of garlic cloves. Try to just not let them touch but place them close together.
Step 4
Add another layer of miso on top. Try to get it all around the cloves, in between, you want them to touch the miso all over. Try to not have gaps.
Step 5
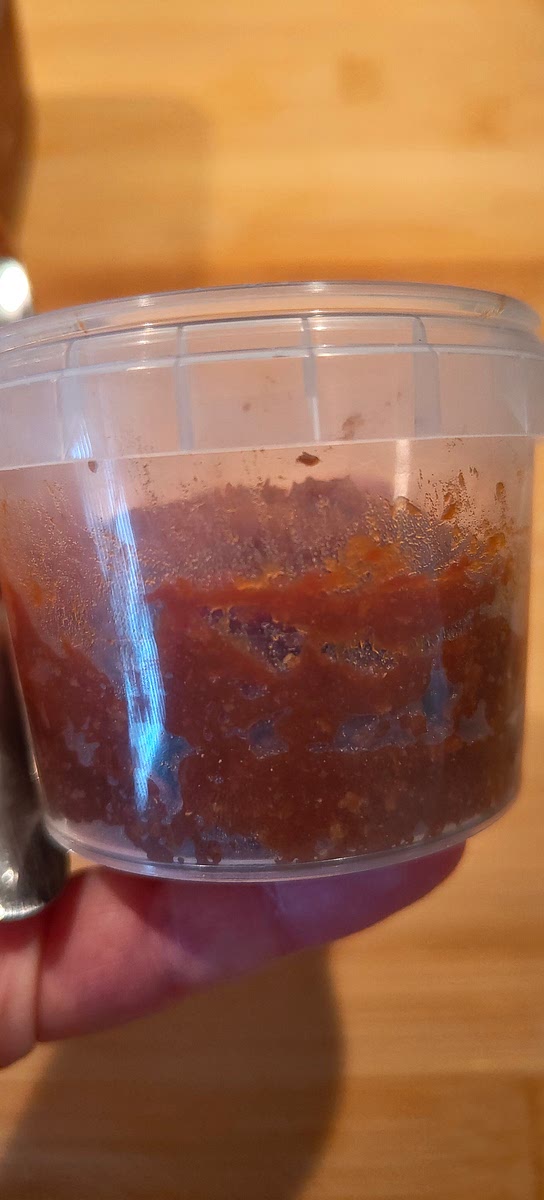
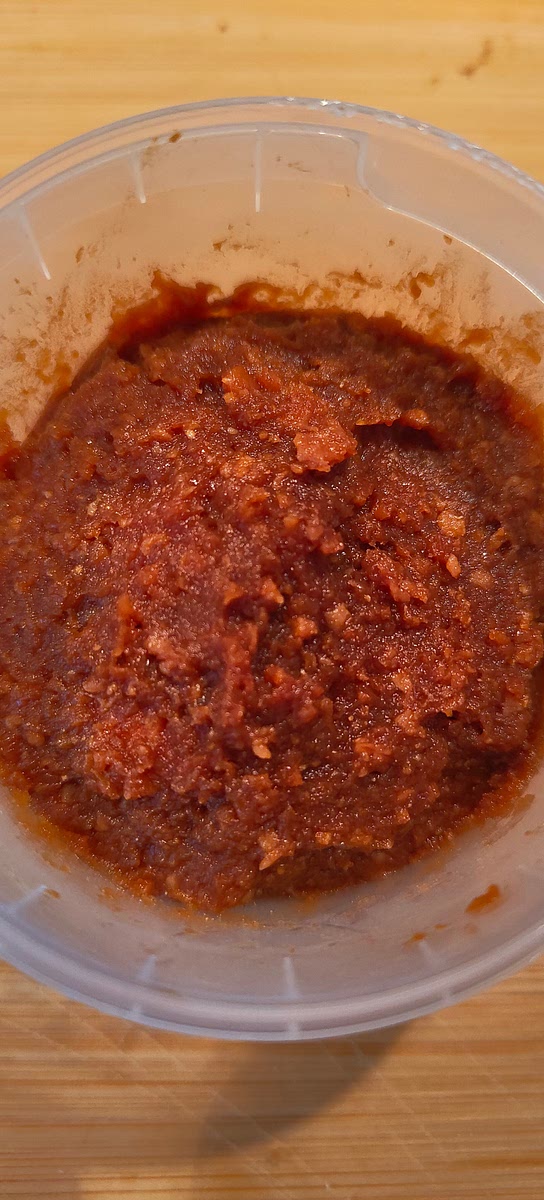
Repeat till your cloves are in and you've used the miso. Be sure to have the top layer be miso.
And take care to leave extra space above the miso before the lid since this will be fermenting and thus expanding.
Step 6

Now leave this in sight, OUT OF SUNLIGHT on your counter so you can keep an eye on it. Leave it for 5 days.
Step 7
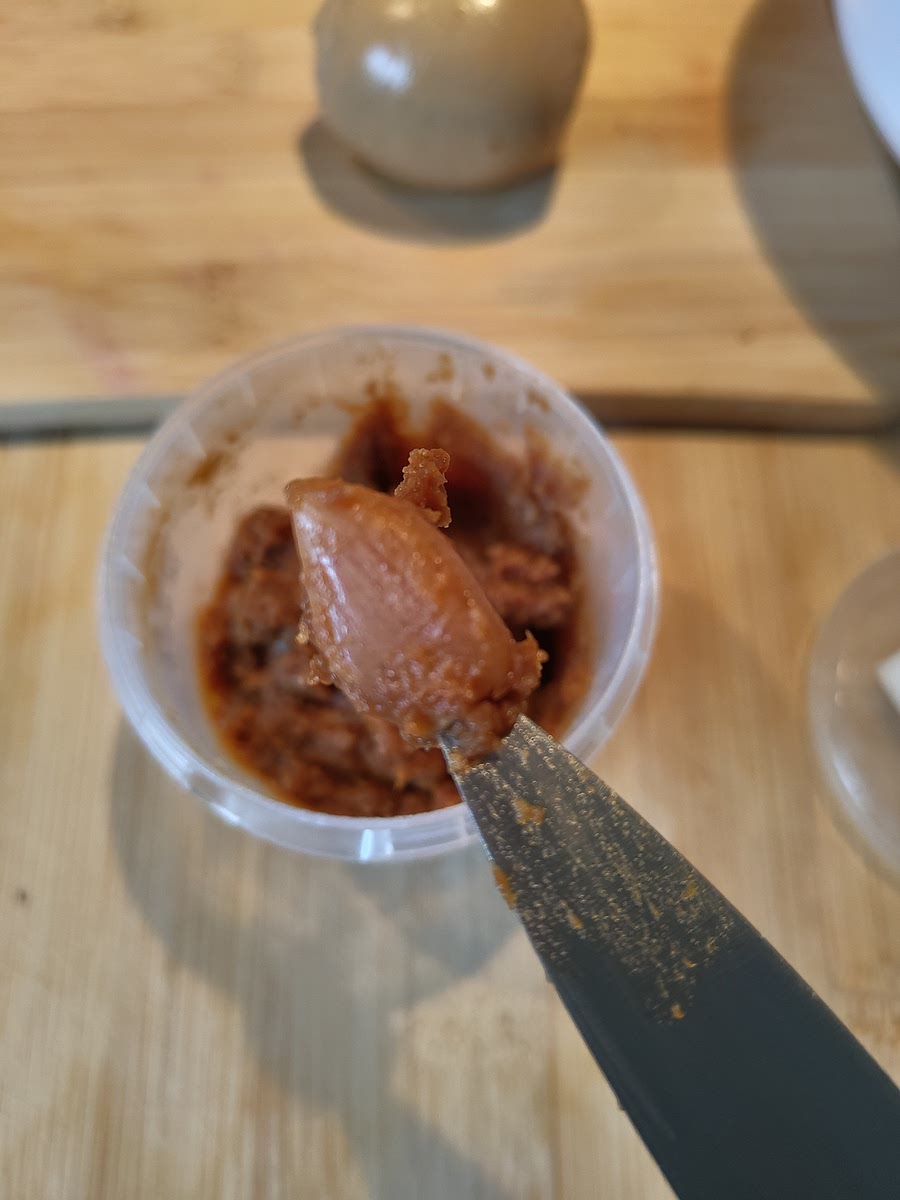
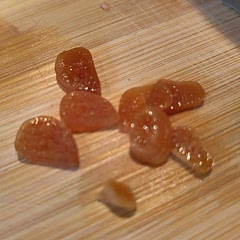
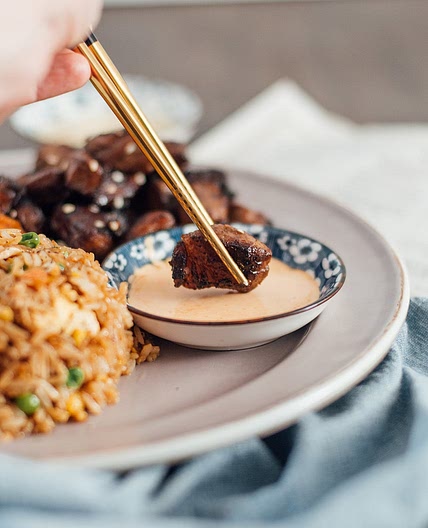
Move the garlic to your fridge to slowly ferment further. After 6 weeks, test and taste a clove to see if it's to your taste and ready to use. (Just cut it up and put it in a noodle soup or on a sandwich or at the last moment in a stir fry.
Notes
1 liked
0 disliked
Delicious
Easy
Go-to
Under 30 minutes