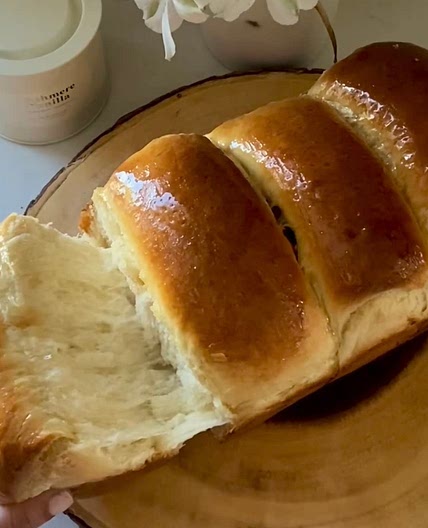
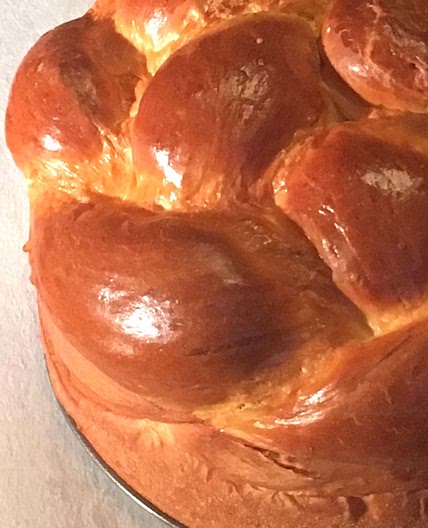
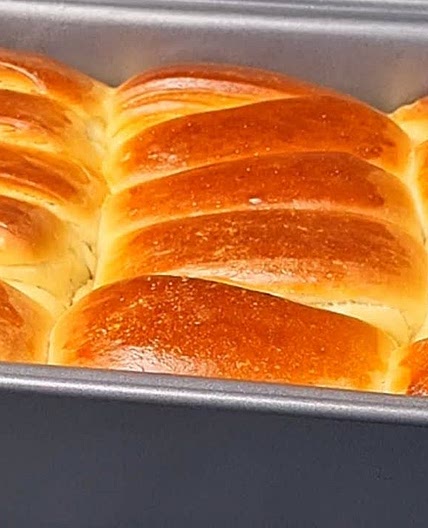
Gluten free bread - bread maker - 700g
100%
0
By Carlie D
Gluten free bread - bread maker - 700g
Adjustments -
Warm the liquids (around 100 °F).
Ensure eggs aren’t cold.
After mixing, pause for a 10–15 min rest before bake starts.
If dough seems stiff, add 1–2 tbsp warm milk or water during mixing.
Storage
Store at room temperature in a sealed bag for up to 1 day.
For longer storage, slice and freeze.
Reheat slices in a toaster or a warm oven before serving.
Updated at: Fri, 08 May 2026 05:05:19 GMT
Nutrition balance score
Uh-oh! We're unable to calculate nutrition for this recipe because some ingredients aren't recognized.
Ingredients
0 servings
4eggs
large, room temperature if possible
1 Tbspapple cider vinegar
¼ cupolive oil
¼ cuphoney
1 cupmilk
1 Tbsplemon juice
or vinegar, stir and let sit 5 mins
1 tspapple cider vinegar
⅓ cupolive oil
2 tablespoonhoney
or maple syrup
1 ¾ cupButtermilk
homemade using oat milk
Buttermilk homemade recipe - optional
Dry ingredients
Instructions
Prepare the Bread Pan
Step 1
Insert the kneading paddle in the bread pan.
Add liquids
Step 2
Pull out eggs and let them sit on the counter for 20–30 minutes so they come to room temperature before adding to the wet ingredients.
(Cold eggs can slow yeast activity and make the loaf denser.)
Step 3
Pour into the bread pan in this order: Eggs, Olive oil Honey (or maple syrup) and Buttermilk. * 1. Measure out unsweetened oat milk 2. Warm it gently Microwave: heat in a microwave-safe cup or bowl for 20–25 seconds (start short — you just want it lukewarm, not hot). Or stovetop: pour into a small pot, heat on low for about 1 minute, stirring — when it feels warm to your finger (around 100–110 °F / 37–43 °C), it’s perfect. ⚠️ If it’s hot to touch, let it cool a minute before the next step. 3. Curdle it (make it “buttermilk”) Add 1 tablespoon (15 ml) lemon juice or apple-cider vinegar. Stir and let it sit 5 minutes. It won’t thicken like dairy milk, but it will separate slightly and develop that tangy acidity that helps yeast and structure. 4. Use immediately Once it’s slightly curdled and still lukewarm, pour it right into your bread-machine pan as part of the liquid ingredients.Tip: oat milk cools quickly, so if you’re mixing other ingredients first, give it a quick 5-second microwave bump right before adding it so it stays warm for the yeast.
Add Dry Ingredients
Step 4
In a small bowl, whisk together the flour blend and salt. Add this mixture on top of the liquids in the bread pan and smooth the surface.
Add Yeast
Step 5
Make a small well in the flour layer and add the yeast (keep it dry, don’t let it touch the liquid).
Select Program
Step 6
Lock the pan in the machine. Choose the Gluten-Free program 700g
(or Basic/White if GF is not available). Select medium crust. Click start on machine.
Dough Consistency
Step 7
After 5–10 minutes of mixing, open the lid and scrape down the sides if needed. Dough should look like thick cake batter (not a ball, not soup). If too thick → add 1 tbsp warm water. If too thin → add 1 tbsp flour blend.
Let the Cycle Finish
Step 8
Allow the program to run through completely. Do not open the lid once baking begins.
Remove the Bread
Step 9
When the machine beeps (finishes), put on oven mitts and remove the pan immediately. Do not let it sit in the machine. If it stays in the pan, the steam will make the crust soggy. Give it a gentle shake; the loaf should pop right out.
Cool
Step 10
Cool completely on a wire rack for at least 1–2 hours before slicing. This step helps set the crumb and prevents gumminess. Since this bread has no preservatives and uses oat milk, it will stay fresh on the counter for about 2 days.Long-term: Slice the entire loaf after it's cool and freeze the slices in a freezer bag. You can pop them straight into the toaster from the freezer
Notes
1 liked
0 disliked
There are no notes yet. Be the first to share your experience!