1/10

2/10
3/10
4/10
5/10

6/10

7/10

8/10

9/10

10/10
87%
40
By Lacey (Lace Bakes)
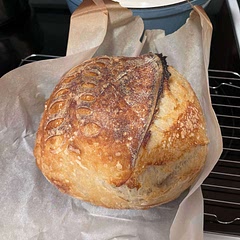
Signature Sourdough Loaf
19 steps
Prep:24hCook:47min
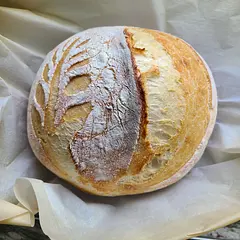
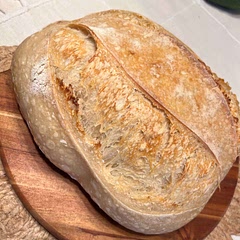
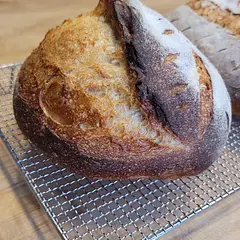
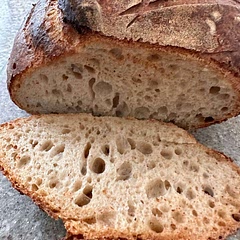
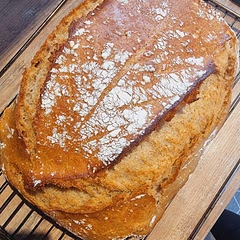
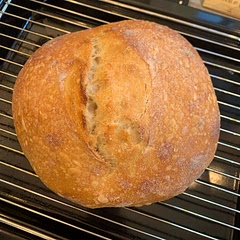
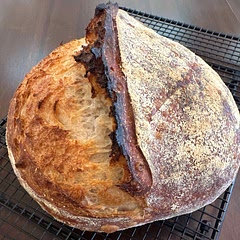
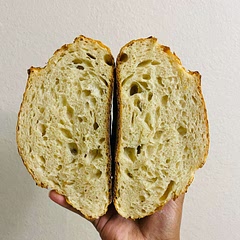
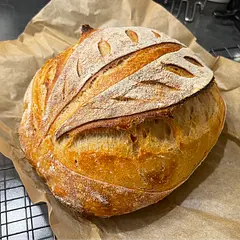
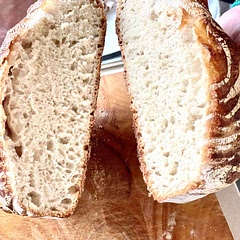
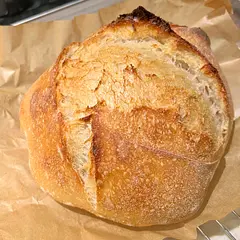
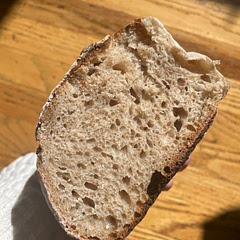
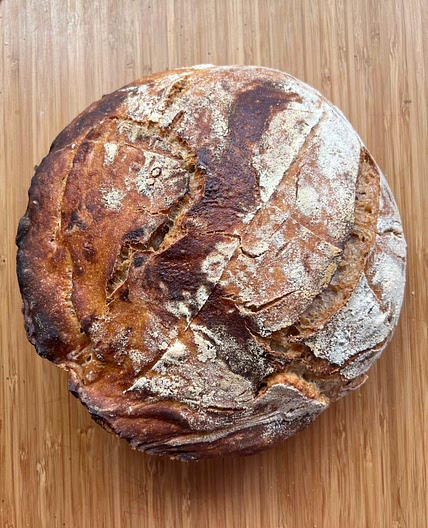
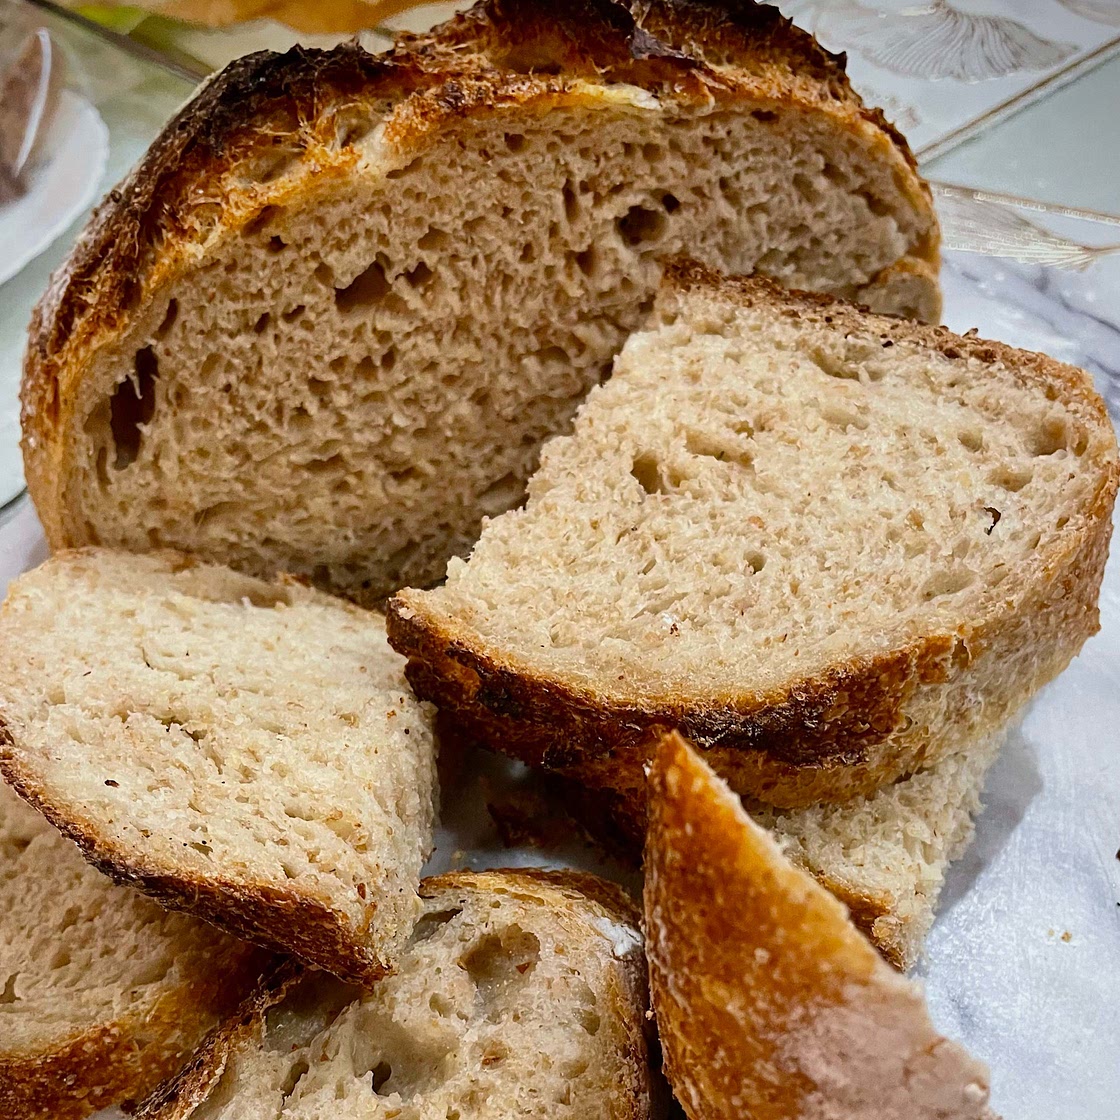
This is my signature sourdough recipe - it's got an amazing crust, a squishy interior and has a little tang from the long, slow fermentation . The method for this loaf is done over the period of two days, so you mix and proof the dough on day one and then it finishes proofing in the fridge overnight before baking the next day, or even two days after mixing if you prefer a more sour loaf. The recipe can be customised depending on your flour preferences. I tend to use about 400g of white bread flour and then add in 100g of wholegrain flour, usually 50g of dark rye and 50g of wholemeal/whole wheat. You can choose whichever wholegrain flour(s) you love, or you can keep it simple and do a 100% white loaf. It's totally up to you! Just note that adding in more whole grains will usually mean the dough will require a bit more water - whole grain flours absorb more liquid. A loaf with more whole grains is usually denser as well.
Updated at: Thu, 17 Aug 2023 12:06:07 GMT
Nutrition balance score
Good
Glycemic Index
71
High
Glycemic Load
296
High
Nutrition per serving
Calories2083.9 kcal (104%)
Total Fat10.9 g (16%)
Carbs414.1 g (159%)
Sugars2.6 g (3%)
Protein73.1 g (146%)
Sodium3943.3 mg (197%)
Fiber34.3 g (122%)
% Daily Values based on a 2,000 calorie diet
Ingredients
1 servings
Instructions
NOTE
Step 1

Always handle your dough with wet hands so it doesn’t stick, except for when shaping...lightly flour your hands and surface for this.
Mixing the Dough
Step 2

In a large mixing bowl, add in your water and sourdough starter and whisk together. Then, add your bread flour(s) into the same bowl. Squish together really well and make sure there are no dry patches of flour remaining. I recommend using your hand to do this, squishing the dough between your fingers - it’s the most thorough way to mix and hydrate the flour without using a stand mixer with a dough hook. Cover bowl of dough with a tea towel and let sit for 30 minutes (or up to 1 hour).
Step 3

At least 30 minutes after the initial mix, uncover bowl and squish 10g fine sea salt into the dough with your hand until it feels combined and you can no longer feel the grains of salt in the dough. Scrape down the sides of bowl with a rounded scraper. Cover the bowl with a tea towel and let sit for another 30 minutes.
Stretching and Folding
Step 4

After 30 minutes you will perform your first stretch and fold on the dough. The dough will look quite slack when you begin the stretch and fold process. Wet your hand and grab one edge of the dough (12 o’clock) and pull the dough up as far as it will stretch and then fold it over toward the other side of the bowl (6 o’clock). Repeat this process around all sides of the bowl, stretching the dough up and over itself, until the dough has tightened up into a ball-like shape. Let rest for another 45 minutes.
Step 5

Repeat the stretch and fold process at least 3/4 more times over the next 3.5-4ish hours. It doesn’t need to be in exact intervals, just whenever you pass the bowl and you notice its looking slack again. I tend to space my stretch and folds about 45 minutes apart from one another. After you've done 4-5 stretch and folds, leave your bowl covered and undisturbed until it has finished proofing.
Step 6

The point of the stretch and fold is to help build the gluten strength in the dough - this will help to give you a nice crumb (interior texture), it will help it to hold its shape when it’s in the oven and it will help it to rise nicely. It’s the more gentle equivalent to kneading the dough and works well with wet doughs like sourdough.
Has it finished proofing?
Step 7
This is one of tricker things to learn when you're making sourdough - the environmental temperature, your flour, hydration, the temperature of your water when you started and the quality/strength of your sourdough starter will all have an impact on the amount of time it takes for your particular batch of dough to proof.
Step 8
In my kitchen, depending on the season, the bulk proof time for my dough tends to take between 4-6 hours (the bulk proof starts when you add in the salt). It takes shorter in the hot summer months and longer in the cold winter months. Instead of looking at the time, look at your dough:
Step 9
You should notice that the surface of the dough is glossier/smoother and has a somewhat matte sheen to it when light reflects from it. The dough will feel like it’s aerated and puffy compared to when you started, and you will see some air bubbles forming under the surface. It should jiggle and wiggle when you shake the bowl. It should also be holding a slight dome shape around the edges of the bowl. The slight doming means that you have built up the gluten strength in the dough nicely. A fully proofed dough should cleanly tip out of the bowl in one big blob. These are all signs that you’ve completed the bulk fermentation process and that the dough is ready to be shaped and put into the fridge overnight.
Preshape the Dough
Step 10

Scrape dough out of bowl onto a dry work top and preshape the dough into a ball shape using bench scraper. Rest on worktop for 15-20 minutes.
Shape the Dough
Step 11

Sprinkle a little flour on top of your preshaped dough, then flip it over so flour side is down onto a lightly floured surface. Do not put more flour in the middle “wet” bit of dough. See the sourdough shaping video I've linked for reference. There are plenty of ways to shape sourdough - doing a little research and watching sourdough shaping methods before you get to this step will help to build your confidence for when it's time to do it yourself.
Step 12
Shaping is a very important step as you’re wanting to create quite a tight package so it holds its shape in oven and will give you a good oven spring (rise). Be sure to dust your banneton basket or linen towel resting in a bowl with rice flour before putting dough in. Rice flour is best for not sticking as the wet dough cannot absorb it like it can normal flour. Put in fridge overnight and make sure your fridge is turned to a low temp so it doesn’t overproof in there overnight. I know my fridge is coldest at the bottom, so I always place my dough there. You do not need to cover it in fridge, but you can put a shower cap over the banneton if you wish to do so.
Baking the Sourdough
Step 13
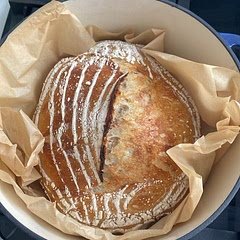
The next day (or day after that), preheat oven to 250-255C with a Dutch oven/cast iron pot inside to warm up in there for 30-40 minutes. Take out dough from fridge just before baking, invert onto nonstick parchment paper, score bread (make sure to do at least one large expansion score) and gently place into Dutch oven. Place Dutch oven back into oven and bake for 42-46 minutes with the lid on. Bake until it’s reached your desired brownness - you can leave the pot uncovered for the final few minutes if you wish to, it will speed things up a bit.
Step 14

Remove bread from pot and let rest on a cooling rack. Let cool for at least 30 minutes before cutting in. Enjoy!
Hydration
Step 15
If you're just beginning your sourdough journey, you may want to start with using only 350ml water. Keeping the bread at a lower hydration will help to make the shaping process easier. As you build up your experience, you can gradually add more water to the dough - more water usually means a more open, bubbly, airy crumb, but it's a good idea to not jump right into this as a very wet dough can tend to be unmanageable for beginners. I always use more than 365ml in my loaves, so if you feel comfortable working with a wetter dough, please hydrate the dough to your heart's content!
Step 16
If you'd like to add more wholegrain flour, you'll likely need to add in more water...add in any extra water gradually until your dough is fully hydrated and no dry patches remain. Loaves with more whole grain flour tend to proof a little more quickly than white-flour-dominated sourdough loaves.
Add-Ins
Step 17

Add ins: if you'd like to add seeds or other toppings into the dough, you can do this either at the salt adding-in phase or you can wait until about 2 hours into the proofing process and do something called lamination (search sourdough lamination on YouTube). This involves lightly wetting your worktop surface, tipping your dough out, gently stretching the dough into a rectangular sheet and then scattering your toppings onto the sheet of dough before folding it all back up again and placing it back into the bowl to finish proofing.
Flavour Ideas
Step 18
Some ideas for flavours: Seeded Jalapeno & Cheddar Olive and Rosemary Sour Cherry & Walnut (soak dried cherries in boiling water before adding in) Cinnamon Raisin (soak raisins in boiling water before adding in) Cheese & Crispy Fried Onions Chocolate Chips
Doubling Recipe
Step 19
You can of course double this recipe - I used to multiply it by 8 and make huge vats of the dough at a time! Simply make sure your bowl/container is large enough to allow the dough to expand and you'll just divide the dough by cutting it with a dough scraper when it comes time to preshape it. You can eyeball the size, but a digital scale will help you to keep your loaf size even. I find that the dough for one loaf usually weighs about 975g, but you can weigh the entire quantity of your dough first and then divide by how many loaves you plan to make.
View on Lace Bakes Sourdough Shaping Video
↑Support creators by visiting their site 😊
Notes
136 liked
20 disliked
Delicious
Go-to
Easy
Crispy
Fresh


