1/2

2/2
Leave a note
By Sam (Anxious Fish Club)
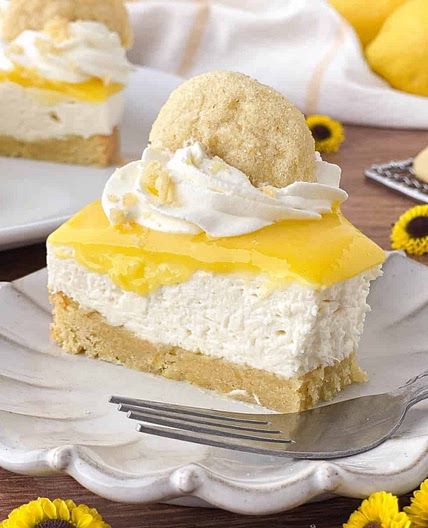
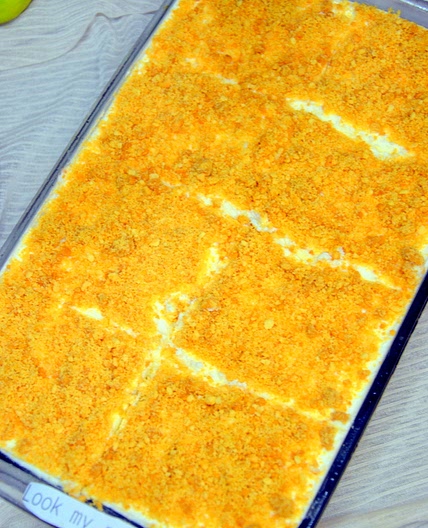
Lemon Meringue No-Bake Cheesecake
28 steps
Prep:2hCook:9h
Lemon and meringue is a classic combination, so why not add cheesecake into the mix? This dessert is a combination of my husband's and my favorite desserts. Although there are a lot of steps and lots of fridge-time, this cheesecake is less intimidating than it looks and is the perfect sweet and tart dessert, topped with toasty meringue kisses.
Updated at: Thu, 17 Aug 2023 02:28:03 GMT
Nutrition balance score
Uh-oh! We're unable to calculate nutrition for this recipe because some ingredients aren't recognized.
Ingredients
8 servings
Tools
Pot
Saucepan
Electric mixer
recommended
food processor
cake tin
Large, 25cm x 8cm, spring form recommended
whisk
bowl
microwave - safe
Plastic cling film
3Mixing bowls
1 heat-proof
Silicone Spatula
measuring cups
measuring spoons
Piping bag
optional
torch
optional
Biscoff Crust
Cheesecake Filling
200mlheavy cream
150mlsour cream
660gcream cheese
100gsugar
1 Tbslemon juice
1 tspvanilla extract
2 sheetsgelatin
plus more to bloom
1 Tbswater
Lemon Topping
Swiss Meringue
Instructions
Biscoff Crust
Step 1
Melt the butter and set it aside. Use a food processor or rolling pin to crush the biscuits until the texture is like fine sand.
Step 2
Combine the blended biscuit, melted butter, and sugar in a bowl. If you can squeeze it together without it crumbling it’s a good texture. If it doesn’t hold its shape, add more melted butter and repeat.
Step 3
Add the crust mix to the cake tin evenly and press down firmly, it should go up on the side of the tin by about 2 cm to form an edge and be roughly 1 cm thick on the bottom. (I recommend using a glass or something flat to press down with.)
Step 4
Place in the fridge while you prepare the filling.
Cheesecake Filling
Step 5
Place the gelatin sheets into cold water to bloom for about 10 minutes.
Step 6
Whisk the heavy cream into stiff peaks and set aside.
Step 7
Whisk together the cream cheese and sugar until smooth and the sugar has dissolved into the cream cheese fully.
Step 8
Add the sour cream, lemon juice, and vanilla extract and stir until well combined.
Step 9
Squeeze out the water from the gelatin sheets, add to a bowl with 1 tbs water, and microwave for about 5-10 seconds until melted.
Step 10
Whisk the gelatin into the whipped cream mixture and combine it well.
Step 11
Fold the whipped cream and gelatin mixture into the other filling ingredients.
Step 12
Pour filling into the prepared tin with the crust.
Step 13
Cover and refrigerate while preparing the lemon topping.
Lemon Topping
Step 14
Add the egg yolks, lemon juice and zest, corn starch, sugar, salt, and heavy cream to a pan. Mix together and cook on low heat, constantly stirring.
Step 15
Once the mixture begins to thicken up, begin adding the butter 1 tablespoon at a time.
Step 16
Take off the heat, transfer into a bowl and cover with cling film pressed against the mixture so a skin doesn't form. Set aside and allow it to cool.
Step 17
Once it has cooled sufficiently (to about room temperature) pour on top of the cheesecake filling in the tin and spread it out evenly.
Step 18
Cover the tin with cling film and refrigerate for 8 hours or overnight.
Swiss Meringue
Step 19
Once the cheesecake has chilled the proper amount of time you can prepare the meringue for the top. If you are using a spring form tin you can release the cheesecake from the tin at this stage.
Step 20
Add the salt, sugar, cream of tartar, and egg whites into a heat-safe mixing bowl. Set a pan with a few inches of water on the stove and heat on low until it comes to a simmer.
Step 21
Place the mixing bowl on the hot water pan (not touching the water directly) and whisk continuously until the sugar has melted into the egg whites and it feels warm to the touch.
Step 22
Remove from the heat and use an electric mixer to whisk until soft peaks form (about 4-5 minutes).
Step 23
Add the vanilla extract and continue to whisk until stiff peaks form.
Step 24
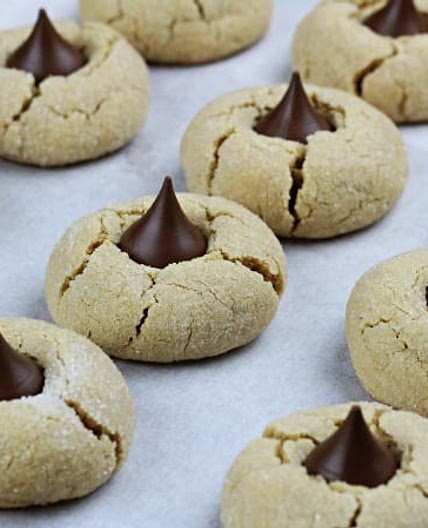
Transfer to a piping bag and dallop small dots of meringue around the outer edge of the top of the cheesecake, gradually moving in towards the center to form a ring of meringue “kisses”.
Step 25
If you have a torch, use it to gently toast the meringue kisses.
Notes
Step 26
The gelatin is optional, it’s mainly to give a firmer texture to the cheesecake.
Step 27
If you don’t have a food processor you can use a rolling pin to crush the biscuits inside a zip-top bag instead.
Step 28
Cream of tartar is optional, however, I recommend using it to stabilize the meringue well.
Notes
0 liked
0 disliked
There are no notes yet. Be the first to share your experience!