By Gabriele Caglio
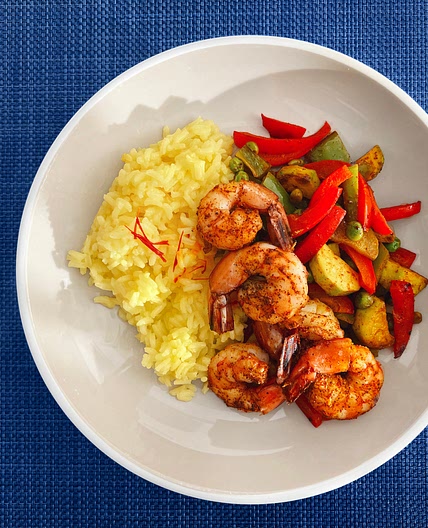
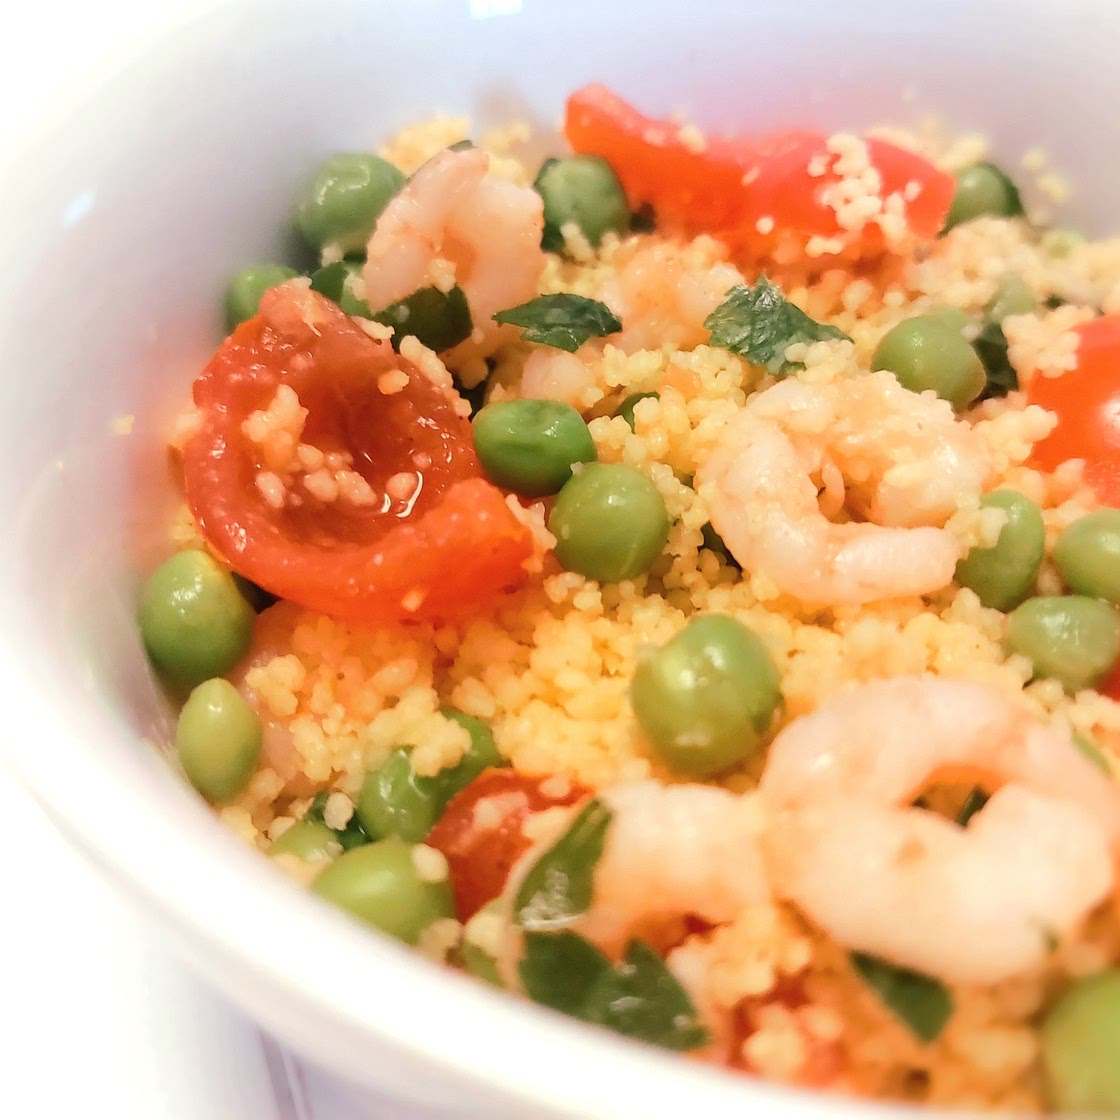
Cous Cous - Shrimp, peas and tomato emulsion
7 steps
Prep:30minCook:1h
It is one of the most versatile ingredients you can have in your kitchen. It goes well with meat or vegetables, you can eat it warm or cold and everybody loves it. This version is with shrimps, peas and tomato emulsion.
Updated at: Thu, 17 Aug 2023 02:52:05 GMT
Nutrition balance score
Great
Glycemic Index
48
Low
Glycemic Load
29
High
Nutrition per serving
Calories443.8 kcal (22%)
Total Fat17.5 g (25%)
Carbs59.1 g (23%)
Sugars6.3 g (7%)
Protein14.9 g (30%)
Sodium885.1 mg (44%)
Fiber9.1 g (33%)
% Daily Values based on a 2,000 calorie diet
Ingredients
1 servings
Instructions
Step 1
Wash the cherry tomatoes, cut them in half and carefully take all the internal parts, including the liquids and put them into a food processor. Add the sugar, salt, pepper and garlic powder. Once the pulp has been removed from the tomato, cut each slice in half again.
Step 2
Boil the peas in salty water and once softened, put them in a strainer so they can cool down.
Step 3
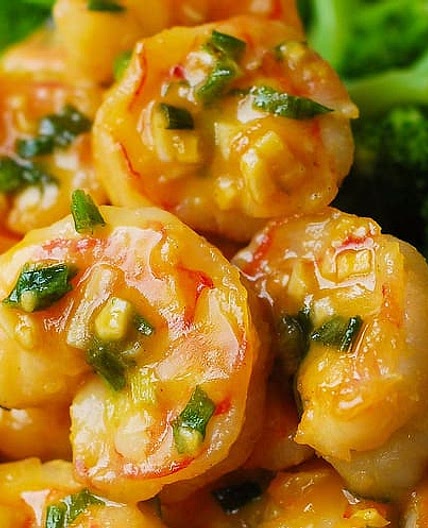
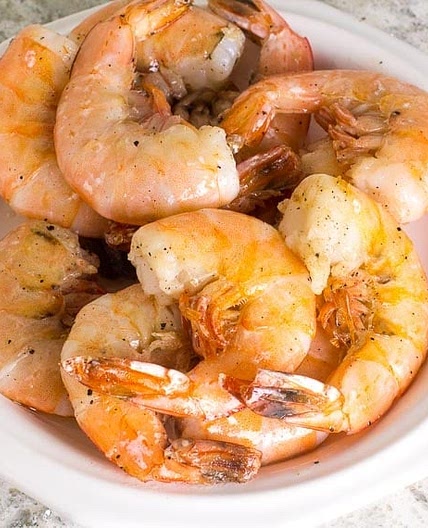
Put some oil a couple of spoon if oil in a pan and once is hot, ease down the shrimps. Cook the shrimps for five minutes and then remove from the heat and place them in a bowl. Pour some lemon juice chopped parsley in the cup with the shrimps and mix.
Step 4
In the pan where you cooked the shrimps, pour the tomato emulsion and add the peas and some salt and pepper, mix and cook for 2 minutes. Put back the shrimps in the pan, mix for a minute and remove the pan from the heat. Put the sliced tomato now in the pan and cover it with a lid. Let these ingredients cool down.
Step 5
Put the cous cous in a bow with the olive oil. With a fork shell the cous cous for a couple of minutes.
Step 6
Put a pot on the stove with the water. Usually the water is twice the weight of the cous cous but adjust the quantity according to what is wiritten in the couc cous box. Heat up the stove and once the water starts boiling switch it off and put all the spices in the water. Mix it with a spoon for few seconds and then add the cous cous too. Cover with a lid and shake the pot horizontally for a minutes. Let it rest now for 15 minutes.
Repeat the procedure that has been done before the cous cous preparation and shell it gently with a fork, layer by layer.
Step 7
The last and final step is to mix the cous cous and all the other ingredients before serving.
Notes
2 liked
0 disliked
There are no notes yet. Be the first to share your experience!