By Megan Rohrer
My Mother’s Peasant Bread: The Best Easiest Bread You Will Ever Make
5 steps
Prep:5minCook:32min
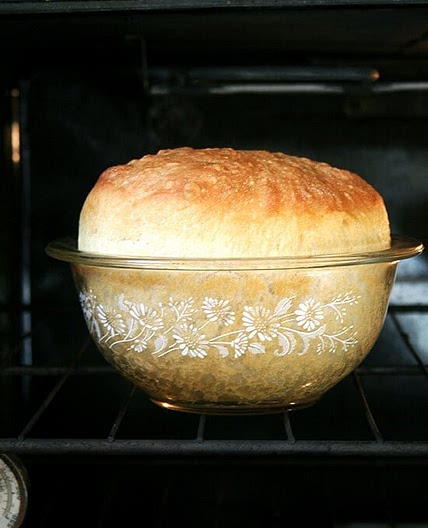
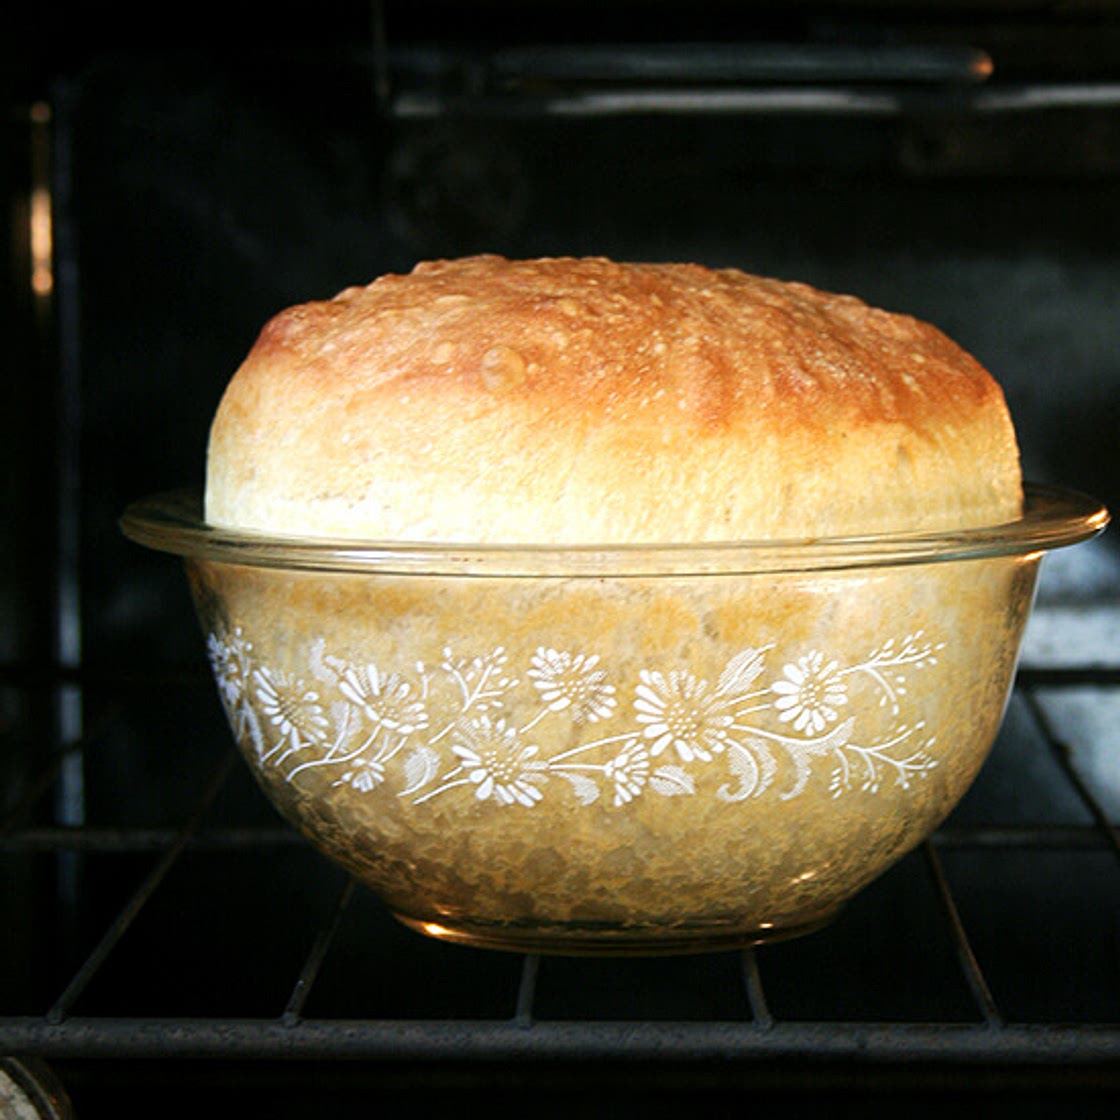
Notes: The bread: This is a sticky, no-knead dough, so, some sort of baking vessel, such as pyrex bowls (about 1-L or 1-qt) or ramekins for mini loaves is required to bake this bread. See notes below the recipe for sources. You can use a bowl that is about 2 qt or 2 L in size to bake off the whole batch of dough (versus splitting the dough in half) but do not use this size for baking half of the dough — it is too big. Peasant Bread Fans! There is now a book: Bread Toast Crumbs, a loaf-to-crumb bread baking book, filled with tips and tricks and answers to the many questions that have been asked over the years. In the book you will find 40 variations of the master peasant bread recipe + 70 recipes for using up the many loaves you will bake. Learn more about the book here or buy it here.
Updated at: Thu, 17 Aug 2023 10:36:12 GMT
Nutrition balance score
Unbalanced
Glycemic Index
75
High
Glycemic Load
149
High
Nutrition per serving
Calories1045.3 kcal (52%)
Total Fat13.6 g (19%)
Carbs199.4 g (77%)
Sugars4.7 g (5%)
Protein26.6 g (53%)
Sodium1946.7 mg (97%)
Fiber6.9 g (25%)
% Daily Values based on a 2,000 calorie diet
Ingredients
2 servings


Instructions
Step 1
Whisk together flour, salt, sugar, and instant yeast. Add lukewarm water.
Step 2
Let it rise. Cover bowl with a tea towel or plastic wrap and set aside in a warm spot to rise for at least an hour. (In the winter or if you are letting the bread rise in a cool place, it might take as long as two hours to rise.) This is how to create a slightly warm spot for your bread to rise in: Turn the oven on at any temperature (350ºF or so) for one minute, then turn it off.
Step 3
Preheat the oven to 425ºF. Grease two 1-qt or 1.5-qt oven-safe bowls (see notes below) with about a tablespoon of butter each. Using two forks, punch down your dough, scraping it from the sides of the bowl, which it will be clinging to. As you scrape it down try to pull the dough toward the center (see video below for guidance). You want to loosen the dough entirely from the sides of the bowl, and you want to make sure you’ve punched it down. Then, take your two forks and divide the dough into two equal portions — eye the center of the mass of dough, and starting from the center and working out, pull the dough apart with the two forks. Then scoop up each half and place into your prepared bowls. This part can be a little messy — the dough is very wet and will slip all over the place. Using small forks or forks with short tines makes this easier — my small salad forks work best; my dinner forks make it harder. It’s best to scoop it up fast and plop it in the bowl in one fell swoop. Some people like to use flexible, plastic dough scrapers for this step.
Step 4
Let the dough rise again for about 20 to 30 minutes on the countertop near the oven (or near a warm spot) or until it has risen to just below or above (depending on what size bowl you are using) the top of the bowls. (Note: Do not do the warm-oven trick for the second rise, and do not cover your bowls for the second rise. Simply set your bowls on top of your oven, so that they are in a warm spot. Twenty minutes in this spot usually is enough for my loaves.)
Step 5
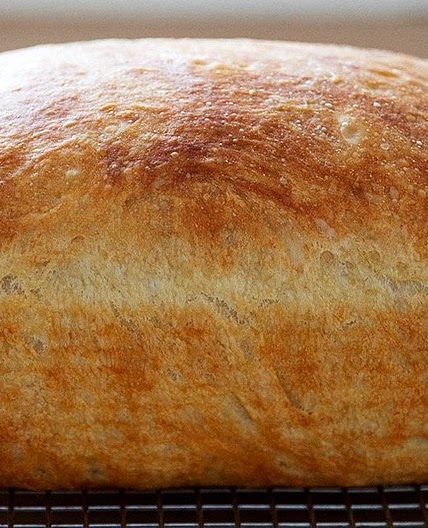
Bake it. Bake for 15 minutes. Reduce the heat to 375º and bake for 15 to 17 minutes longer. Remove from the oven and turn the loaves onto cooling racks. If you’ve greased the bowls well, the loaves should fall right out onto the cooling racks. If the loaves look a little pale and soft when you’ve turned them out onto your cooling racks, place the loaves into the oven (outside of their bowls) and let them bake for about 5 minutes longer. Remove from oven and let cool for 10 minutes before cutting.
View on alexandracooks.com
↑Support creators by visiting their site 😊
Notes
5 liked
0 disliked
Delicious
Easy
Go-to
Makes leftovers
Fresh
There are no notes yet. Be the first to share your experience!