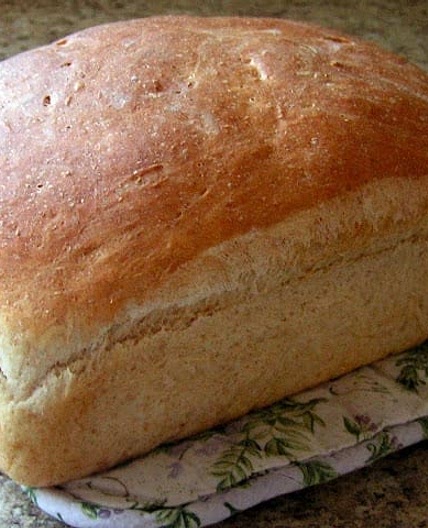
By Alana Thompson
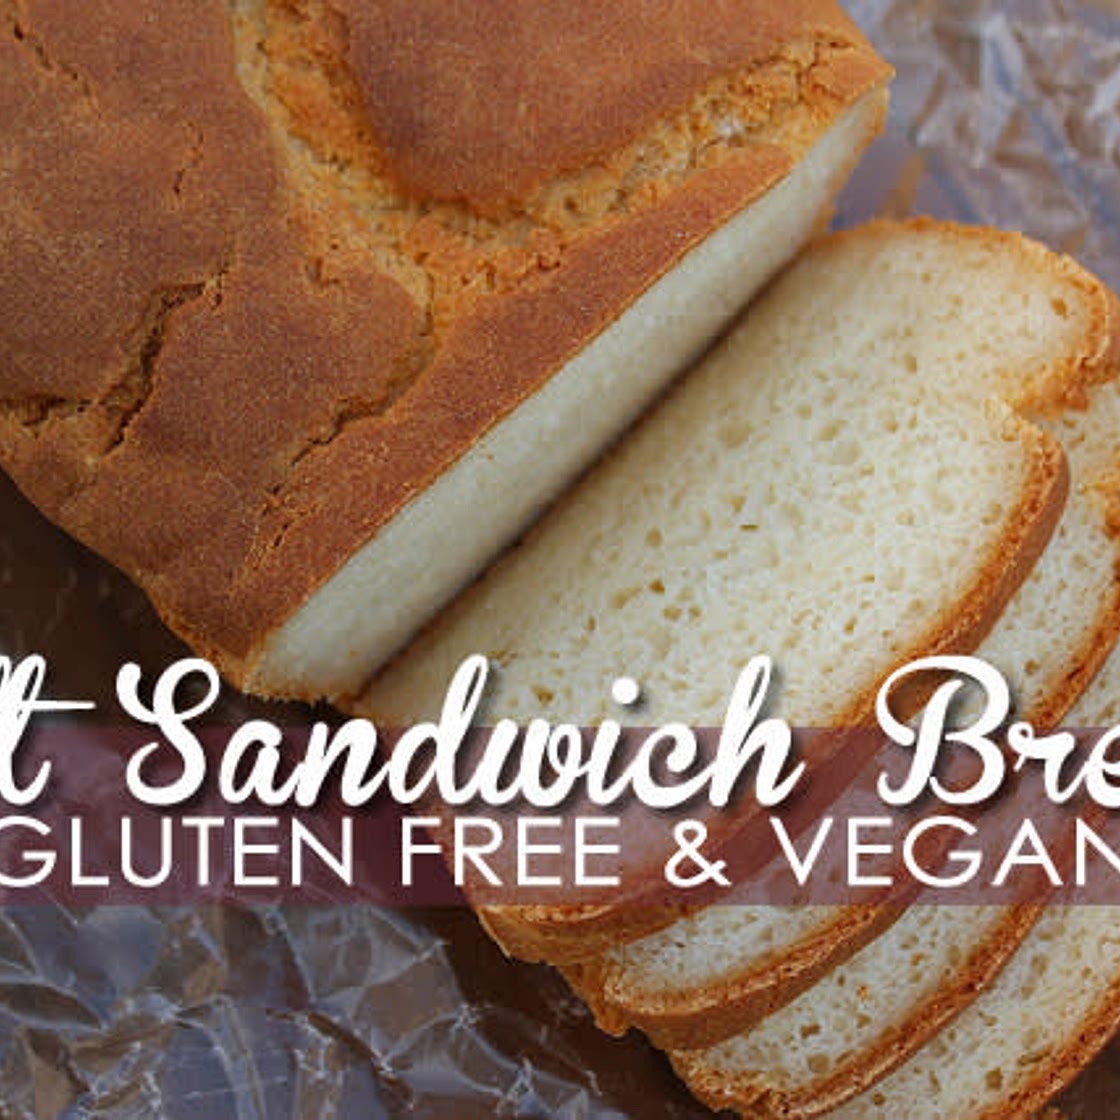
SOFT GLUTEN FREE VEGAN BREAD RECIPE
18 steps
Prep:10minCook:1h
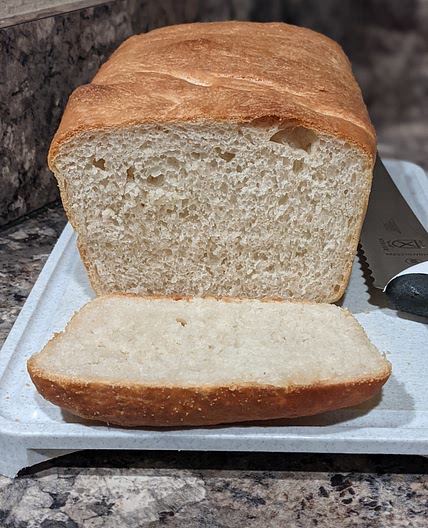
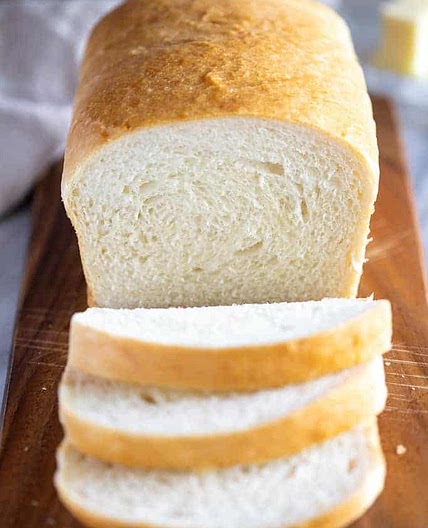
The BEST Soft Gluten Free Vegan Sandwich Bread Recipe – Featuring Aquafaba (Garbanzo Bean Liquid) Whip as an Egg Substitution.
Updated at: Thu, 17 Aug 2023 13:22:59 GMT
Nutrition balance score
Unbalanced
Glycemic Index
77
High
Glycemic Load
27
High
Nutrition per serving
Calories201.2 kcal (10%)
Total Fat9.7 g (14%)
Carbs35.1 g (13%)
Sugars3.8 g (4%)
Protein1.6 g (3%)
Sodium430.5 mg (22%)
Fiber2.2 g (8%)
% Daily Values based on a 2,000 calorie diet
Ingredients
10 servings
Yeast Mix
1 ½ cupswater
warm
3 tablespoonssugar
2 ½ teaspoonsdry active yeast
be sure your yeast is fresh and alive
Chickpea whip
0.25 CupAquafaba
Brine/Liquid, drained from canned Garbanzo Beans, aka Chickpeas, Use up those Garbanzo Beans in Homemade Hummus, Roasted Chickpeas or 3 Bean Salad
½ teaspooncream of tartar
Dry mix
3 cupsall purpose gluten free flour mix
0.5 TeaspoonsXanthan Gum
in addition to what’s already in the GF Flour Mix
4 teaspoonsbaking powder
1 teaspoonsalt
Wet mix
Instructions
Yeast mix
Step 1
In a measuring cup, measure out warm water (should be warm to the touch, not hot or cold). Stir in Honey and add Yeast last. Set-aside & let proof for approx. 10 minutes.
Chickpea whip
Step 2
While Yeast is proofing, pour the Aquafaba (Garbanzo Bean Liquid) along with the Cream of Tartar into the clean & dry bowl of your stand mixer fitted with the whisk attachment. Whisk on high until stiff peaks form. On my mixer, soft peaks happen around 2-3 minutes & stiff peaks around 4-5 minutes. Once you have stiff peaks, use a spatula to scoop out the fluff and set-aside.
Dry mix
Step 3
While the Aquafaba is Whisking, Combine all of the Dry Mix ingredients together in small bowl.
Putting it all together
Step 4
Add in the proofed Yeast Mix to the stand mixer bowl.
Step 5
Add Dry Mix ingredients in mixer bowl with yeast. Using the paddle attachment, begin to slowly mix while adding in the Oil, then Apple Cider Vinegar.
Step 6
Mix well on Medium-High for 2-3 minutes until dough is smooth, but wet & sticky.
Step 7
Stop mixer and add in Garbanzo Bean Fluff
Step 8
Mix gently on low speed until dough is well combined (approx 30 seconds or less)… Do not over beat. Mixture will be thick yet somewhat runny (think cake batter).
Step 9
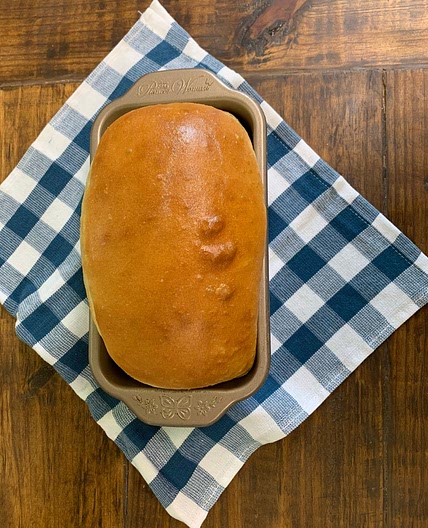
Spray or Grease your 9×5 Loaf Pan.
Rise and bake instructions
Step 10
Using a spatula, scrape the bread mixture into your prepared loaf pan and Cover with plastic wrap. Set pan on top of your warm stove to proof while the oven is preheating.
Step 11
Preheat your oven to 375 degrees Fahrenheit.
Step 12
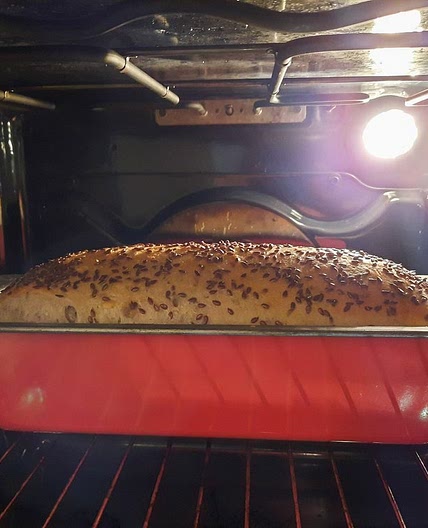
It is important not to over-proof the bread – just let it rise approx. 20-30 minutes (depending on your room temperature). Don’t let it rise above your loaf pan… Gluten free breads do not maintain their structure and will flow over the pan or collapse if left to over-rise or over-filled.
Step 13
Bake for approx. 50-60 minutes. If the crust is darkening too quickly, you can cover it with foil (tent open ended) and return to baking until done. (If it helps, I usually cook mine until I get an internal temperature of 210 – 220 degrees on my digital thermometer).
Step 14
Loaf may initially rise much larger than the pan, and shrink back a bit… that’s ok, just be sure it is completely cooked before removing from the oven.
Step 15
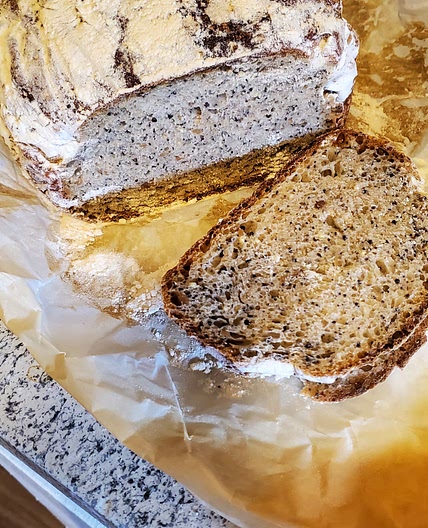
Remove loaf pan from oven and let cool for 1-2 minutes before turning out onto your cooling rack. (I always cool my loaves on their sides to keep the steam/moisture from making the bottom dense). Allow to cool completely before attempting to cut into slices.
Notes
Step 16
Loaf keeps best for 1-2 days out on counter in airtight container or bag, but I’ve found that the loaf stays moist even when placed in the fridge.
Step 17
Without eggs, there will be a little bit of shrinkage – this is typical with gluten free baked goods. You will notice with this recipe that the loaf will rise in the oven during the first 20 minutes, then gradually come back down to the same size as when you put it in after proofing – this is normal, and won’t affect your loaf.
Step 18
The key to remember with Gluten Free baking is NOT to overproof OR NOT to leave the loaf in the pan more than a minute or two after pulling it out of the oven – both of these can result in the loaf sinking and becoming dense at the bottom.
View on alittleinsanity.com
↑Support creators by visiting their site 😊
Notes
0 liked
0 disliked
There are no notes yet. Be the first to share your experience!
