1/4
2/4
3/4
4/4
100%
2
By Lou Onou
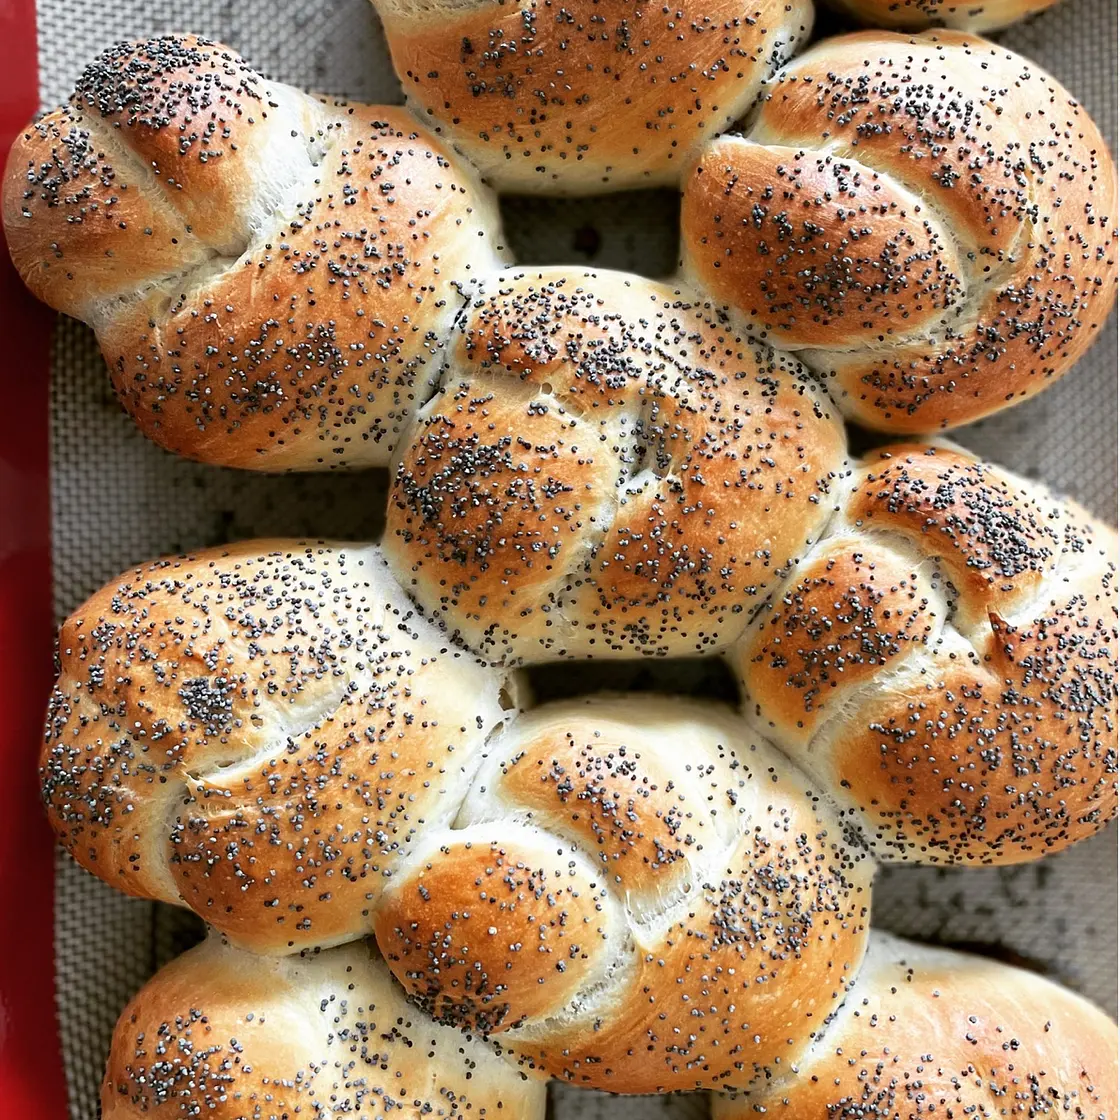
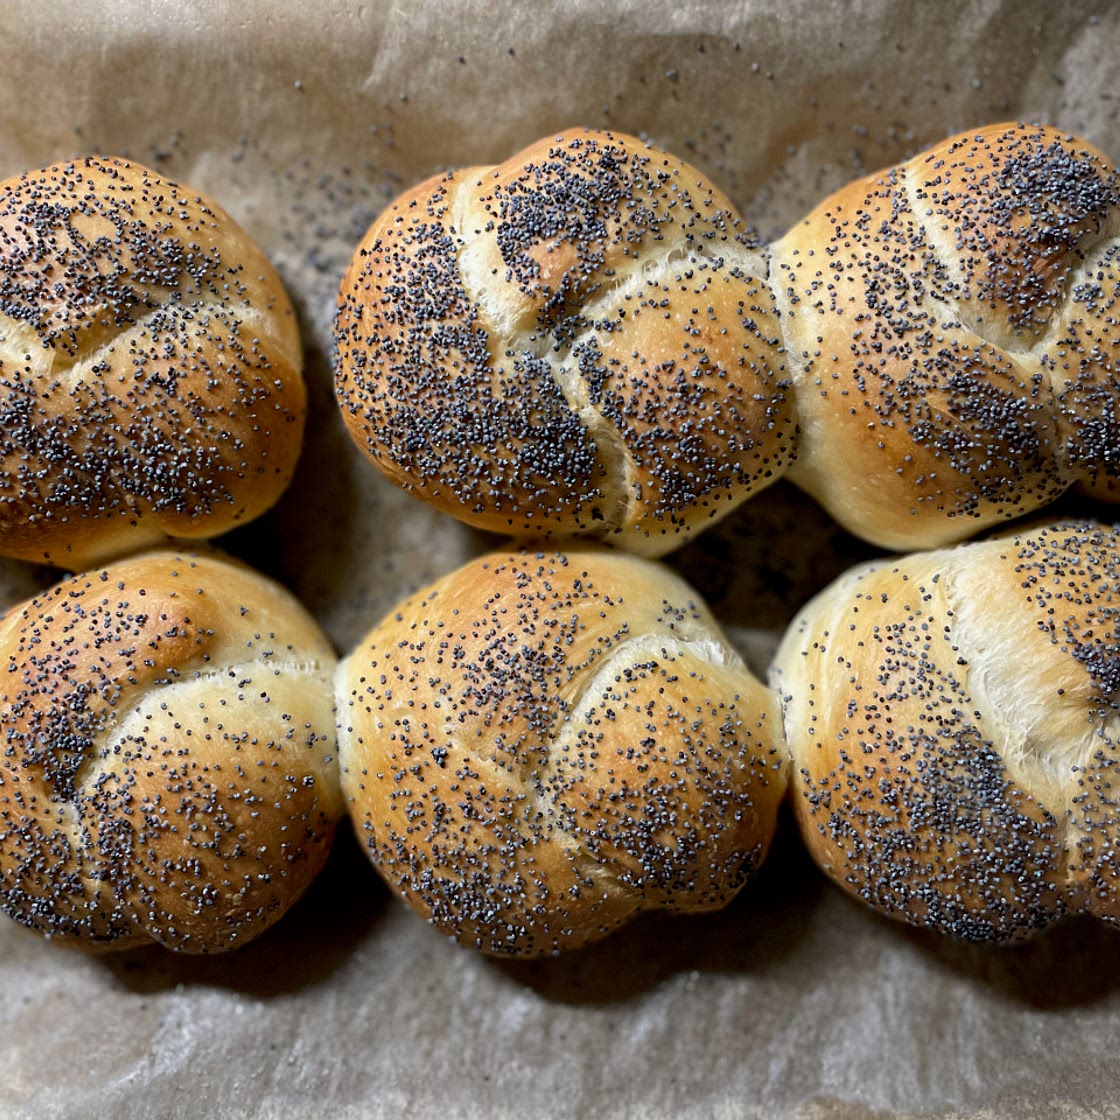
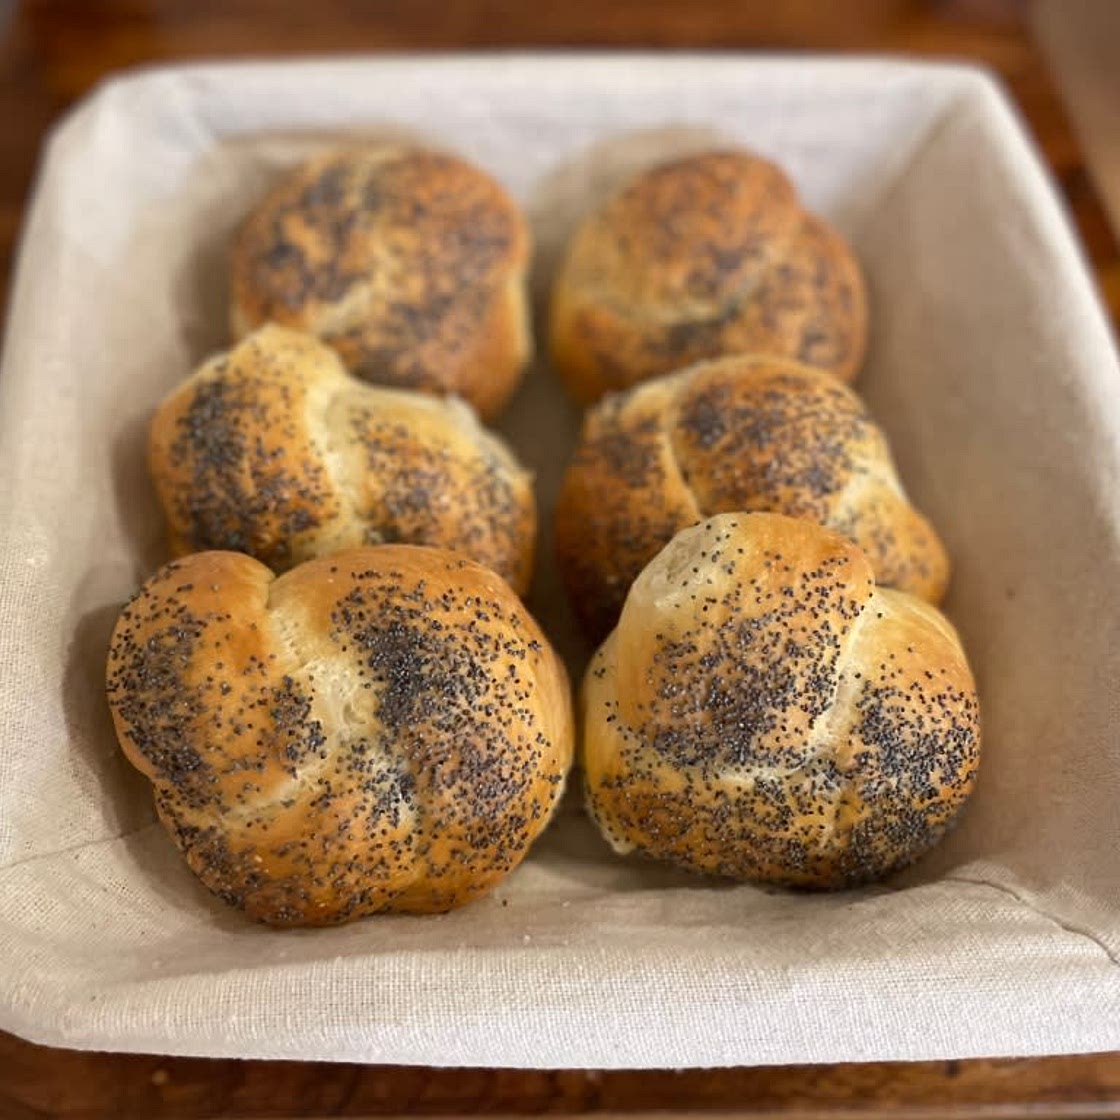
Easy Soft Poppy Seed Knot Rolls
These rolls are an absolute favourite of mine. When I was a child, I remember sitting in a very nice pub in Kent with my grandmother, stuffing one slathered in butter into my mouth, and proudly announcing that I was going to live on them for the rest of my life. I started making them using the white dough I make in my bread machine, but adapted this recipe to make them in the food processor (or by hand). Ideally, the water temperature in this recipe should be about 40℃. Boil some water about 15 mins before you want to make the recipe, then pour the right amount into a heatproof measuring jug or mug. Use a thermometer if you can, but if not, go hand-hot – about the temperature of a hot bath. You need to glaze the rolls in order for the poppy seeds to stick (and to give them a nice crust), and I’ve added both egg and milk as an option to brush the rolls with before you bake them. An egg will give a nice golden finish, but sometimes I feel I don’t want to “waste” an egg, so milk will do just as well.
Updated at: Thu, 17 Aug 2023 13:39:19 GMT
Nutrition balance score
Good
Glycemic Index
75
High
Glycemic Load
27
High
Nutrition per serving
Calories211.1 kcal (11%)
Total Fat3.9 g (6%)
Carbs36.5 g (14%)
Sugars0.2 g (0%)
Protein6.6 g (13%)
Sodium329.5 mg (16%)
Fiber1.3 g (5%)
% Daily Values based on a 2,000 calorie diet
Ingredients
12 servings
Instructions
Step 1
If you’re using a food processor, put the dough blade into it, then add the flour. Add the salt on one side, and the yeast on the other side. Avoid putting the yeast directly on top of the salt, as it may start to deactivate it. Give everything a quick whizz to ensure everything is well distributed. If you’re doing it by hand, follow the same instructions as above, and mix the dry ingredients together with your wooden spoon.
Step 2
Now add the oil and warm water. If using a food processor, use the pulse button if you have one to bring everything together, then use the lowest speed to mix the dough together a bit more thoroughly. You might have to put your hand on top of your machine if it starts to jump about on your kitchen counter! If you’re mixing by hand, bring things together with a wooden spoon, then use your hands (ensuring they are clean) to work the dough in the bowl, folding and turning it to make sure that all the ingredients are picked up. Eventually, you’ll end up with a blob of dough. It may be slightly sticky, but that’s fine.
Step 3
Lightly dust your worktop with flour, then turn the dough out onto the surface. Knead it, using the heel and palm of your hands, pushing the dough away from you, and turning and folding it. Add a little more flour if it sticks. Do this for as long as you can – ideally between 8-10 minutes. The more you work the dough, the more the gluten strands in the dough will start to develop.
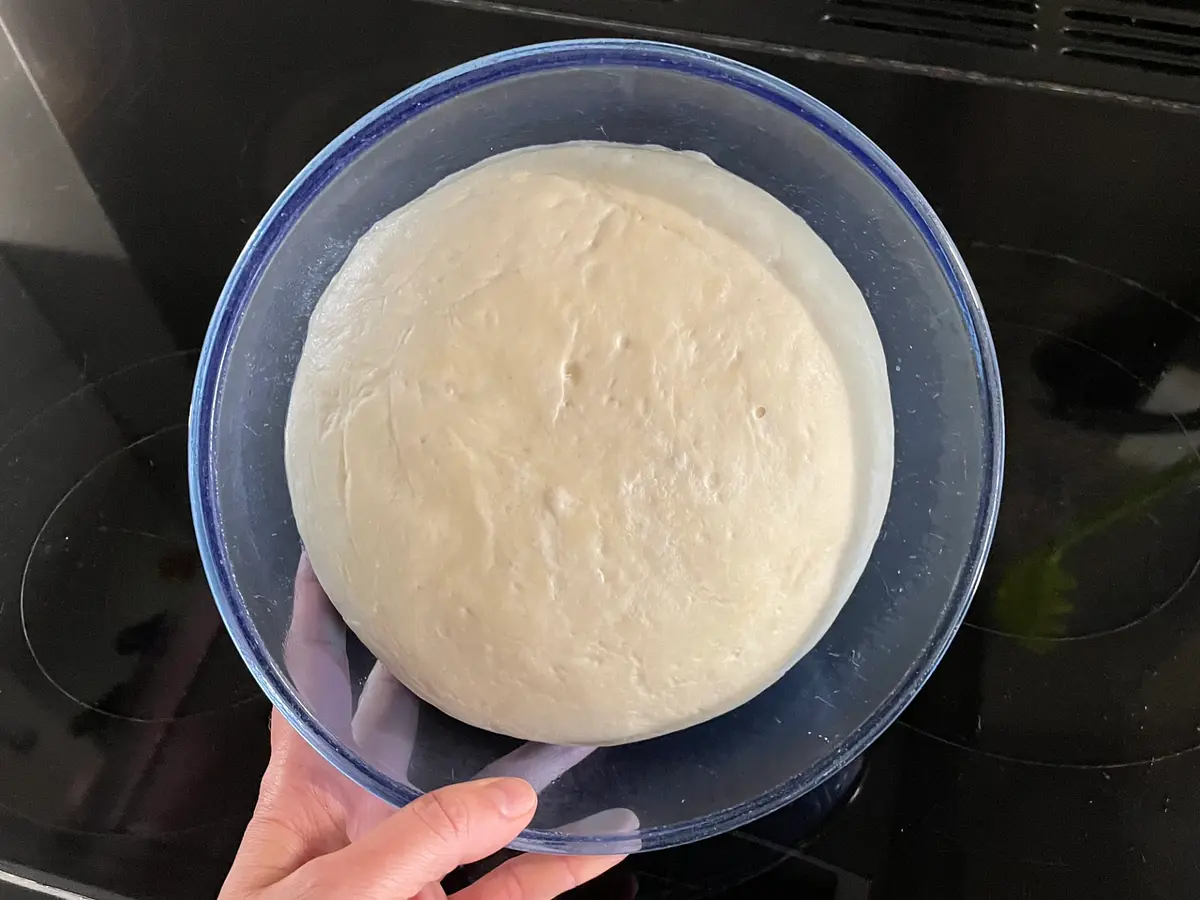
Step 4
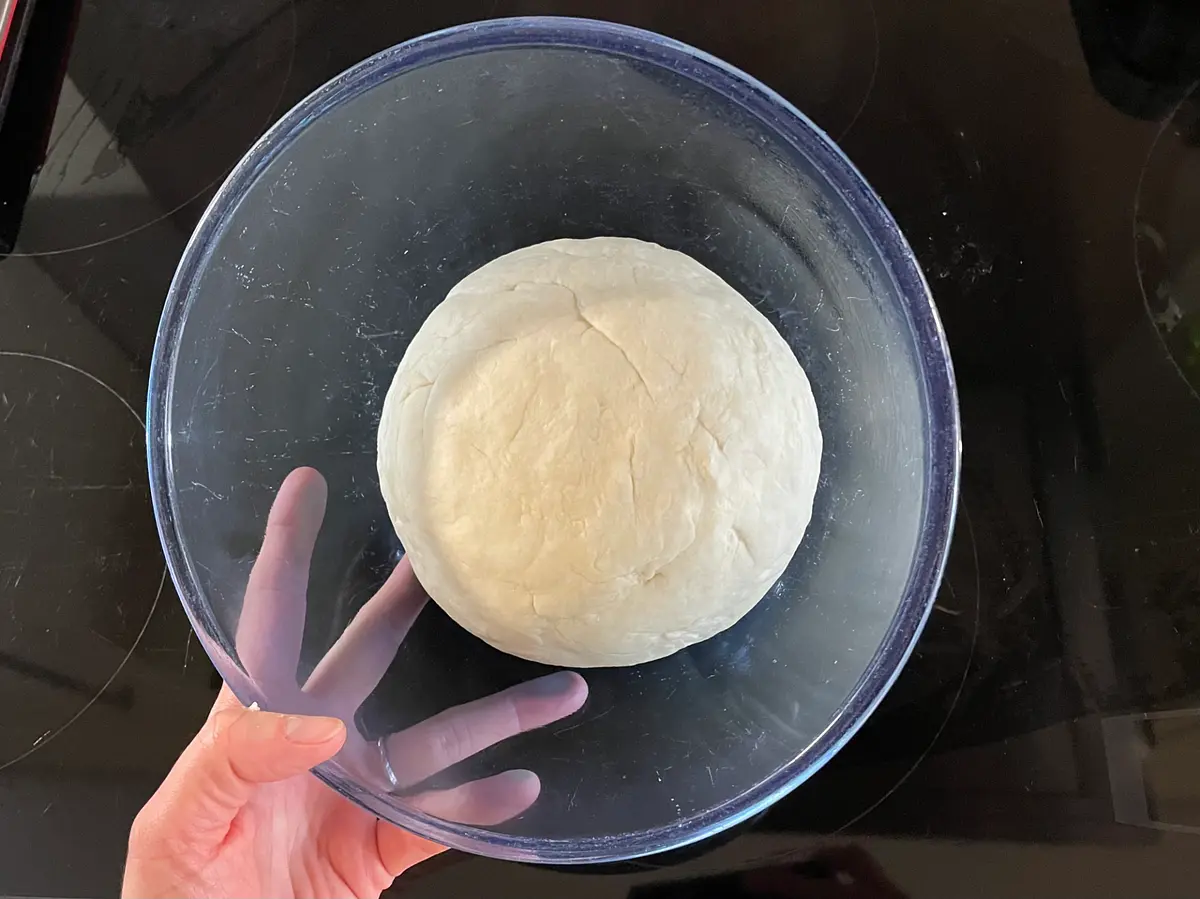
Wipe a medium sized bowl with some oil, then put your ball of dough into the bowl. Cover it with a damp tea towel, and put it somewhere dark (and warm-ish, if you can) – a cupboard is fine. Leave your lovely dough to prove until it’s doubled in size. This will probably take about two hours, but working it 15-30 mins or so either side won’t be a disaster.
Step 5
Get a couple of baking sheets or oven trays, line them with baking parchment, and give them a quick wipe with some more olive oil. Now that your dough has done its first prove, turn it out again on to a lightly floured surface, and knock it back. This basically means kneading it again lightly (some people like to “punch” it!) to knock the air out of it.
Step 6
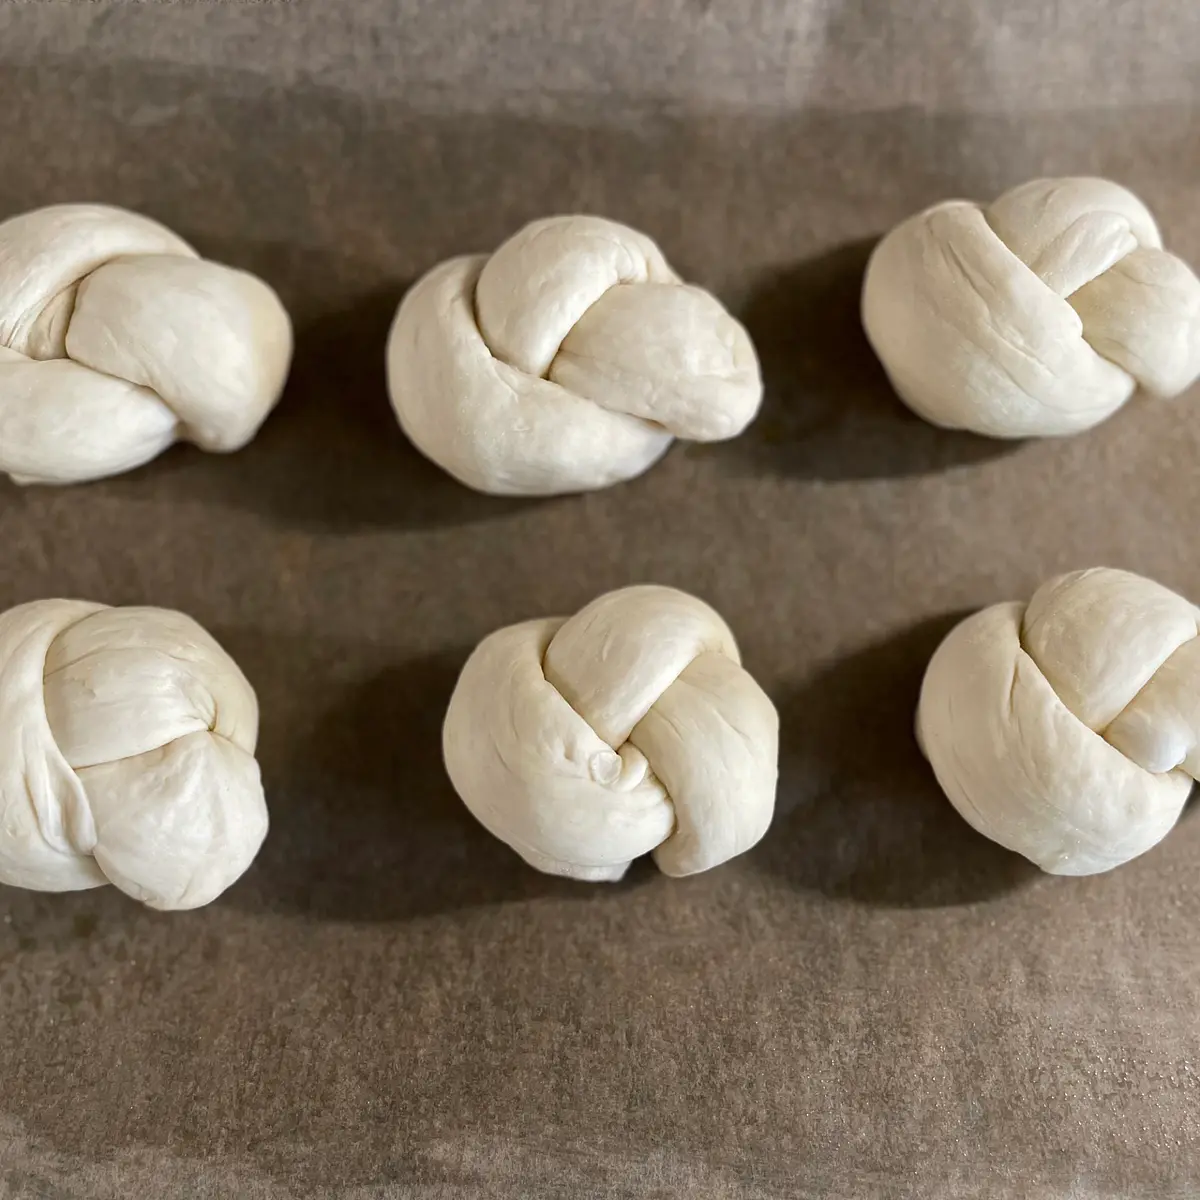
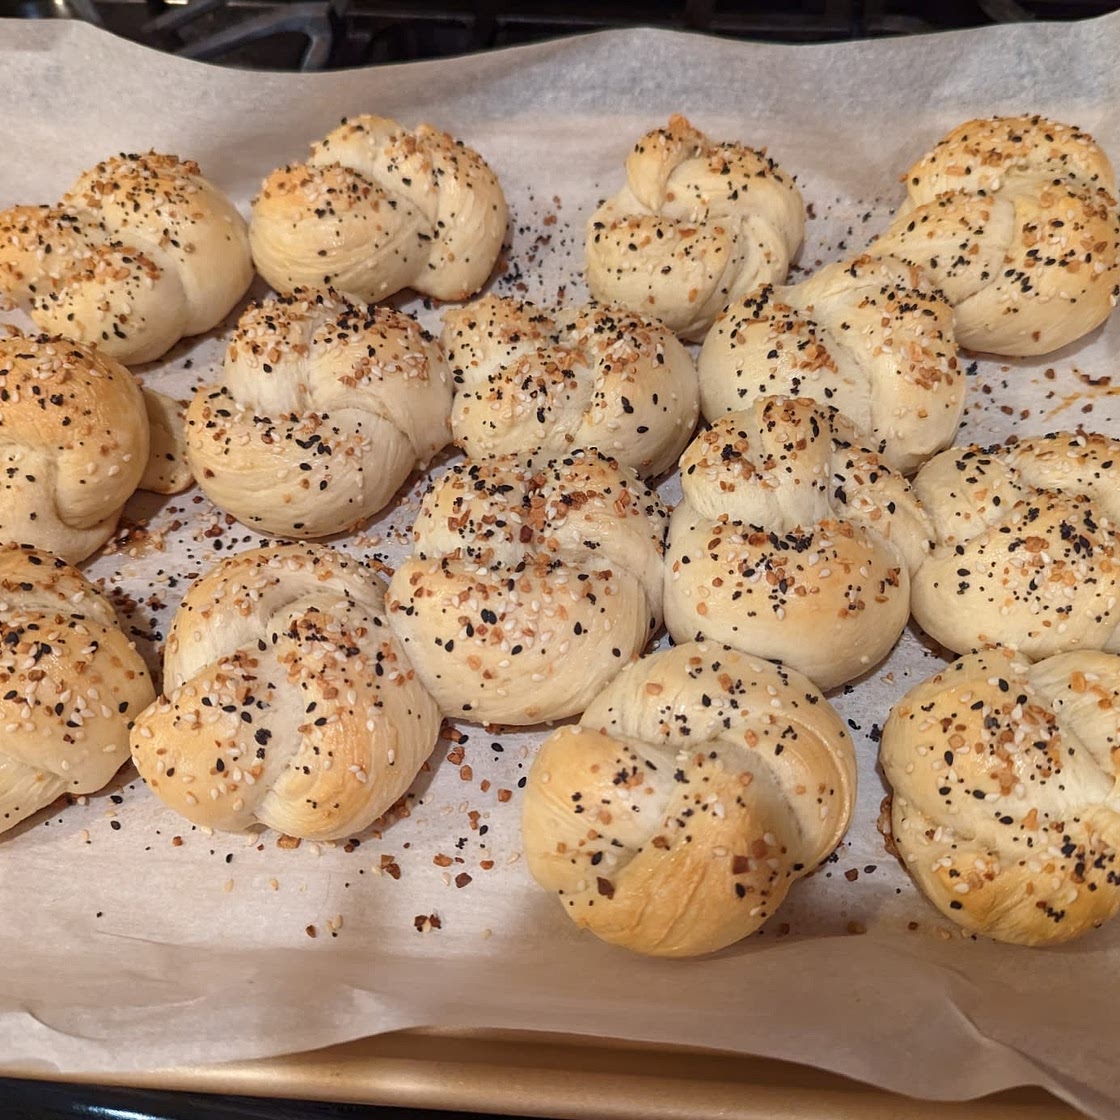
Divide the dough into 12 blobs – you might find it helpful to use some scales here (they will probably need to weigh around 80g each, although this may vary a bit). For 10 larger rolls, they will be about 95g each (of course, you could make 8 even larger rolls! Up to you.) Roll each blob into a long-ish “sausage”, about 20 cm long. Take each sausage of dough, tie it into a knot (everyone has their own style!), and place them on the tray, leaving a few cm between each one. As they prove again, they will expand; having them touch each other when cooking is fine (and it’s quite nice to tear them apart and have little soft edges), but you don’t want them touching before the second prove as they’ll be too squashed together).
Step 7
Cover the knots with a damp tea towel again, or a piece of cling film. If using film, I sometimes use clothes pegs around the edges of the tray to help hold it in place. Put them back in the cupboard, and let them prove again for another hour or so. Again, if you leave them for a bit longer, it’s not a disaster. Start heating your oven to 190℃ / 170℃ fan about 15 mins before you intend to bake them.
Step 8
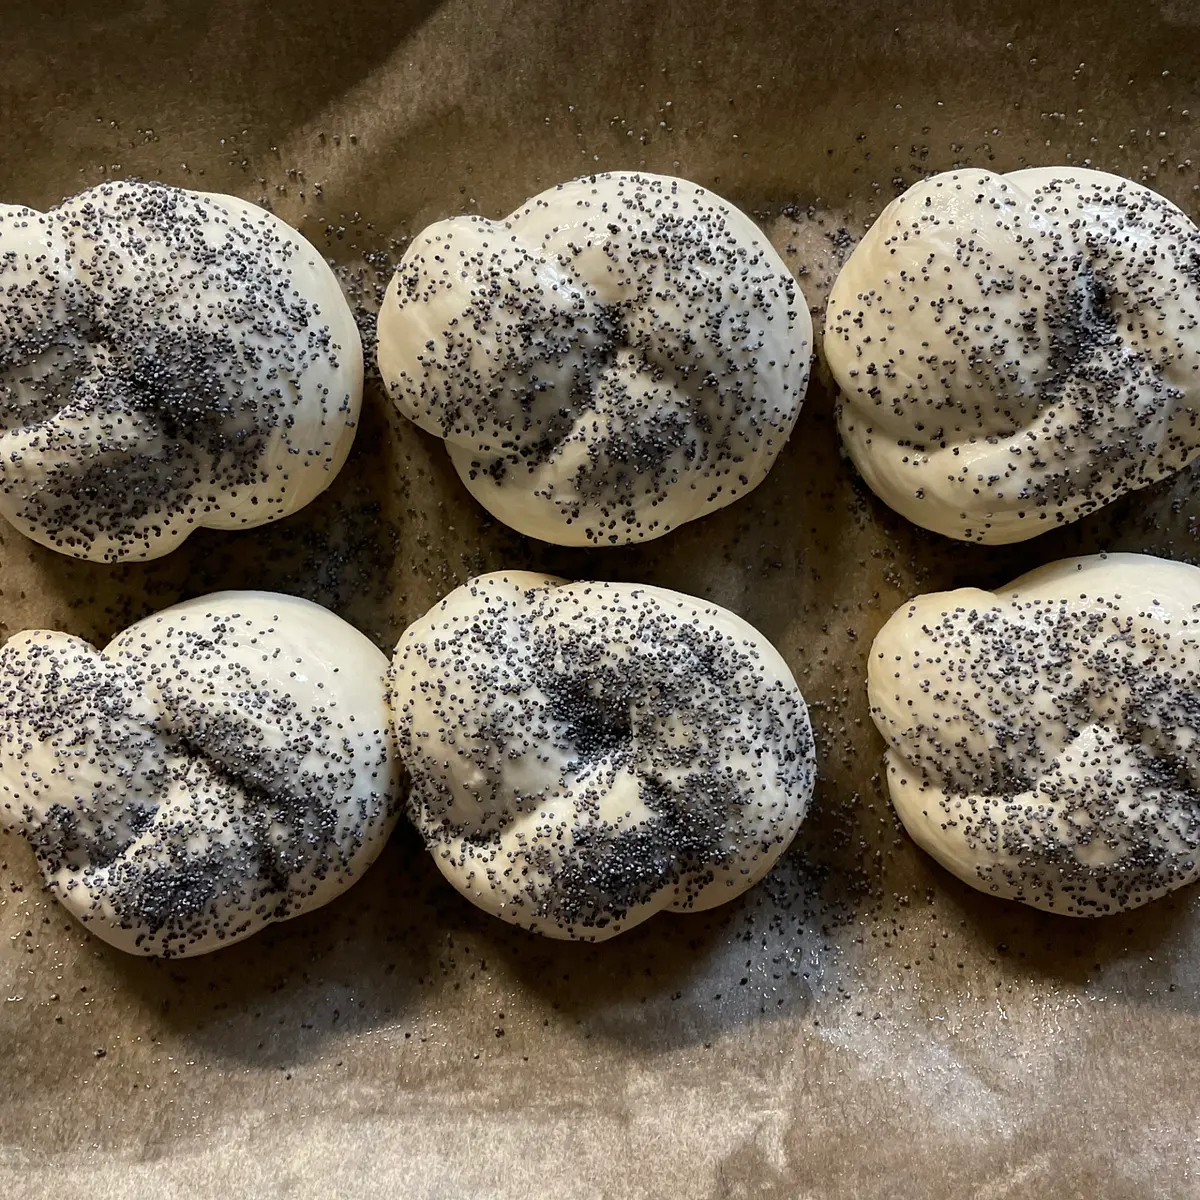
Once they’ve done their second prove, your knots will now be looking nice and fat. Carefully remove the cling film (it might stick a little), then brush them either with beaten egg, or with a little milk. Sprinkle them with a generous dusting of poppy seeds.
Step 9
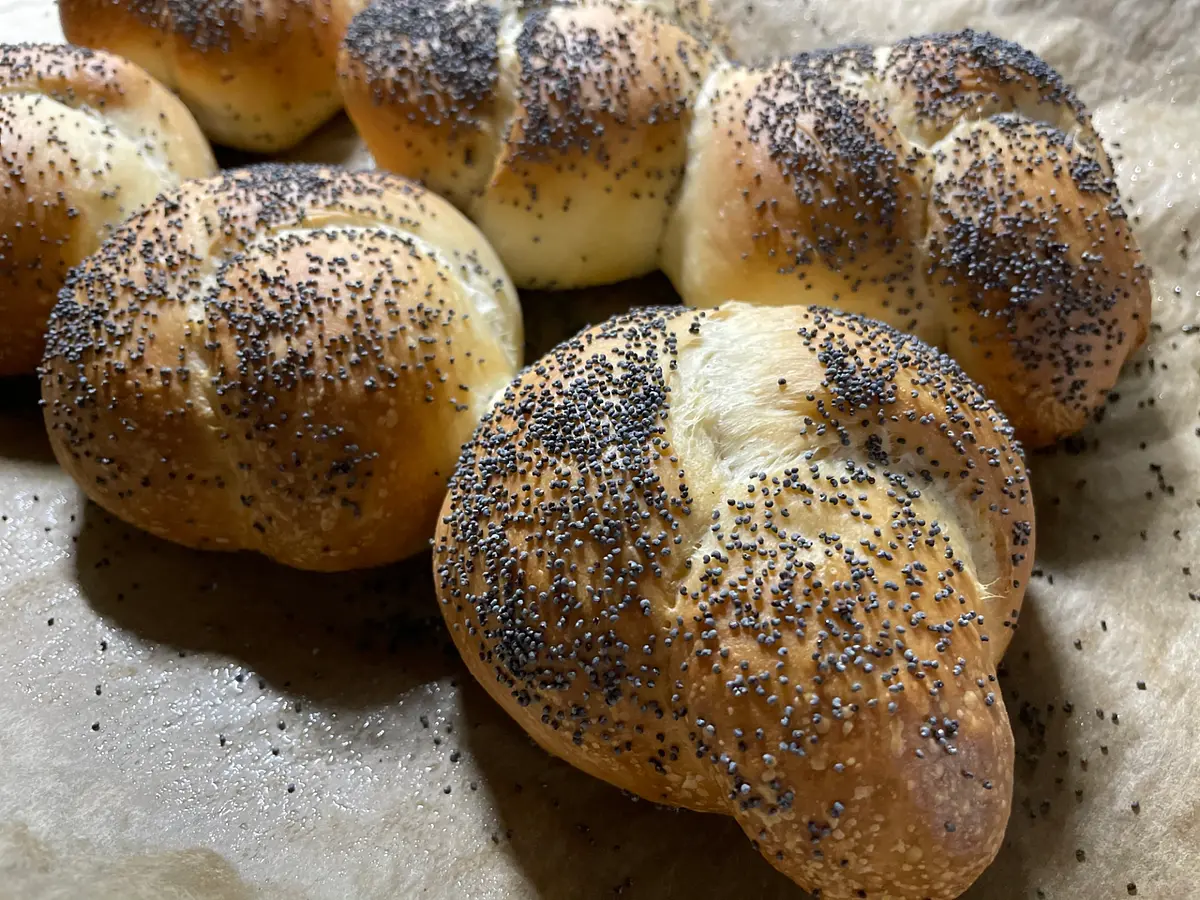
Bake them for 20-25 minutes, until looking golden on the top and hollow sounding if tapped on the bottom. If you know (or think) your oven runs a little hot, make sure you check them at about 20 minutes. Let them cool on the tray, and serve warm with lots of lovely good quality butter!
Notes
2 liked
0 disliked
Delicious
Easy
Fresh
Go-to
Kid-friendly