Chicken Piccata
100%
0
By Hailey Robertson
Chicken Piccata
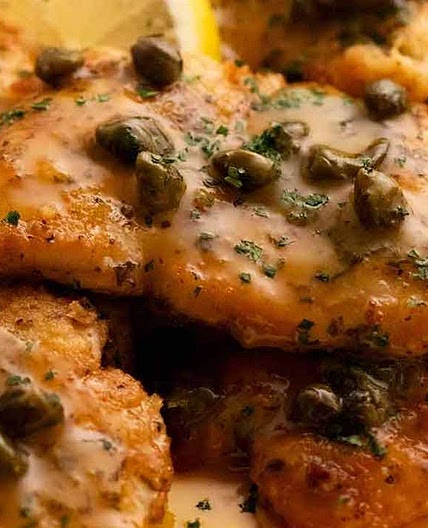
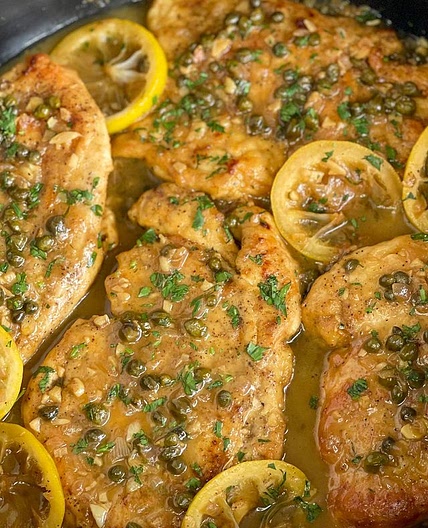
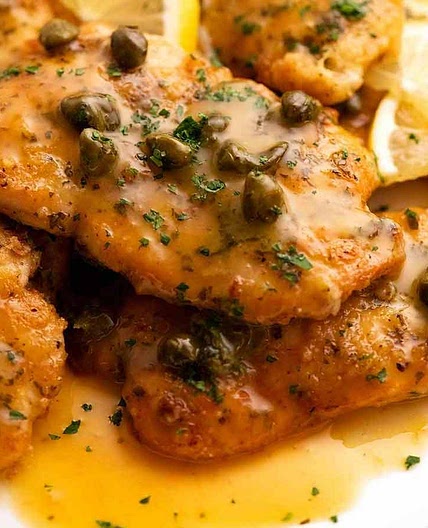
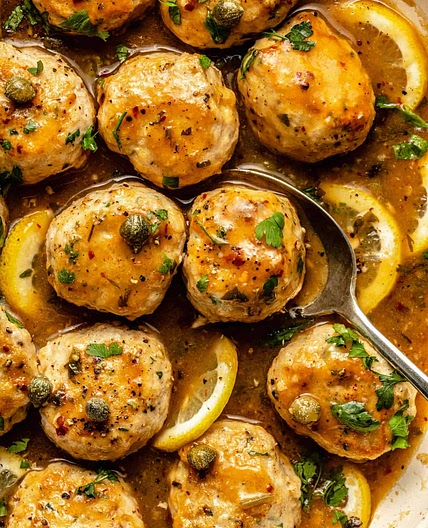
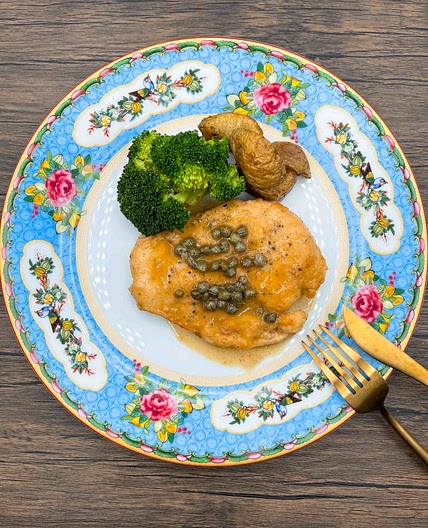
The perfect recipe for a dinner party because it is so easy yet so delicious. Literally translated, “piccata” refers to anything cooked in a sauce of lemon, parsley, and butter. But to me, the star of the show in this dish has always been the capers: both delicate and sturdy, tangy and salty. Simmering them in the buttery, seasoned sauce mellows out the intensity that some people find so off-putting, so I’d love for you to take a leap of faith even if you’re not sure you’d like it.
Updated at: Wed, 16 Aug 2023 19:05:12 GMT
Nutrition balance score
Unbalanced
Glycemic Index
69
Moderate
Glycemic Load
19
Moderate
Nutrition per serving
Calories458.8 kcal (23%)
Total Fat26.6 g (38%)
Carbs27.1 g (10%)
Sugars1.1 g (1%)
Protein27.4 g (55%)
Sodium479.8 mg (24%)
Fiber1.6 g (6%)
% Daily Values based on a 2,000 calorie diet
Ingredients
4 servings
2skinless and boneless chicken breasts
butterflied and then cut in half
sea salt
fresh cracked black pepper
1 cupFlour
for dredging
7 Tbspunsalted butter
divided, 4 tbsp for chicken, 3 tbsp for sauce
Olive oil
¾ cupchicken stock
1lemon
juice half, thinly slice half
¼ cupcapers
non-pariel, rinsed
⅓ cupfresh parsley
chopped
Instructions
Step 1
Trim any excess fat off the chicken, then carefully butterfly the chicken by slicing through horizontally, but not all the way. Open your slice up like a book, and then cut in half at the seam so that you have two thin pieces of meat from the single breast.
Step 2
Pound your chicken and don’t skip this step! If you’re afraid of making a mess, place a single piece in a plastic Ziploc bag with the air removed before pounding. Not only will it make your final result juicier and more tender, but it will also ensure that everything cooks at an even rate. Aim for your chicken to be pounded to about 3/8”, using any heavy object you have to get there (skillet, meat mallet, empty bottle of wine...)
Step 3
Season chicken with sea salt and fresh cracked pepper on each side. Don’t be afraid to use a little more salt than you usually might – this is going to help the chicken retain its moisture and structure.
Step 4
Dredge the chicken pieces in flour and shake off excess. It should just be lightly coated – you’re not trying to bread or batter the chicken; you’re just adding a little texture, so it doesn’t stick to the pan. Alternative flours (almond, chickpea) work
here if you want a gluten-free dish.
Step 5
Preheat oven to 350°F. You can really do this at any point before the sauce is added, but my personal preference is to do it here so that I don’t forget.
Step 6
Melt 2 tbsp of butter in a skillet over medium-high heat and a dash of olive oil if the pan isn’t fully coated in oil. When they start to sizzle, add 2 pieces of chicken and cook for 3 minutes on each side, repeating as many times as needed. The chicken should be golden brown, or whatever your personal preference is (I like it a little crispier!) Note: if you’re cooking for a crowd, still only cook 2 pieces at a time, with 2 tbsp of butter at a time. Anything else will crowd the pot or cause your butter to burn, making your sauce less tasty and chicken less crispy.
Step 7
Remove chicken from heat and transfer to baking dish (stacking if needed).
Step 8
Once chicken is all cooked, remove pan from heat. Pour out any excess oil (if any) from the pan.
Step 9
Pour chicken stock into the skillet to deglaze and scrape up any brown bits from the chicken. Add the lemon juice and capers after.
Step 10
Return pan to medium-low heat and let simmer until reduced by half.
Step 11
Melt the remaining 3 tbsp of butter in the sauce while whisking. Here, I recommend grabbing a clean spoon and checking your sauce. If it’s too salty or tangy for your taste (from the capers and/or lemons), add a little more butter and stock and let reduce for a little while longer. It’s okay to have a little more liquid – this just means you have more sauce at the end to pour on the chicken.
Step 12
Place lemon slices over chicken and pour the sauce on top. Cover baking dish lightly with foil, but don’t seal.
Step 13
Finish the chicken by baking in the oven until internal temperature of the chicken reaches 165°F. For me, this usually takes about 20 minutes or less. Since the chicken is thin and was already browned, it was probably pretty close to done when it came out of the skillet. But don’t worry too much about the chicken drying out – even though the pieces are thin, you have lots of things working to keep your chicken juicy while cooking: the pounding, the salt, the sauce, and the foil.
Step 14
Remove and serve topped with parsley.
Notes
1 liked
0 disliked
There are no notes yet. Be the first to share your experience!
