Nutrition balance score
Unbalanced
Glycemic Index
75
High
Glycemic Load
36
High
Nutrition per serving
Calories227.5 kcal (11%)
Total Fat0.6 g (1%)
Carbs47.7 g (18%)
Sugars0.2 g (0%)
Protein6.5 g (13%)
Sodium485.7 mg (24%)
Fiber1.7 g (6%)
% Daily Values based on a 2,000 calorie diet
Instructions
Step 1
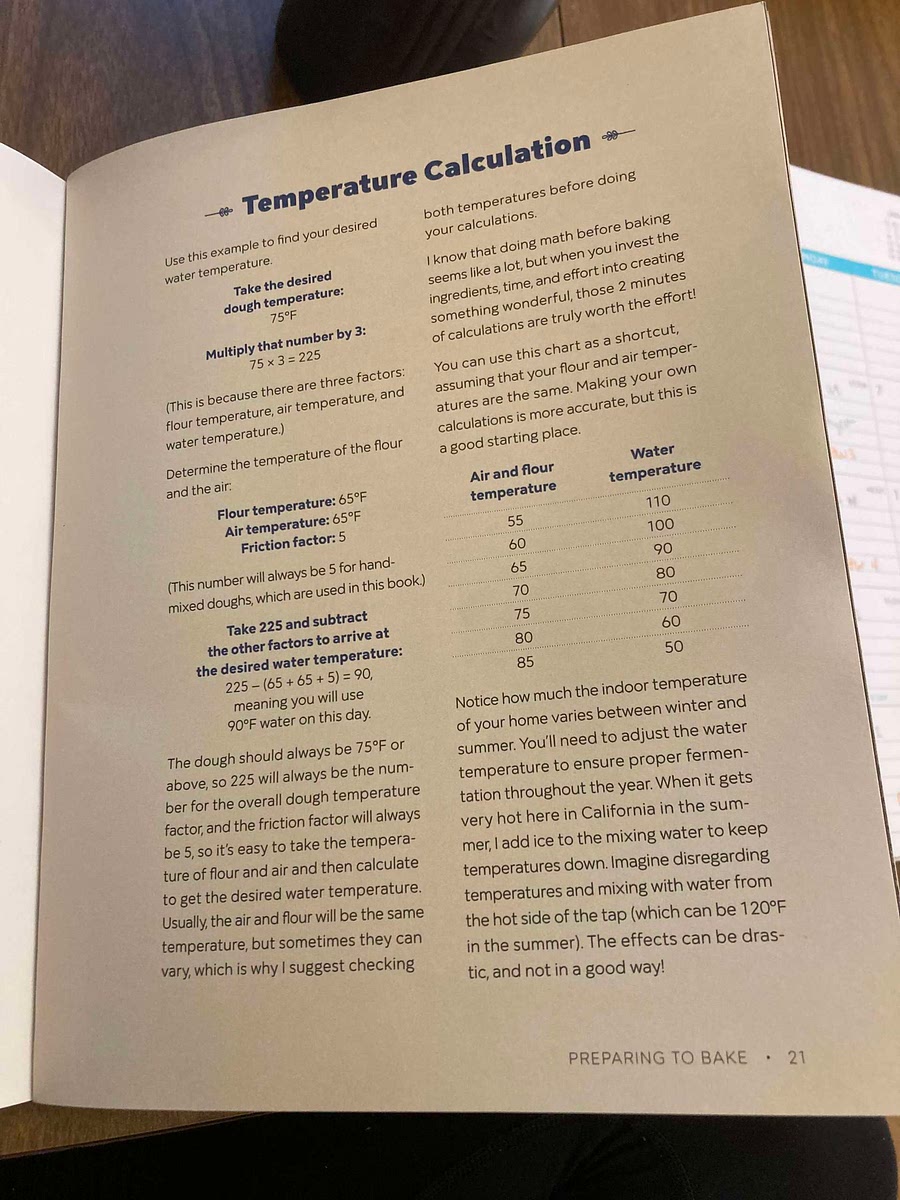
PREPARE: Find the ambient temperature of your kitchen with a thermometer. A great way to do this is to take the temperature of your flour while it is sitting out at room temperature. Take a look at the chart on page 21 to see what temperature water you need for your dough. I find the easiest way to get my water to the correct temperature is to fill a pitcher or jar with hot water and one with cold water from the tap. I pour the cold water into the hot water until I've reached the ideal temperature. The desired dough temperature here is 76°F.
Step 2
SCALE: Weigh all of the ingredients separately before you begin. This helps keep everything accurate. Use smaller bowls for ingredients in smaller amounts, like yeast and salt, to get the most precise reading.
Step 3
COMBINE: In a large bowl, disperse the yeast into the water with a gentle swish of your fingers, like making a bubble bath. Let it sit for a couple of minutes. You should see a light foaming from the yeast, letting you know that it is feeling lively and ready to go to work for you. Next, add the flour on top of the water and yeast. Last, sprinkle the salt on top of the flour. This keeps it from coming into direct contact with the yeast, which can inhibit the rise.
Step 4
MIX: I like to use my hands. If you have an aversion to getting a bit sticky, a nice, sturdy wooden spoon can do the trick on this wetter dough. I think hand mixing is really helpful for feeling that the ingredients are well combined. The ingredients should come together easily and produce a slack, wet dough.
Step 5
REST: Let your dough relax for about 20 minutes so the flour can absorb the water a bit. Make yourself a cup of tea, my friend.
Step 6
FOLD: Stretch and fold the dough, which will give it strength so it can hold its shape in the oven later. Imagine that your dough has four "corners." Pull each corner up and stretch it over the top of the dough to meet the opposite side. Visualizing a clock on the top of your bowl of dough, pull the 12 o'clock corner up and down to 6. Pull the 3 o'clock over to 9, then the 6 o'clock up to 12, and the 9 o'clock over to 3. Work your way around the clock two or three times, until the dough becomes a tight ball and is no longer loose and stretchy. You have just achieved some gluten development! Wasn't that easy?
Step 7
RISE: Place a floured kitchen towel (or plastic wrap if that's what you have) over your bowl, and go enjoy your life for 1 hour 30 minutes. Definitely don't stare at your dough the whole time- your dough will do its own thing until you come back to it.
Step 8
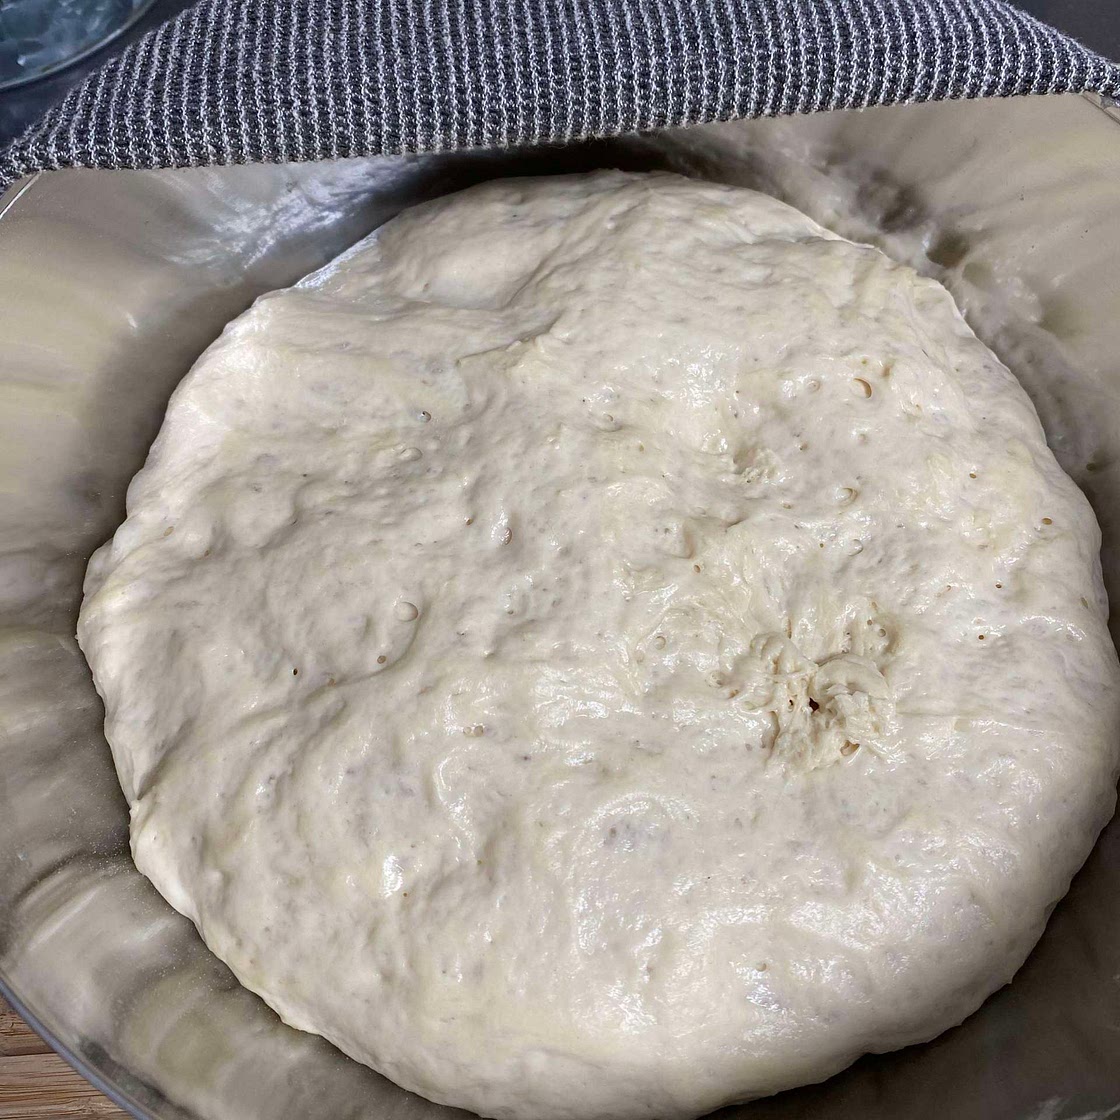
CHECK: At 1 hour 30 minutes, the dough should be noticeably lighter, larger, and filled with air bubbles. To double-check, fill a cup with water, pinch off a little ball of your dough, and drop it into the glass. It should float to the top, indicating that your dough is aerated. Nice! If it doesn't seem particularly buoyant, it might be a cold day at your house. No worries. Let it rise a bit longer and check it again in 30 minutes or so.
Step 9
SHAPE: Gently turn your dough onto a floured countertop. The bottom, which was in contact with the bowl, will be facing up to you. If it is sticking to the bowl, use your hand or a plastic scraper to release it. Shape this dough easily by giving it a gentle letter fold: Fold the far side (12 o'clock) down to the middle, sealing the dough against itself. Now fold the bottom up to meet the seam and seal it. Turn the dough so this seam is vertical, and do that letter fold again, sealing the dough to itself. You should have a nice little rounded square shape. If the dough is nice and tight, you can stop there. If it seems very relaxed, you can give it another set of letter folds to create more tension, sealing the dough to itself.
Step 10
PROOF: Place your dough round into a basket lined with a floured kitchen towel, seam-side down. You are going to let this dough rise for 1 hour to 1 hour 30 minutes, until the dough feels airy, like a marshmallow. When pressed with a finger, it should leave an indent instead ofspringing back up. This is the final rise before it hops into the oven.
Step 11
PREHEAT: While the dough is proof-ing, turn on your oven with an empty Dutch oven inside and let it preheat to 475°F. This may seem early to preheat the oven, but great bread needs a thoroughly hot oven for the best results.
Step 12
CHECK: To test that the dough is well proofed, press a finger gently into the dough. If it seems springy and tight, it needs more time. If it feels airy and light (like a marshmallow), it's ready to bake. Needing more time for proofing is a common theme in baking bread. Don't let it worry you if your dough needs more time to rise! Feeling the dough and adapting to the timing needs every time you bake bread is the way to become a better baker, so let your senses guide you.
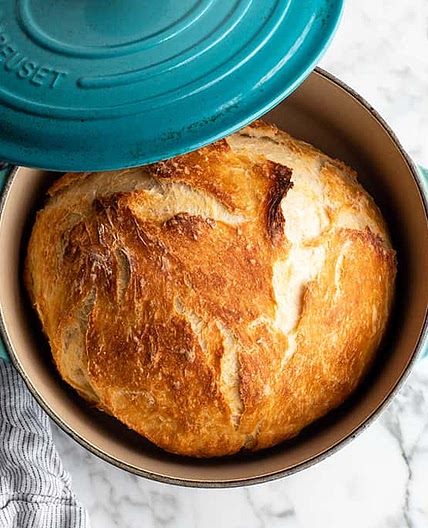
Step 13
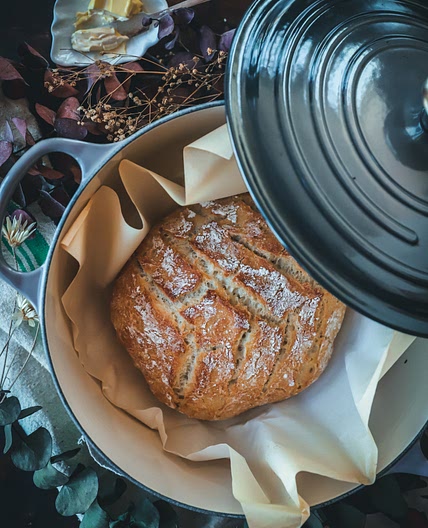
BAKE: Flour your work surface well and tip the loaf out of your basket onto it, seam-side up. Carefully pull your very hot Dutch oven out of the oven and place it on top of the stove with the lid next to it Pick the dough up with your hands and gently drop it into the Dutch oven, seam-side up (it will open at that seam, resulting in a classic rustic loaf), and be careful to avoid burning your hands. Don't worry about scoring this loaf with a knife or razor blade; we will practice that in chapter 4, with kneaded loaves.) Cover the Dutch oven with the lid, slide it into the oven, and bake for 25 minutes.
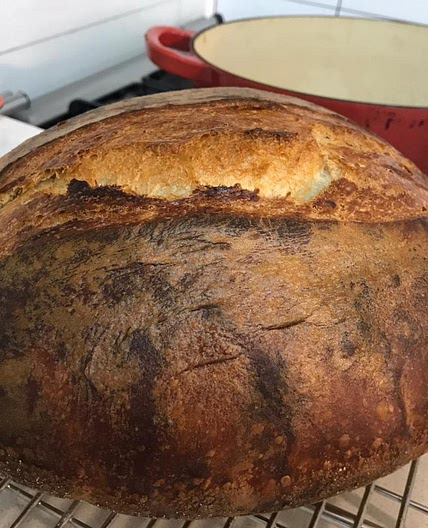
Step 14
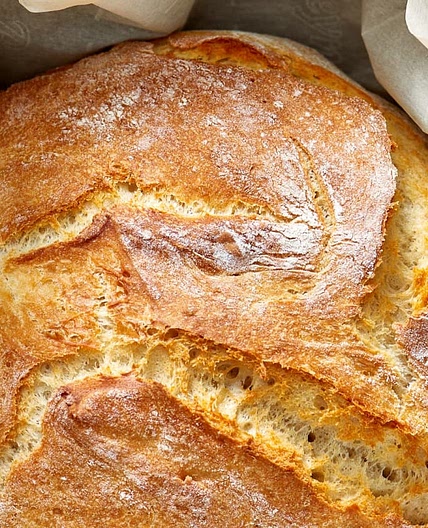
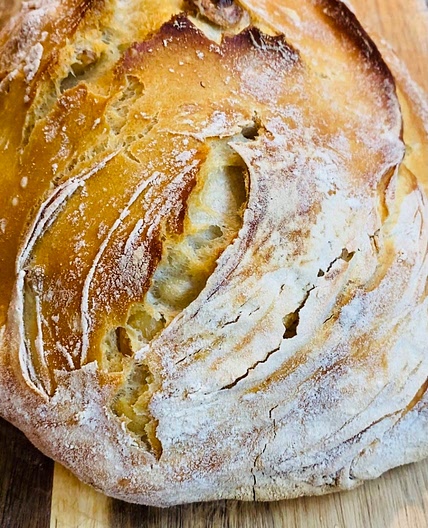
CHECK: At 25 minutes, take the cover off the Dutch oven. You should see a pale blond loaf that has risen to meet you. Continue baking with the cover removed for another 15 to 20 minutes. Your loaf will get some color and develop a nice crust. The finished loaf should be golden brown and will sound hollow when you thump it with your fingers. If the loaf seems to be browning too quickly, turn your oven down to 450°F.
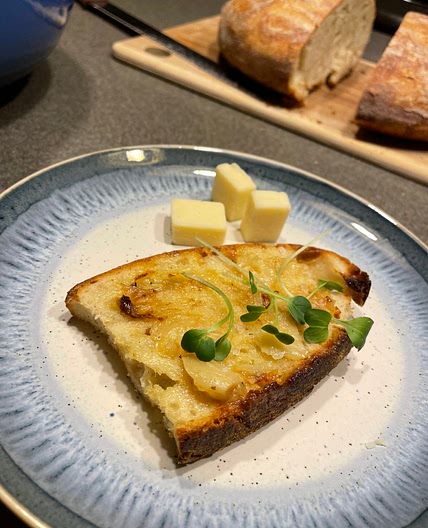
Step 15
COOL: Let your finished loaf cool on a wire rack for 30 minutes to let the interior crumb set, making it easier to slice.
View on Bread Baking for Beginners book by Bonnie O’Hara (from Emily)
↑Support creators by visiting their site 😊
Notes
1 liked
0 disliked
There are no notes yet. Be the first to share your experience!