By Princess Frost
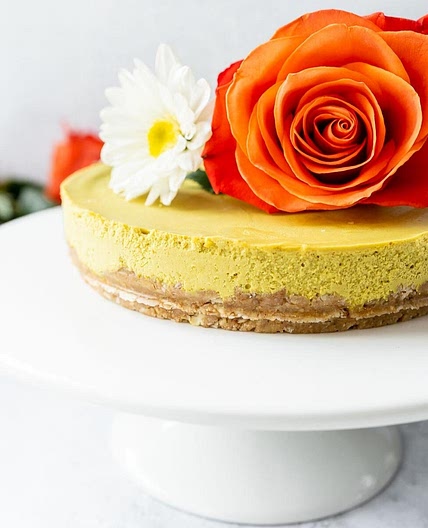
Vegan Zebra Ice Cream Cake
23 steps
Prep:1h
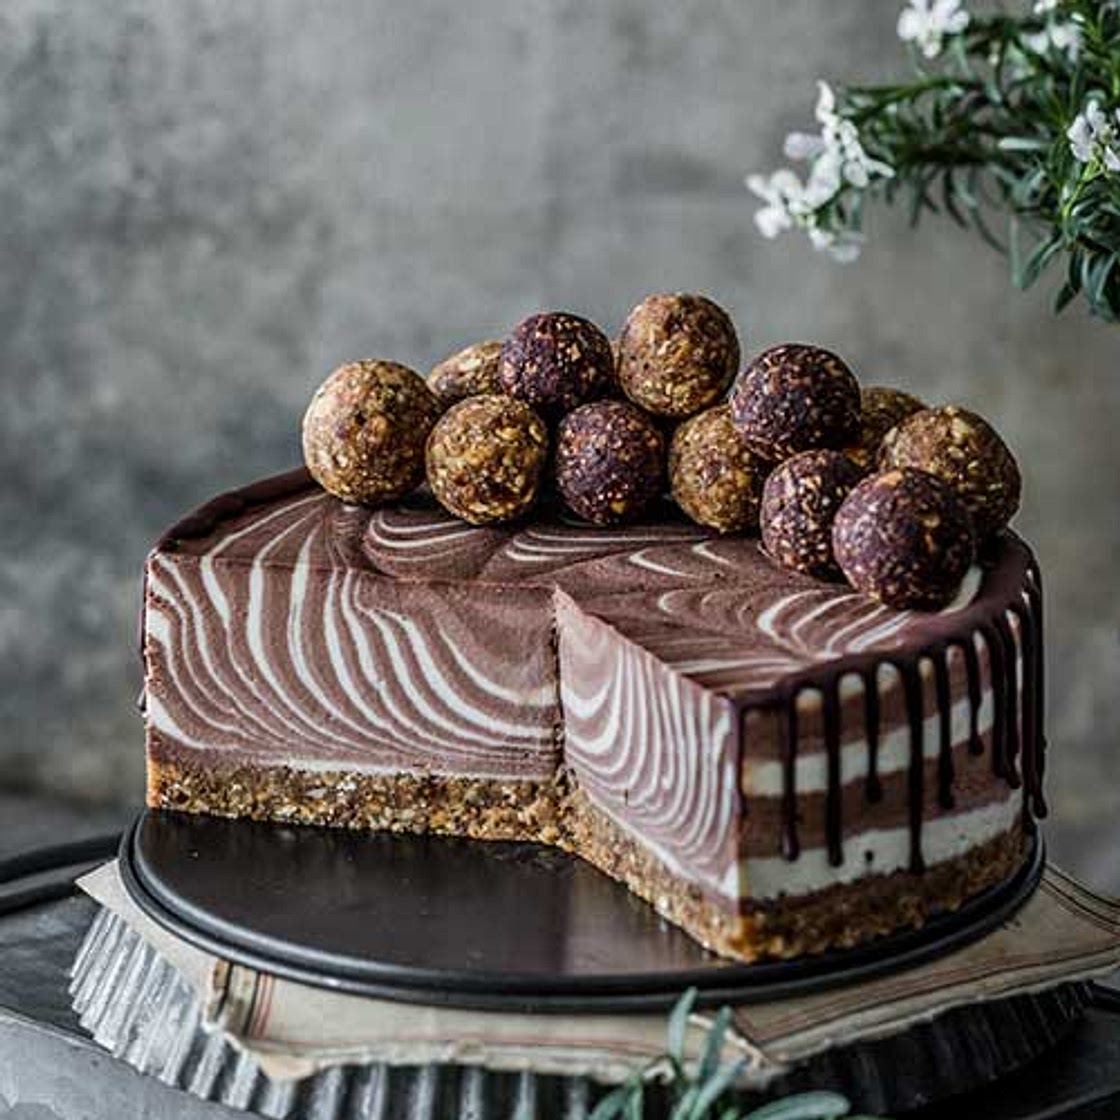
Indulge in a slice of this luxurious vegan zebra ice cream cheesecake. The cake is vegan (dairy-free), gluten-free, and soy-free. No oven required!
Updated at: Thu, 17 Aug 2023 00:13:54 GMT
Nutrition balance score
Unbalanced
Glycemic Index
36
Low
Glycemic Load
19
Moderate
Nutrition per serving
Calories686.3 kcal (34%)
Total Fat50.9 g (73%)
Carbs52.5 g (20%)
Sugars31.5 g (35%)
Protein11.6 g (23%)
Sodium26.1 mg (1%)
Fiber5.8 g (21%)
% Daily Values based on a 2,000 calorie diet
Ingredients
8 servings
50groasted hazelnuts
50groasted cashews
25gcoconut flour
fine
90gdates
previously soaked in water for 1-2 hours
140gcashews
previously soaked in water for minimum of 4 hours
50mlagave syrup
30mlcacao butter
melted
40mlcoconut oil
melted
10mllemon juice
70mlrice milk
vanilla powder
110gcashews
previously soaked in water for a minimum of 4 hours
50mlagave syrup
70mlcoconut oil
melted
10mllemon juice
10graw cacao powder
70mlrice milk
100gcashews
previously soaked in water for a minimum of 4 hours
60mlagave syrup
70mlcoconut oil
melted
10mllemon juice
20graw cacao powder
80mlrice milk
Instructions
Step 1
CRUST:
Line the base of a 16 cm springform cake tin with baking paper.
Step 2
Drain dates really well after soaking them - you can use a fork to remove any excess water.
Step 3
Place roasted hazelnuts and roasted cashews (check How to roast nuts), fine coconut flour, and dates in the food processor and process until the mixture sticks together.
Step 4
Once it’s all combined, press the mixture evenly onto the bottom of the prepared cake tin.
Step 5
Place the crust into the fridge while you make the vanilla layer.
Step 6
VANILLA LAYER:
Drain cashews well and place them into a high-speed blender.
Step 7
Add all the other ingredients: agave syrup, melted cacao butter, melted coconut oil, lemon juice, vanilla powder, and rice milk. Process until smooth and creamy.
Step 8
Transfer the mixture into a bowl and set aside.
Step 9
CHOCOLATE LAYER:
Drain cashews well and place them into a high-speed blender.
Step 10
Add all the ingredients for the chocolate layer: agave syrup, melted coconut oil, lemon juice, rice milk, and raw cacao powder. Process until smooth and creamy.
Step 11
Transfer the mixture into a bowl and set aside.
Step 12
DARK CHOCOLATE LAYER:
Drain cashews well and place them into a high-speed blender.
Step 13
Add all the ingredients for the dark chocolate layer: agave syrup, melted coconut oil, lemon juice, rice milk, and raw cacao powder. Process until smooth and creamy.
Step 14
Transfer the mixture into a bowl and set aside.
Step 15
ASSEMBLY:
To create the zebra effect, start by putting 1 tablespoon of vanilla filling in the center of the crust.
Step 16
Over it, add 1 tablespoon of chocolate filling (right into the center of the previously added vanilla filling).
Step 17
Then, add 1 tablespoon of the dark chocolate layer, right into the center of the previously added chocolate layer.
Step 18
Now you should start seeing alternate rings of vanilla, chocolate, and dark chocolate layers.
Step 19
Keep alternating fillings until you are done. Just keep putting one filling into the center of the previous one and let the gravity do the rest (or you can gently, and I mean really gently, tap the cake tin after each addition to help spread out the cream).
Step 20
Once completed, carefully place the cake in the freezer for at least 5-6 hours or until firm.
Step 21
To serve, remove the cake from the freezer and let sit at room temperature for 20-30 minutes to soften. Slice and serve.
Step 22
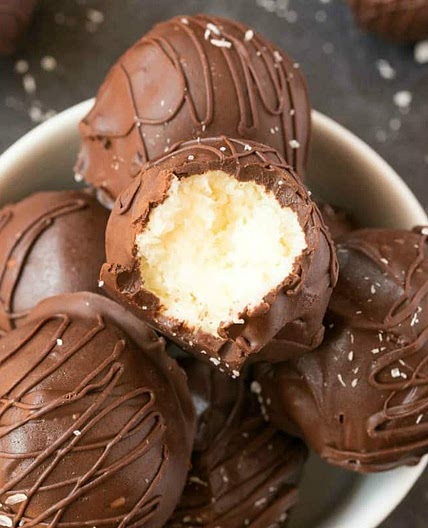
Decorate the cake with hazelnut cashew bliss balls or chocolate hazelnut truffles.
Step 23
STORING:
Keep the leftovers in the fridge or the freezer. The cake can last up to 1 month in the freezer.
View on rainbowinmykitchen.com
↑Support creators by visiting their site 😊
Notes
0 liked
0 disliked
There are no notes yet. Be the first to share your experience!