Nutrition balance score
Good
Glycemic Index
73
High
Glycemic Load
20
High
Nutrition per serving
Calories151.7 kcal (8%)
Total Fat2.7 g (4%)
Carbs26.8 g (10%)
Sugars1.8 g (2%)
Protein4.7 g (9%)
Sodium187 mg (9%)
Fiber0.9 g (3%)
% Daily Values based on a 2,000 calorie diet
Ingredients
16 servings
Proofing Yeast Mixture
7gactive dry yeast
1 ½ cupswater
lukewarm, + extra 1-2 tbsps to bring to consistency
1 ½ Tbsphoney
or sugar or maple syrup
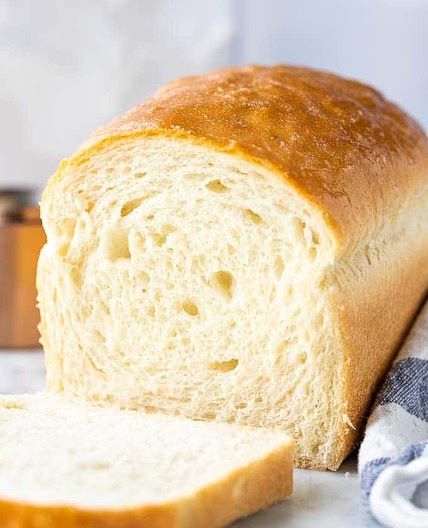
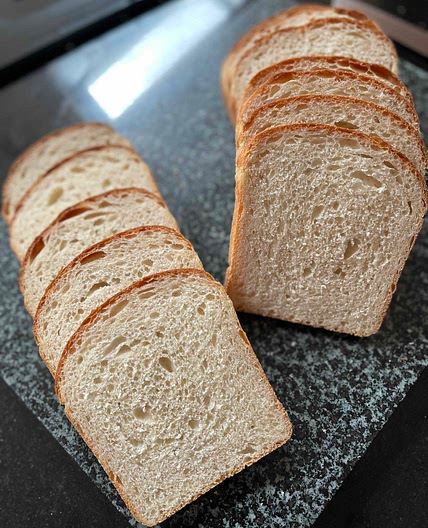
Loaf
Egg Wash
Instructions
Yeast Mixture
Step 1
Place the water in small bowl.
Step 2
Stir in the honey to dissolve and sprinkle the yeast over the water. Gently stir to mix.
Step 3
Sit the mixture in a warm place for at least 10 minutes until it's activated and becomes frothy. If you don't get any frothy bubbles then the yeast is too old.
Step 4
Once the yeast is activated, you can begin making the dough.
Loaf
Step 5
In a large bowl, mix together all of the dry ingredients and make a well.
Step 6
Into the well, add your olive oil and your yeast mixture. Mix to form a rough dough.
Step 7
If using a mixer with a dough hook attached, knead the dough on low speed for 2-5 minutes until the dough comes together into a ball. Otherwise, bring the dough together into a ball with your hands and turn out onto a lightly floured surface.
Step 8
If using a mixer, you can knead the dough fully by increasing the speed by 1 speed level and kneading the dough for a further 12-15 minutes. Otherwise, knead the dough using your hands for a similar length of time. You are looking for a dough that is smooth and elastic - it should feel soft and slightly tacky without being sticky. While kneading, you can add more flour or more water to the dough if it feels too wet or too dry.
Step 9
Once kneaded, remove the dough from the bowl if using a mixer and fold the dough over a few times by hand to form a smooth ball.
Step 10
Lightly oil a large bowl, and using your hands very lightly oil the dough itself - this prevents the surface of the dough drying out while it is proofing.
Step 11
Place the dough in the oiled bowl, cover with a clean damp tea towel, and put the bowl somewhere warm. Leave the dough to proof for between half an hour and an hour (until it has doubled in size).
Step 12
While the dough is proofing, prepare a loaf tin by lightly greasing it with olive oil.
Step 13
When the dough has finished proofing (it has doubled in size), turn it out onto a lightly floured surface. Gently press the dough out into an evenly thick rentangle. While doing this, try to press out any air bubbles that have formed whike the dough has been proofing. The short side of this rectangle should be about 8 inches (i.e. slightly shorter than the length of your loaf tin).
Step 14
Next, tightly roll up the dough from the short side along the length of the rectangle. Make sure to pinch/press the dough in from the sides as you go.
Step 15
Once the dough is rolled up, pinch the seams to seal it - the side with the seams will be the bottom of the loaf. Tuck in the sides of the loaf and pinch these seams together as well. Make sure all of the seams are on the same side (i.e. the bottom) - the top should be smooth and seam-free.
Step 16
Transfer the prepared dough into the greased loaf tin, seam side down, and lightly press the dough into the tin so that it fills the tin evenly. Loosely cover the loaf tin with a clean tea towel and leave it again to proof in a warm place for 45 minutes - 1 hour.
Step 17
The dough will be ready when it has risen at least 1 inch above the rim of the loaf tin. When you press the dough with your finger, the indentation should remain and not bounce back.
Step 18
Preheat your oven to 180C, during the last 30 minutes of the second proofing time. It's important that the oven is at temperature before baking the loaf.
Step 19
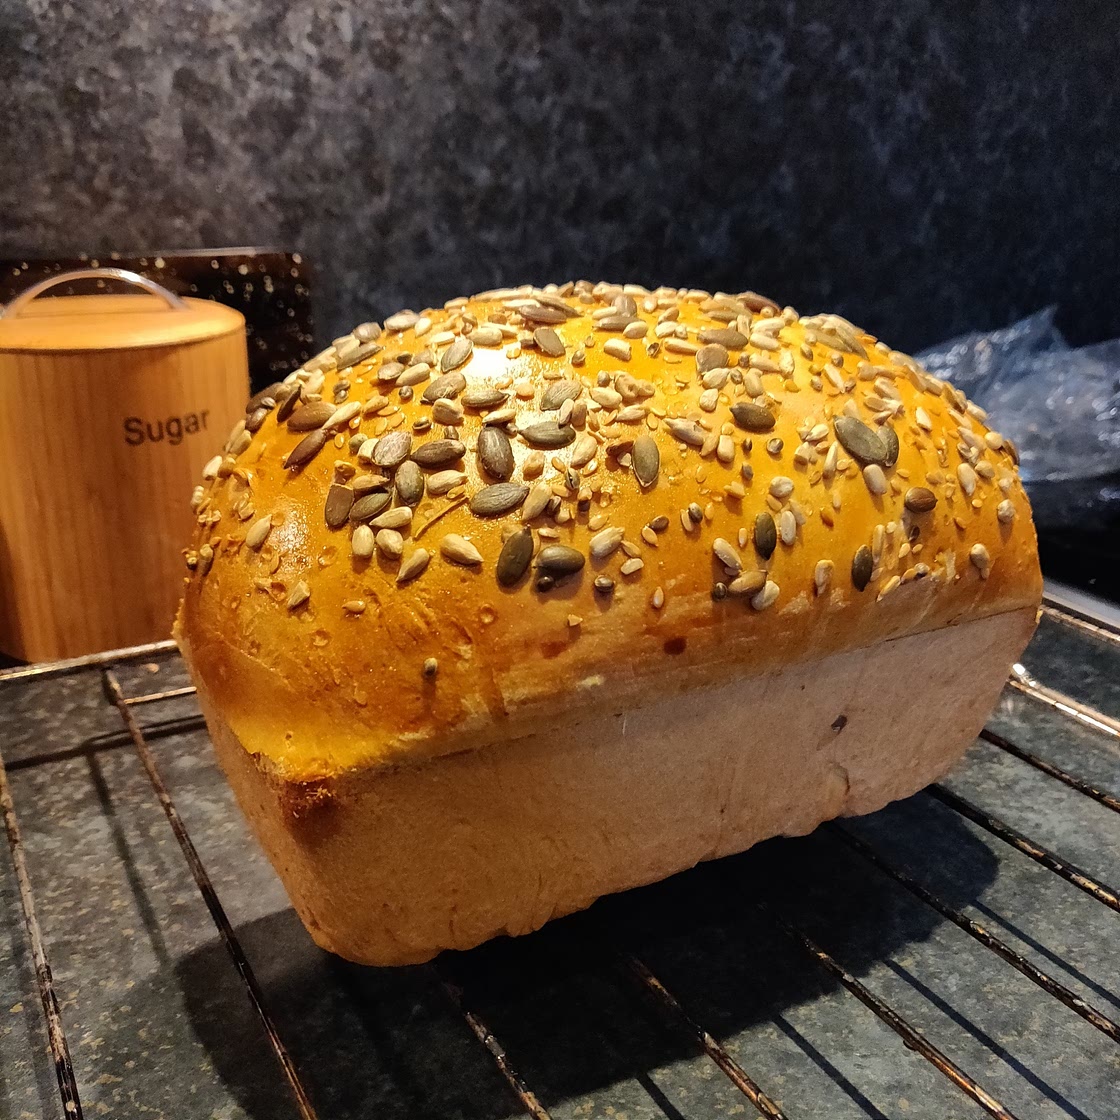
When the loaf has finished proving, use a pastry brush to apply egg wash (beaten egg mixed with milk) to what will be the crust of the loaf. This is optional, but it will result in a softer, shinier crust.
Step 20
Place the loaf tin in the middle of your oven and bake for at least 35 minutes (no longer than 45 minutes). You will it's done when it's nicely browned on the outside and sounds hollow when tapped on the bottom.
Step 21
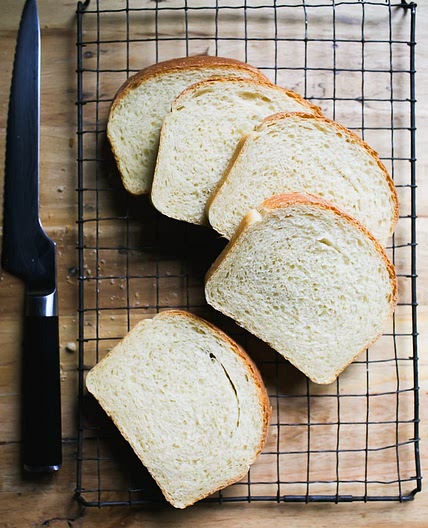
When baked, remove the bread from the oven and leave to cool. After the loaf has cooled for 10 minutes, remove from the tin and transfer to a wire rack to cool completely.
Notes
1 liked
0 disliked
There are no notes yet. Be the first to share your experience!