Nutrition balance score
Unbalanced
Glycemic Index
67
Moderate
Nutrition per recipe
Calories3695 kcal (185%)
Total Fat154.3 g (220%)
Carbs546.1 g (210%)
Sugars262.9 g (292%)
Protein38.6 g (77%)
Sodium1588 mg (79%)
Fiber77.4 g (276%)
% Daily Values based on a 2,000 calorie diet
Ingredients
0 servings
Instructions
Step 1
In a small pan, brown your butter. Browning butter takes a bit of a leap of faith, but it will give your cookies an extra layer of depth. Keep the button on a medium heat until it foams up and has gone a beautiful caramel colour. It’ll smell all nutty and rich when it’s ready. Decant the brown butter into a bowl and, make sure you get all of those specks at the bottom of the pan – they’re not burnt bits, they’re caramelised milk solids and they’re delicious! Set aside to cool.
Step 2
Meanwhile, pop the Crunchie bars into a sandwich bag and bash them up into chunks, but not so much that they’re entirely smashed to smithereens.
Step 3
Mix the dry ingredients together in a large bowl.
Step 4
Beat the cooled butter and sugar together, then add the egg and vanilla.
Step 5
Now pour the liquid into the dry ingredients and mix everything together with the Crunchie bits and chocolate chips. You want quite a pliable dough, so if it's not quite coming together add a tiny splash of milk without making it too wet (if it goes the other way, just add a touch more flour).
Step 6
Cover the dough and leave in the fridge overnight. Listen, you could absolutely get away with chilling the dough for three hours or so, but the flavours really come together overnight and we can assure you that breakfast cookies are a great way to start your weekend.
Step 7
When you’re ready to start baking, preheat the oven to 160°C/gas mark 4.
Step 8
Grease and line a couple of baking trays so you can get a little production line going.
Step 9
Roll the dough into small balls the size of a golf ball and sprinkle each with a little salt. It’s easy to forget this step midway through the balling/baking process, but it makes such a difference to your cookies!
Step 10
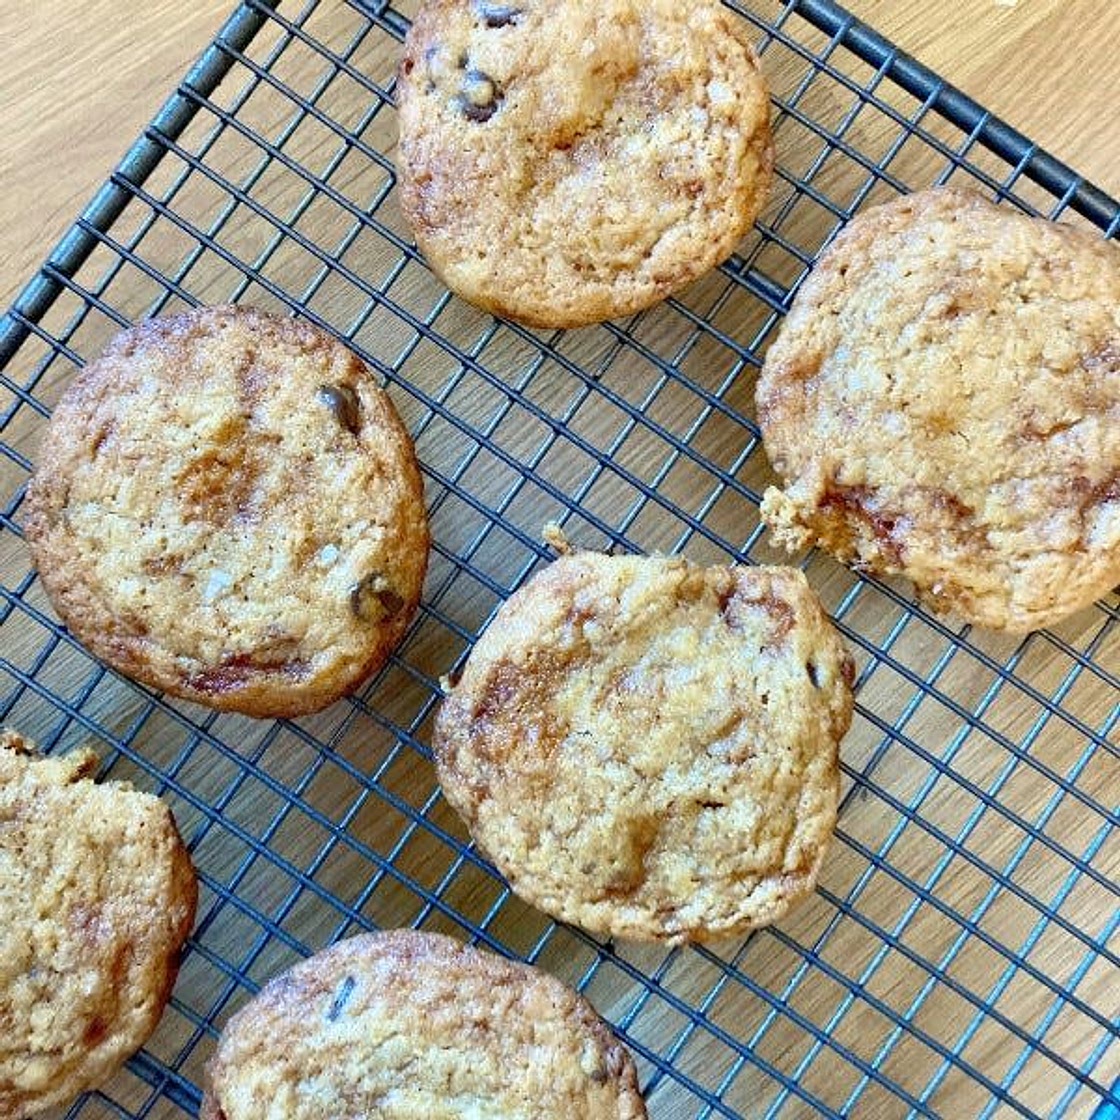
Bake for 10-12 minutes, until the honeycomb bits are beginning to bubble and burnish. Use a palette knife to transfer each cookie to a cooling rack. They’ll crisp up as they cool, unless you eat them warm and burn your mouth on melted honeycomb.
Notes
0 liked
0 disliked
There are no notes yet. Be the first to share your experience!
