By Solful Kitchen
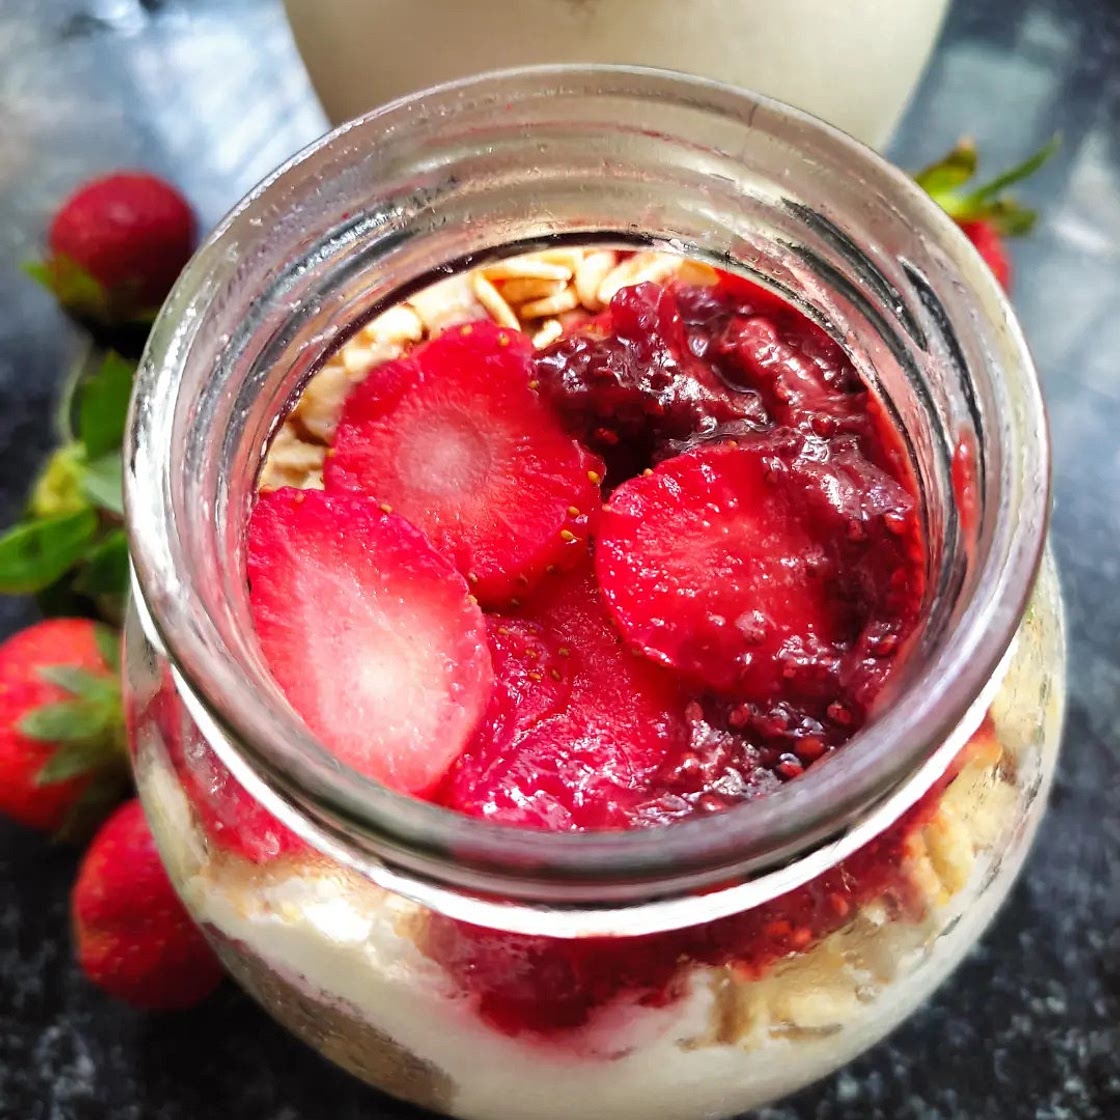
Greek Coconut Yoghurt
9 steps
Prep:45min
makes approx 750g
PRICE 2025 350G / 400 RS X 2
Updated at: Wed, 03 Dec 2025 07:41:11 GMT
Nutrition balance score
Unbalanced
Glycemic Index
46
Low
Glycemic Load
20
High
Nutrition per serving
Calories1403.5 kcal (70%)
Total Fat141 g (201%)
Carbs43.7 g (17%)
Sugars21.9 g (24%)
Protein13.6 g (27%)
Sodium381.3 mg (19%)
Fiber18.2 g (65%)
% Daily Values based on a 2,000 calorie diet
Ingredients
2 servings
Coconut Milk
Coconut Yoghurt
Instructions
How to Make Coconut Milk:
Step 1
Pour the 4 cups of boiling water over the shredded coconut and allow it to soak for 15-30 minutes.
Step 2
Add the mixture to your blender and blend until smooth. Make sure the mixture it isn’t hot when you blend it or allow the lid to vent or you will have a hot coconut explosion all over your kitchen. You may want to blend in batches.
Step 3
Strain the coconut meat from the milk using a nut milk bag, strainer, or cheesecloth (let it sit first to drain while still hot) The nut milk bag produces the best results. If using a strainer or cheesecloth, you may need to do a few separate passes. Add a little water to the nut bag until coconut milk is clear when squeezing. Discard the pulp.
How to Make Coconut Yoghurt:
Step 4
Heat the coconut milk until almost boiling, whisking until to barely a boil. Then dissolve the agar & tapioca with some of the warm coconut milk in another bowl. Once fully dissolved, add the thickener to the warm coconut milk. Stir well to combine for a few mins until lightly thickened. (see notes) Make sure to bring to a light boil to dissolve agar properly, and it should have thickened slightly
Step 5
Remove from heat. Add sweetener and salt. Allow the milk to cool to 115º F/46°C. While the coconut milk is cooling, if using, Once the coconut milk reaches 115ºF/46°C add the yogurt starter (or probiotic powder, 4 probiotic capsules 50cc for super tangy and 1-2 for normal style yoghurt) PREFERRED
stir to combine. Pour the yoghurt into a large clay pot or stainless steel container with a sealed lid
Step 6
Allow the coconut milk yogurt to culture for at least 8-12 hours, but likely much longer for a tangier taste (2 days). If the agar agar has made yoghurt-like jelly, either whisk or put into a blender and pulse a few times before adding to containers
Step 7
It will still be relatively thin at this point. Once ready, pour into plastic containers cover tightly and place in the fridge for at least 6 hours. This halts the fermentation, it will thicken as it cools, whether or not you added a thickener, obviously more so, however, if you added a thickener of some kind.
NOTES
Step 8
Storage: Add to separate food-grade 5 plastic containers for refrigeration.
BEST BATCH
Step 9
Total 24 hrs fermenting average temp around 33 degrees in NOV. Not overly tangy
Notes
1 liked
0 disliked
There are no notes yet. Be the first to share your experience!