By Zubda Malik
Ghee
13 steps
Cook:55min
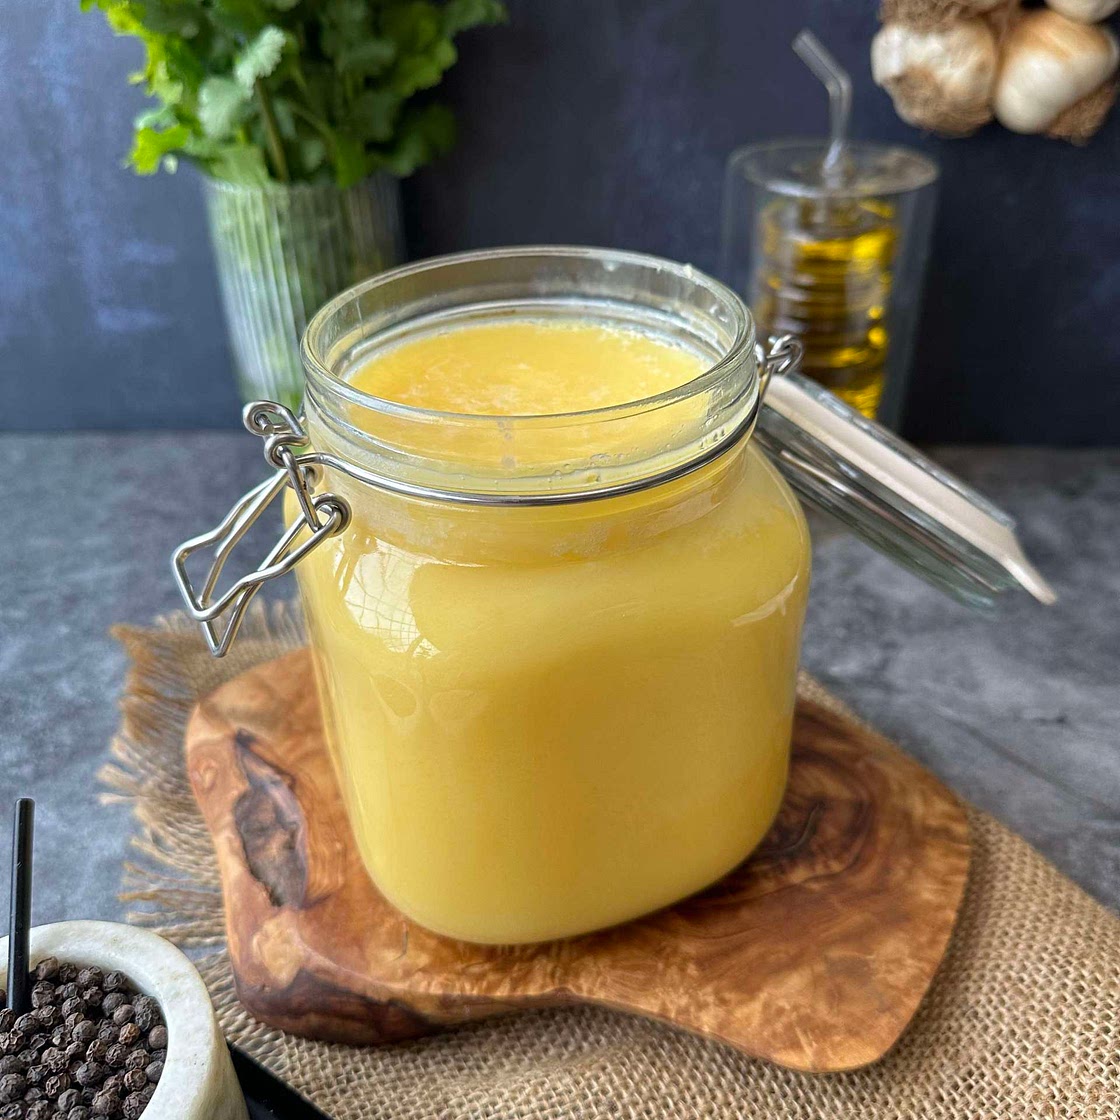
Ghee is a type of clarified butter that originated in ancient India. It is made by simmering butter to separate the milk solids and water from the pure butterfat. Ghee has a rich and nutty flavor and is commonly used in Indian and Middle Eastern cuisine. It is known for its high smoke point, making it ideal for cooking and frying.
Updated at: Wed, 28 Feb 2024 15:22:52 GMT
Nutrition balance score
Unbalanced
Nutrition per serving
Calories286.7 kcal (14%)
Total Fat32.4 g (46%)
Carbs0 g (0%)
Sugars0 g (0%)
Protein0.3 g (1%)
Sodium4.4 mg (0%)
Fiber0 (0%)
% Daily Values based on a 2,000 calorie diet
Instructions
Step 1
Place the unsalted butter in a heavy-bottomed pan. Make sure to use good quality butter for the best results.
Step 2
Heat the butter over low to medium heat until it melts completely. Stir occasionally to ensure even melting.
Step 3
Once the butter has melted, reduce the heat to low and let it simmer gently. This slow cooking process helps in separating the milk solids from the butterfat.
Step 4
As the butter simmers, it will start to separate into three layers: foam on top, clear golden liquid in the middle, and milk solids at the bottom.
Step 5
If you are making ghee for the first time, you may notice foam forming on the top of the melted butter. Skim off this foam with a spoon and discard it. This step helps in clarifying the ghee, otherwise it will make more time to sit at the bottom and ghee will be more darker in colour in the end.
Step 6
As the butter simmers, you will notice the clear butterfat separating from the milk solids. The milk solids will start to turn golden brown, and the liquid will become a clear golden color.
Step 7
The bubbles appearing on the surface of the butter will also become larger, indicating that the ghee is nearing completion.
Step 8
- If you prefer a grainy texture in your ghee, you can splash a little water into the pan slowly. This will create a sizzling sound and help achieve the desired texture.
Step 9
Once the ghee is ready, turn off the heat and remove the pan from the stove.
Step 10
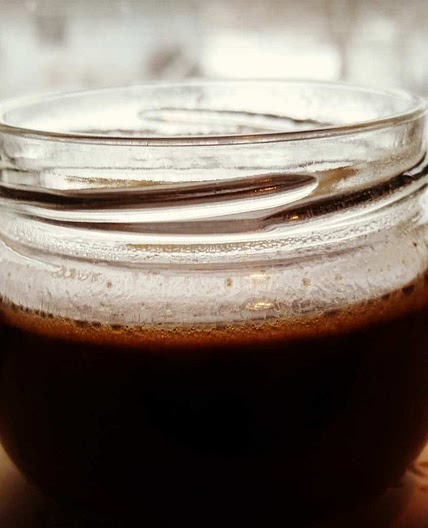
Quickly strain the ghee through a fine-mesh sieve or cheesecloth into a clean jar and it will stop the cooking process. This step helps remove any remaining milk solids and impurities from the ghee.
Step 11
Allow the strained ghee to cool at room temperature. Over time, the ghee will slowly solidify and become hard.
Step 12
In warmer weather, the ghee may remain slightly liquid, while in colder months, it will solidify into a hard consistency.
Step 13
Store the homemade ghee in a clean, airtight jar at room temperature. Properly made ghee has a long shelf life and does not require refrigeration.
Notes
0 liked
0 disliked
There are no notes yet. Be the first to share your experience!
