1/2
2/2
100%
4
By Dr. Darcy
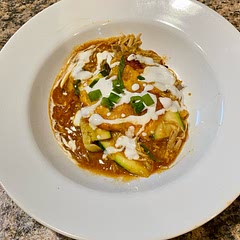
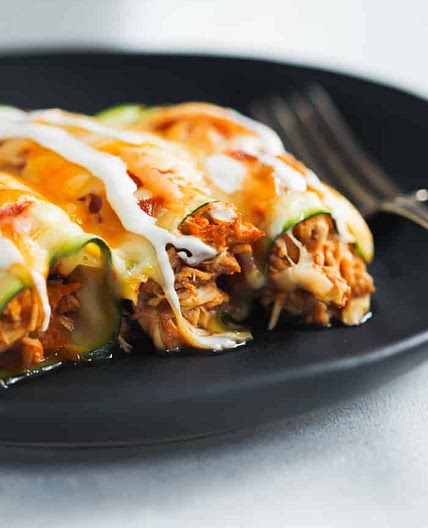
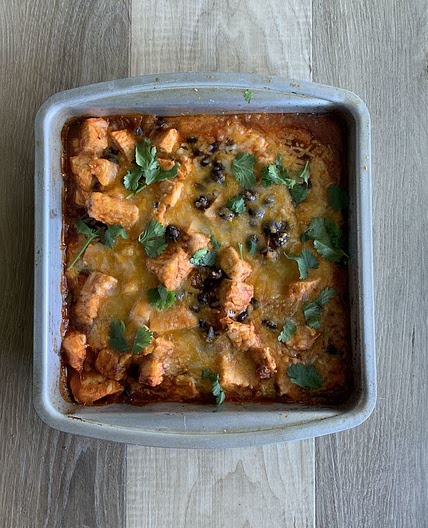
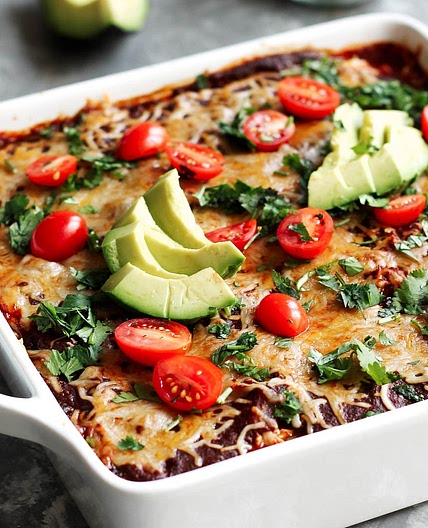
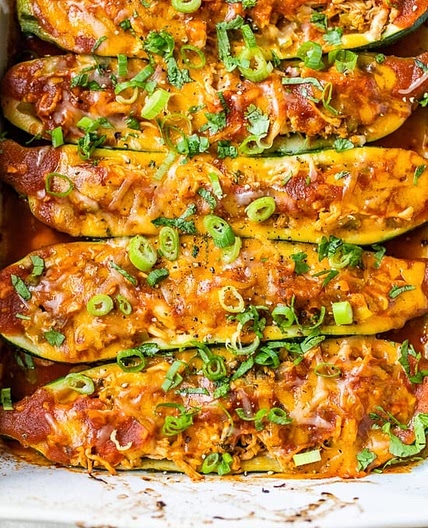
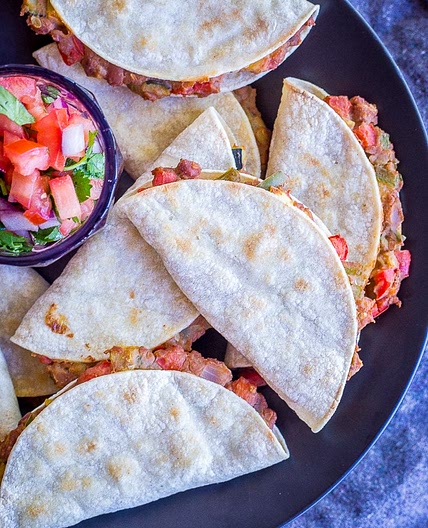
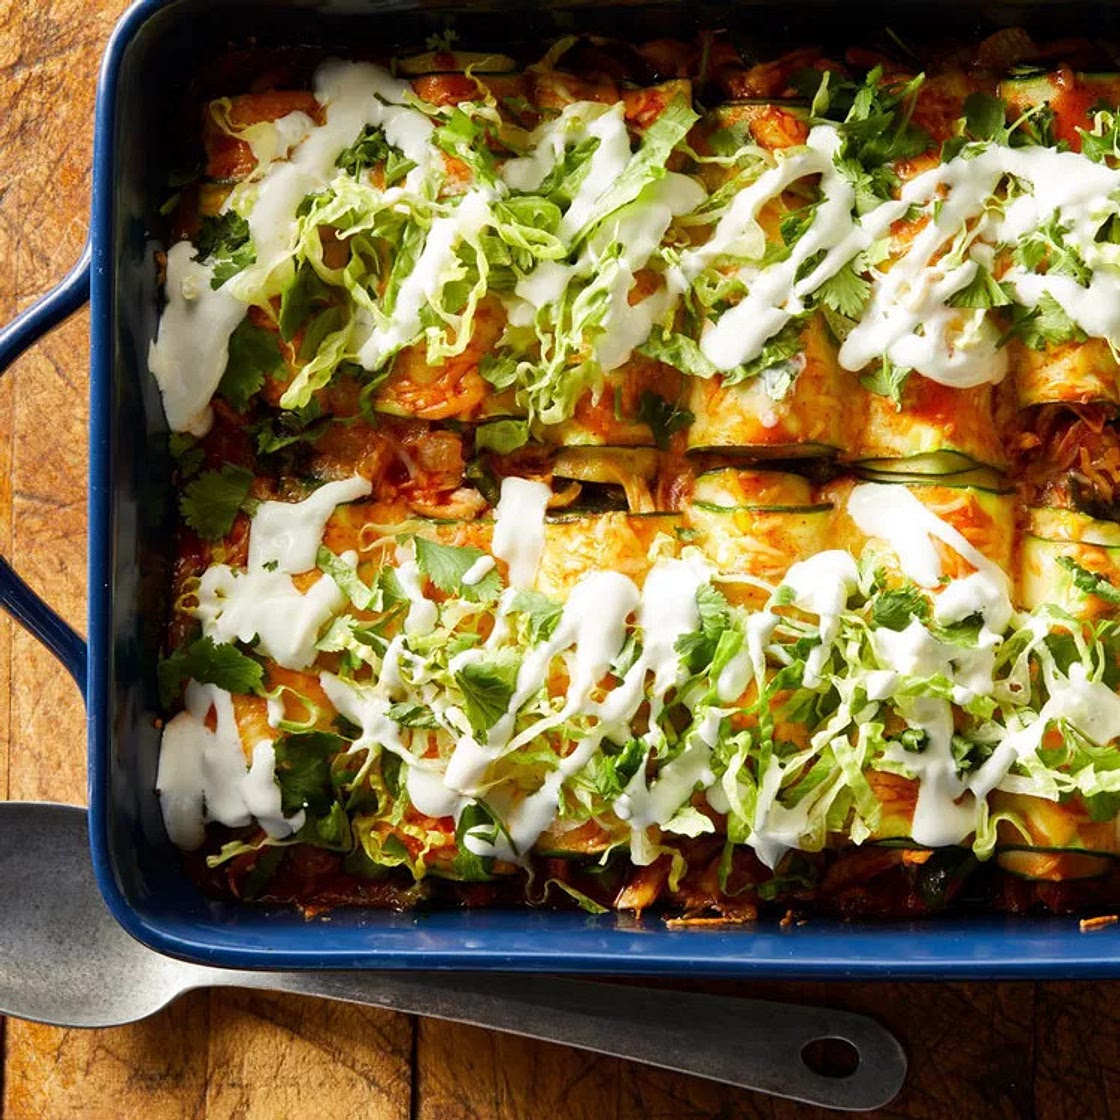
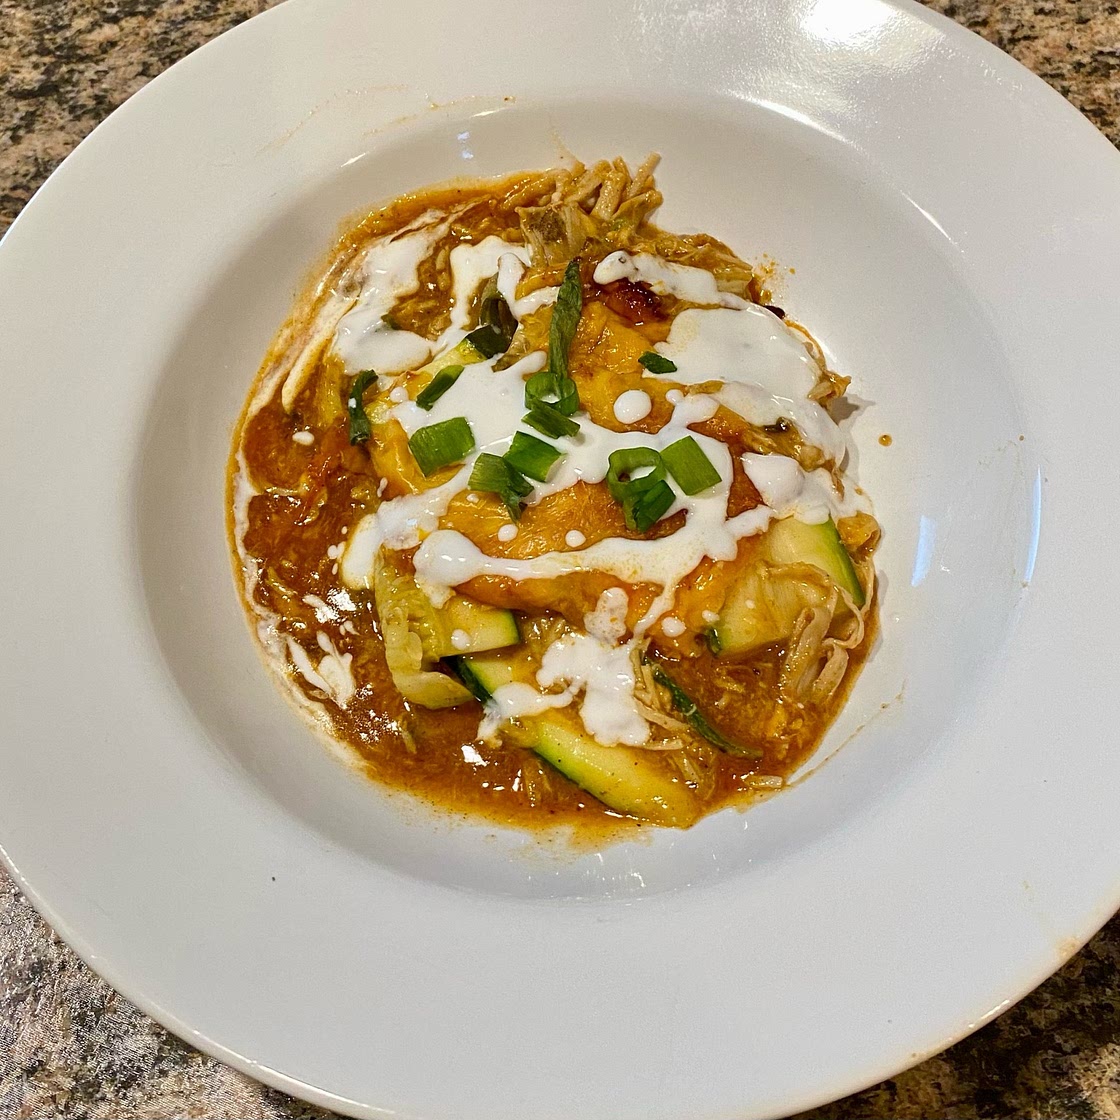
Zucchini Chicken Enchiladas(After 3rd week)
Protein, Vegetable, Lunch, Dinner
Updated at: Mon, 22 Apr 2024 20:14:06 GMT
Nutrition balance score
Great
Glycemic Index
19
Low
Glycemic Load
3
Low
Nutrition per serving
Calories267.7 kcal (13%)
Total Fat8 g (11%)
Carbs15.6 g (6%)
Sugars6.4 g (7%)
Protein34.6 g (69%)
Sodium1261.4 mg (63%)
Fiber2.6 g (9%)
% Daily Values based on a 2,000 calorie diet
Ingredients
4 servings
1onion
medium, chopped
1poblano pepper
seeded and chopped
¼ teaspoonsalt
12 ounceschicken breast
cooked, shredded
1 cupshredded fat free cheese
divided
1 x 15 ouncecan enchilada sauce
divided
1 poundzucchini
medium, trimmed
⅓ cupfat free sour cream
3 tablespoonsunsweetened almond milk
1 cupromaine lettuce
shredded
½ cupfresh cilantro
chopped
Instructions
Step 1
Preheat oven to 425 degrees F. Spray Pam cooking spray in large skillet over medium-high heat. Add onion, poblano and salt. Cook, stirring frequently, until the vegetables have softened and are beginning to brown, about 6 minutes. Reduce heat to medium if vegetables start to burn. Transfer to a large bowl. Add chicken, 1/2 cup cheese and 1/2 cup enchilada sauce. Stir to combine; set aside.
Step 2
Using a vegetable peeler or mandolin slicer, slice zucchini lengthwise into thin strips (see Tip). Discard any uneven and broken pieces. You should end up with 48 slices.
Step 3
Spread 1/4 cup enchilada sauce on the bottom of a 9-by-13-inch baking dish. Lay three strips of zucchini on a clean work surface, overlapping the edges by 1/4 inch or so. Place 2 generous tablespoons of the chicken filling across the middle of the zucchini strips. Gently roll the zucchini strips around the filling and place seam-side down in the prepared dish. Repeat with the remaining zucchini strips and filling. (You should have 16 enchiladas.) Top the zucchini rolls with the remaining 3/4 cup enchilada sauce and 1/2 cup cheese.
Step 4
Bake until the sauce is bubbling and the cheese is melted, 20 to 25 minutes.
Step 5
Meanwhile, whisk sour cream and milk together in a small bowl. When the enchiladas have finished baking, top with lettuce and cilantro. Drizzle the sour cream mixture over the top.
Step 6
To make ahead: Assemble enchiladas through Step 3. Refrigerate for up to 1 day.
Step 7
Tip: The strips should be able to roll around the filling without breaking. Test a few strips to make sure you have the right thickness. If they break, slice them thinner.
Notes
6 liked
0 disliked
Go-to
Delicious
Easy
Makes leftovers
Moist