1/2

2/2
100%
1
By Lauren Gustafson
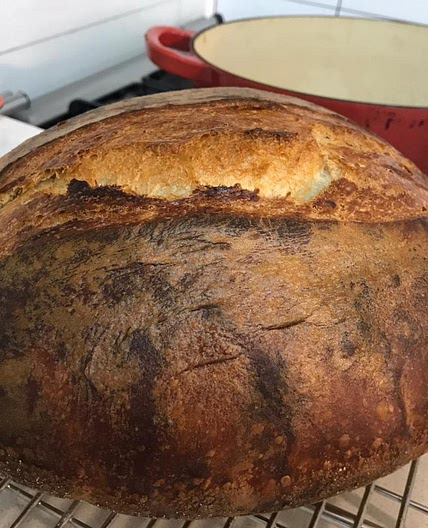
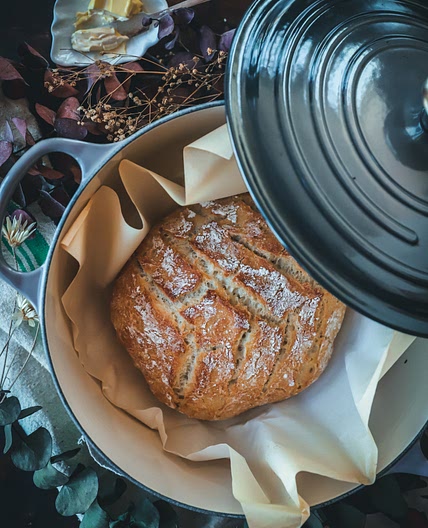
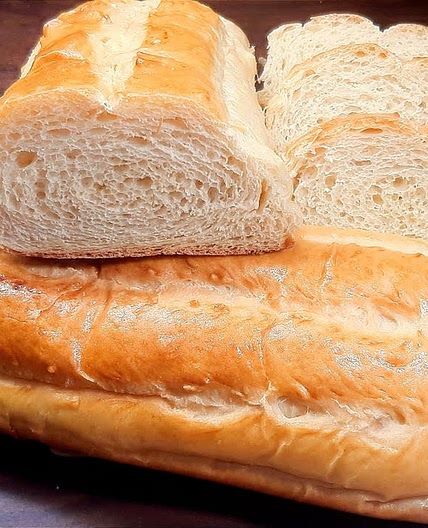
Sourdough Bread
12 steps
Prep:8hCook:45min
Sourdough Bread recipe from scratch!
Updated at: Wed, 30 Apr 2025 01:35:56 GMT
Nutrition balance score
Uh-oh! We're unable to calculate nutrition for this recipe because some ingredients aren't recognized.
Ingredients
2 servings
Instructions
Step 1

The starter needs to be in its “active and growing” phase. So first thing in the morning, dump and feed. Come back when there’s about 1 hour left of growing and before it’s “peak” phase. (When I first attempted, I generously fed the night before and used it immediately in the morning.)
Step 2

This step should be done when starter has about 1 more hour until it’s “peak”. Mix 1000g of flour (approx 8 cups) with 750g of warm water (approx 3 cups, mine needed a little more with the amount of flour). Dough should be fully mixed in and “shaggy” in appearance. Let sit for 1 hour.
Step 3

Dough should be “stretchy” and able to be pulled. Mix in 220g of active starter at its peak (approx 1 cup). Add 20g salt (approx 1 TBSP) and a splash of warm filtered water. Mix together with the “claw method” of pinching to mix. Sit covered for 10 minutes. Stretch & folds for 10 minutes. Cover and set timer for 1 hour.
Step 4

Each hour, perform 4 stretch & folds then cover for another hour. Do this until there are bubbles present, dough is “jiggly”, and it’s approximately doubled in size. (This step can take 2-6 hours depending on how the dough is developing and reacting to the environment.)
Step 5

Pour dough onto a floured surface. With a metal scraper, confidently cut dough into 2 equal-ish parts. While using the metal scraper, drag and tuck in all sides of dough to form a tight ball. Push in all sides underneath for tight circle. Let rest for 10 minutes while prepping your banneton or bowls for proofing.
Step 6

Prep bannetons by flouring generously. If you aren’t using bannetons, line a glass or plastic bowl with a cotton tea towel. Generously sprinkle flour throughout so that dough does not stick to the towel.
Step 7

After 10 minutes when your dough has relaxed, coat in more flour. Take scraper, scoop and flip dough. Stretch out dough from underneath and pull out towards the edges. Don’t be afraid to handle the dough, just don’t squish it down. After it’s stretched, trifold the dough and roll it together. While rolling, do the stretch/pull and roll/tuck method to create tension. Scoop dough with scraper and fill over into banneton/ bowl. Sprinkle with flour and let sit for 1 hour.
Step 8

Test dough by poking and make sure it’s slow to return. Now it’s ready to go in the fridge or to be baked. Recommended to sit in fridge for 1-48 hours. The longer it “cold-proofs”, the more the yeast has time to contribute to flavors and textures of the dough.
Step 9
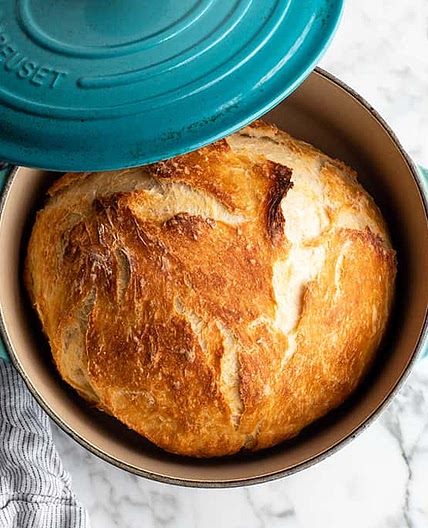
When you’re ready to bake the dough, preheat oven at 500 degrees with Dutch oven inside.
Step 10

Score the outside of the dough with one long cut, or multiple scissor cuts to create a “weak point”.
Step 11

Bake for 20 minutes at 500 degrees with lid on. Take the lid off. Bake another 25-30 minutes at 450 degrees without lid.
Step 12

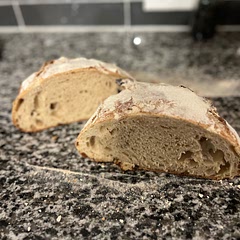
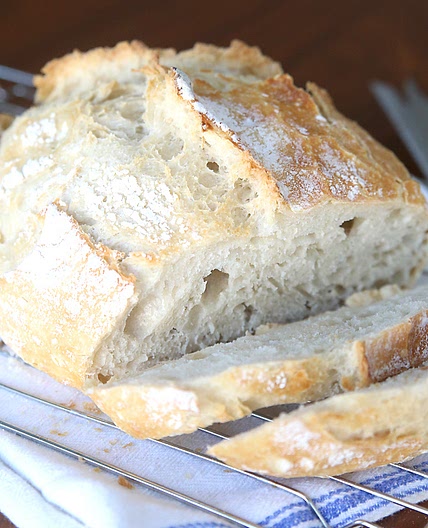
Wait until bread is completely cool before cutting into it. Enjoy :)
Notes
1 liked
0 disliked
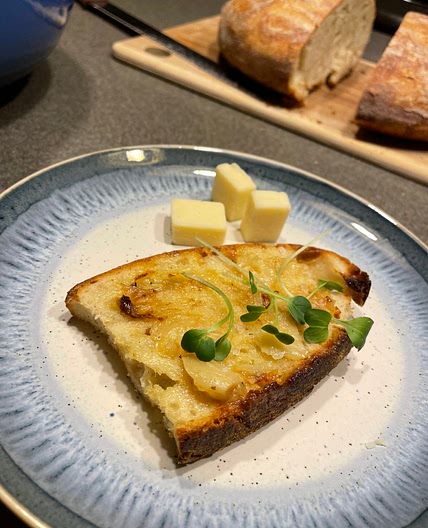
Crispy
Delicious
Easy
Fresh