By America Gonzalez
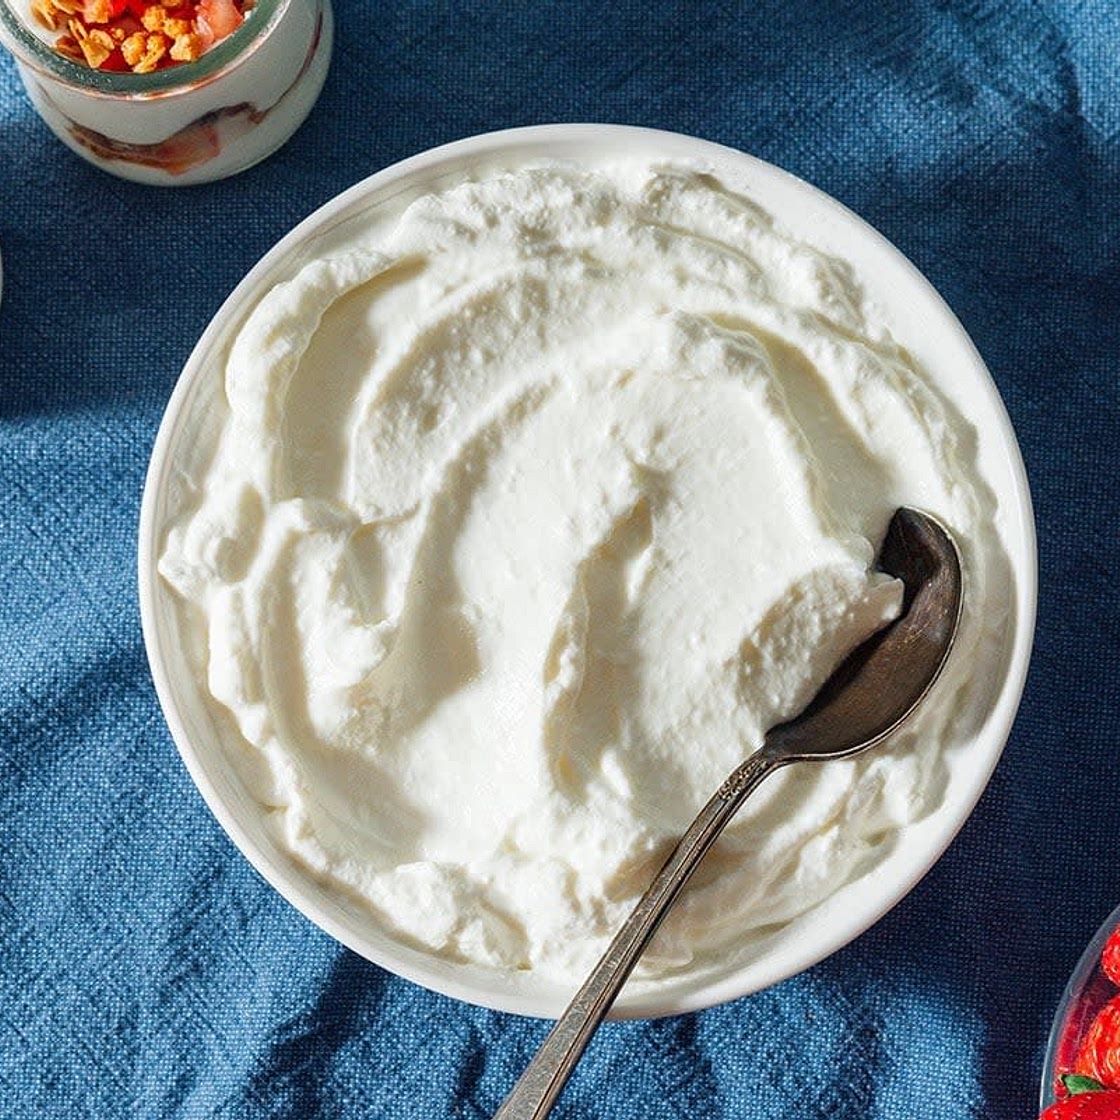
Greek Yogurt
8 steps
Cook:1h
Making yogurt is like making sourdough - you just need a little starter! ***Important note: in order for this recipe to work, your yogurt starter has to contain live cultures. Check the ingredients list before you begin cooking!
My favorite timing combo: ferment for 14 hours, strain for 8 (makes roughly 38oz of mildly acidic greek yogurt)
Updated at: Tue, 23 Sep 2025 02:10:58 GMT
Nutrition balance score
Unbalanced
Glycemic Index
31
Low
Glycemic Load
6
Low
Nutrition per serving
Calories233.9 kcal (12%)
Total Fat12.5 g (18%)
Carbs18.1 g (7%)
Sugars18.7 g (21%)
Protein12.9 g (26%)
Sodium147.6 mg (7%)
Fiber0 (0%)
% Daily Values based on a 2,000 calorie diet
Instructions
Step 1
In a large pot, heat milk on low and stir constantly until it begins to foam (180*F)
Step 2
Set aside one ladle of hot milk in a bowl to cool. Also set aside 1tbsp of yogurt starter to come to room temperature.
Step 3
Turn off the heat and allow the milk to slowly cool to 120*F. If you don't have a thermometer, cool the milk until you can stick your finger into it for 5-6 seconds before it becomes too hot.
Step 4
When the pot of milk reaches ~120*, stir together the milk and yogurt starter and add back into the large pot. Gently stir together.
Step 5
Cover the pot with a lid or plate, then wrap the pot in a towel or blanket. Store in a warm place (such as your oven) for 8-24 hours. The longer you allow it to set, the more thick and acidic your yogurt will become.
Step 6
After setting, add yogurt to a yogurt strainer, OR, if you don't have one, place a regular strainer on top of a large bowl and line with enough layers of cheesecloth to just prevent yogurt from seeping through the holes. Add your yogurt to the cheesecloth and place in the fridge for at least 6 hours to allow all of the liquid to drain from the yogurt (this step is what makes it Greek yogurt!)
Step 7
After 6+ hours, gently squeeze the cheesecloth to remove any excess liquid and transfer your finished greek yogurt into clean jars! -- Enjoy, but make sure to save 1 tbsp to make your next batch!
Step 8
As a bonus, save the acid whey to use in smoothies or as bases for savory sauces!
Notes
0 liked
0 disliked
There are no notes yet. Be the first to share your experience!