1/5

2/5

3/5

4/5
5/5
Leave a note
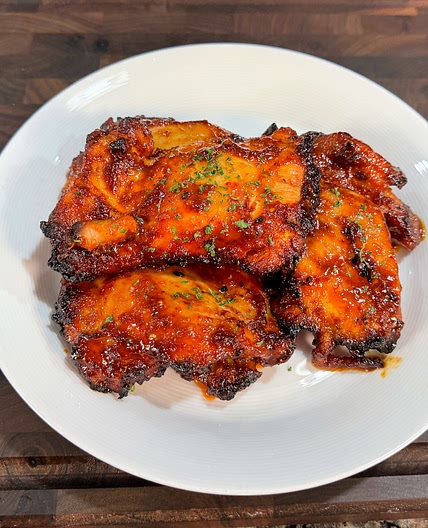
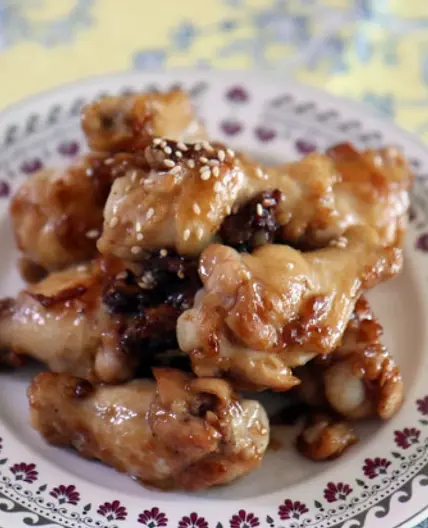
에어 프라이어로 만든 깐풍기
의사가 콜레스테롤이 높다해서 고민한 끝에 에어프라이어를 사기로 했어요.
제가 좋아하는 깐풍기를 만들려구요.
그런데 깐풍기는 반죽이 묽어야 하는데 고민했죠.
그래서 빵가루를 묻혀 에어 프라이어에 튀겼는데 맛있게 잘 되더라구요~
이젠 튀김음식 많이 먹어도 걱정 없어요~^^
Updated at: Thu, 17 Aug 2023 05:17:15 GMT
Nutrition balance score
Uh-oh! We're unable to calculate nutrition for this recipe because some ingredients aren't recognized.
Ingredients
2 servings
재료
깐풍소스
Instructions
Step 1

누린내 제거를 위해 우유에 담궈 놓은 닭 다리살을 찬물에 헹궈 물기 뺀뒤 먹기 좋은 크기로 잘라 줍니다.
Step 2

닭다리살에 소금,후추,생강술로 양념하여 간이 베이도록 5~10분 둡니다.
Step 3

달걀은 소금과 후추를 넣어 풀어 주세요.
Step 4

봉투에 밀가루를 넣고 간이 베인 닭다리살 넣어 봉투를 흔들며 밀가루 묻혀 줍니다.
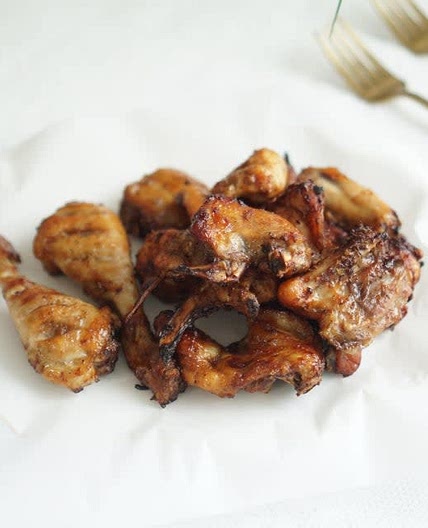
Step 5

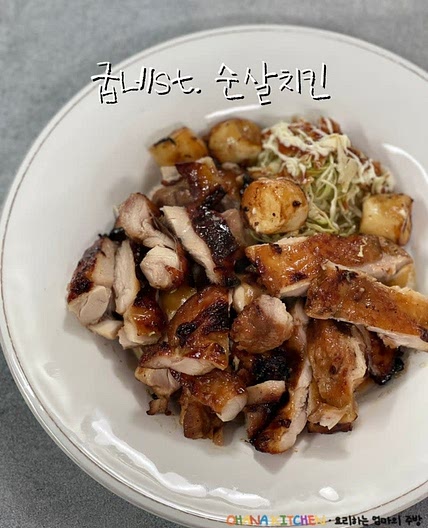
밀가루 묻힌 닭다리를 달걀과 빵가루를 입혀 에어 프라이에 튀겨 줍니다.
쌀가루를 넣고 싶었는데 없어서 빵가루를 묻혔는데도 바삭바삭 하고 맛있었어요.
Step 6

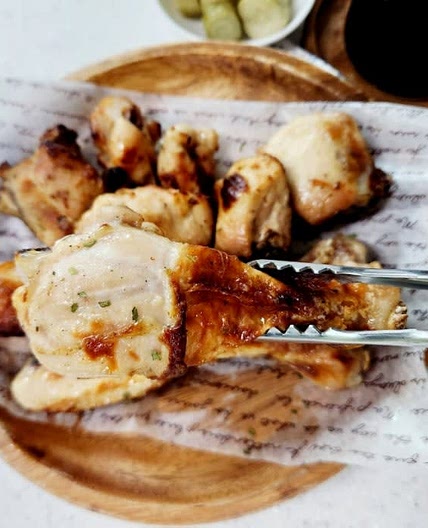
180도에서 15분 뒤집어서 15분 튀겨 주세요.
에어프라이어가 없으면 후라이팬에 기름을 자작하게 부어 굽듯이 튀겨주세요.
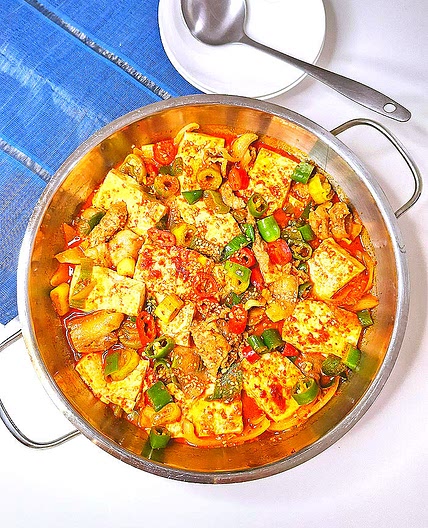
Step 7

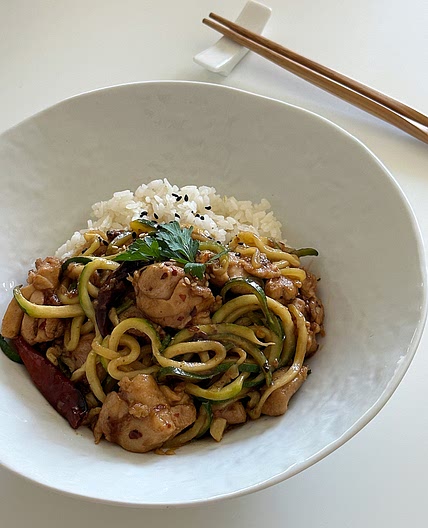
닭다리가 튀겨지는 동안 한쪽에서 간장,설탕,식초,물,마늘,고추를 넣고 깐풍기 소스를 끓입니다.
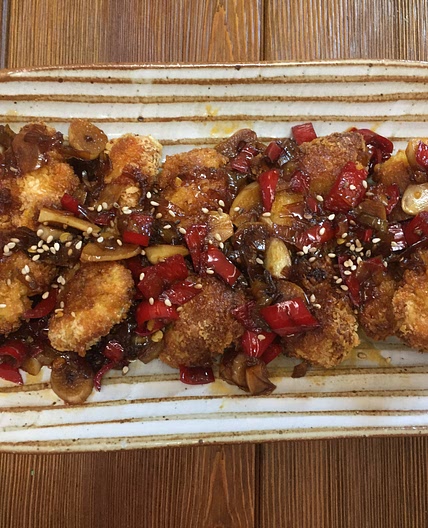
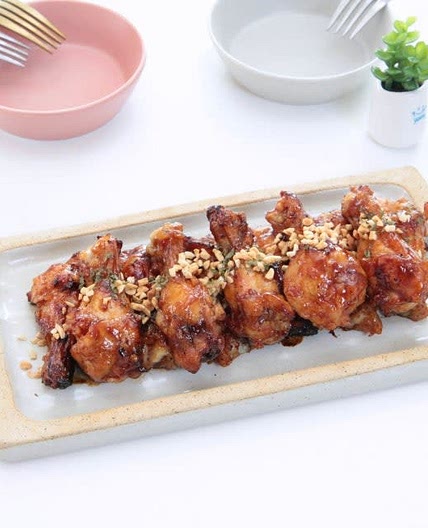
Step 8

튀겨진 닭고기에 소스를 뿌리면 에어프라이어로 만든 깐풍기가 완성됩니다.
Notes
0 liked
0 disliked
There are no notes yet. Be the first to share your experience!