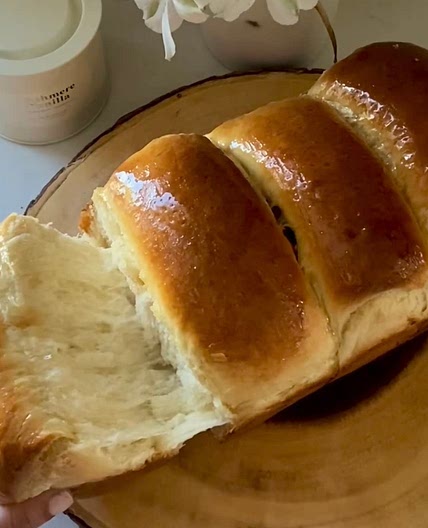
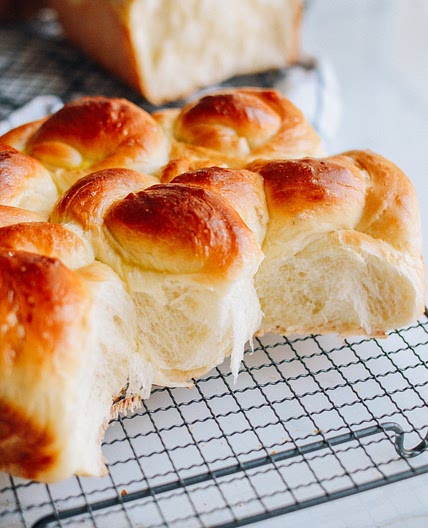
Homemade Gluten-Free Bread {Bread Machine, Dairy-Free Option}
Leave a note
Nutrition balance score
Unbalanced
Glycemic Index
72
High
Nutrition per recipe
Calories2585.8 kcal (129%)
Total Fat104.2 g (149%)
Carbs462 g (178%)
Sugars156 g (173%)
Protein39 g (78%)
Sodium2670.2 mg (134%)
Fiber23.1 g (83%)
% Daily Values based on a 2,000 calorie diet
Ingredients
0 servings
1 ½ cupsmilk
warm, dairy-free use cashew, almond or coconut milk
¼ cupunsalted butter
dairy-free use or Smart Balance
2eggs
beaten
1 teaspoonapple cider vinegar
½ cuphoney
3 cupsall-purpose gluten-free flour
I like gluten-free flour Not all gluten-free flours are created equal You may experience different baking results depending on the gluten-free flour blend you choose
1 teaspoonsalt
1 ½ teaspoonsxanthan gum
leave out if your flour already has it in it
1 ¾ teaspoonsrapid yeast
I use Bread Machine Instant Yeast
Instructions
Step 1
The first step in making bread in your bread machine is to add all the wet ingredients first to the bread baking pan.
Step 2
Warm the milk and melt butter. I combine this step and add the milk and butter to a large glass measuring cup and heat in the microwave. Pour warm milk and melted butter in the bread baking pan.
Step 3
Pour the honey into the bread baking pan.
Step 4
Pour the beaten eggs into the bread baking pan.
Step 5
Add the apple cider vinegar to the bread baking pan.
Step 6
Now it's time to add your dry ingredients.
Step 7
Add the flour, salt, and xanthan gum (leave out if your flour already has it) to the bread baking pan.
Step 8
The last step is to add your yeast. First, make a little hole with your finger in the flour. Pour the yeast into the hole.
Step 9
Start the bread machine and set to the gluten-free setting.
Step 10
As your bread machine is mixing, you may need to go in and scrape the sides down into the batter with a spatula. The dough will be similar in texture to cake batter. Your bread machine may be different and you may not need this step.
Step 11
Cool before slicing. Enjoy!
Step 12
Notes
Step 13
Not all gluten-free flours are created equal. You may experience different baking results depending on the gluten-free flour blend you choose. I like Pillsbury gluten-free.
Step 14
The best way to measure gluten-free flour is the “spoon & level” method. Using a spoon, scoop the flour into the measuring cup. After you’ve spooned the flour into the measuring cup, use the back of a knife to level off the top of the measuring cup. Friends, please do not scoop the flour out of the bag with your measuring cup.
Step 15
I usually store the leftover bread in an airtight container, once it's completely cooled. It may be kept on the counter (at room temperature).
Step 16
It is also best not to slice the bread before you store it, so just store the left-over portion of the loaf.
Step 17
I like to reheat my bread the next day because the gluten-free bread is best when warm.
Step 18
I have an Oster bread machine that has a gluten-free setting.
Step 19
If your bread machine does not have a gluten-free setting, you will want the setting that only has one mixing cycle (it's often the quick, rapid, rapid rise, one rise or basic feature). You can also override the pre-programmed settings for a 20-minute mix cycle, 1-hour rise cycle, and 1 hour-bake cycle.
Notes
0 liked
0 disliked
There are no notes yet. Be the first to share your experience!