By S
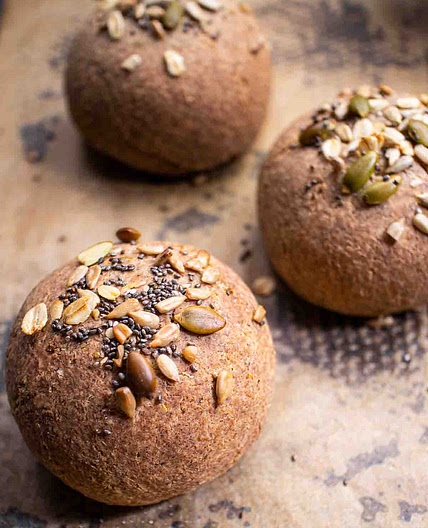
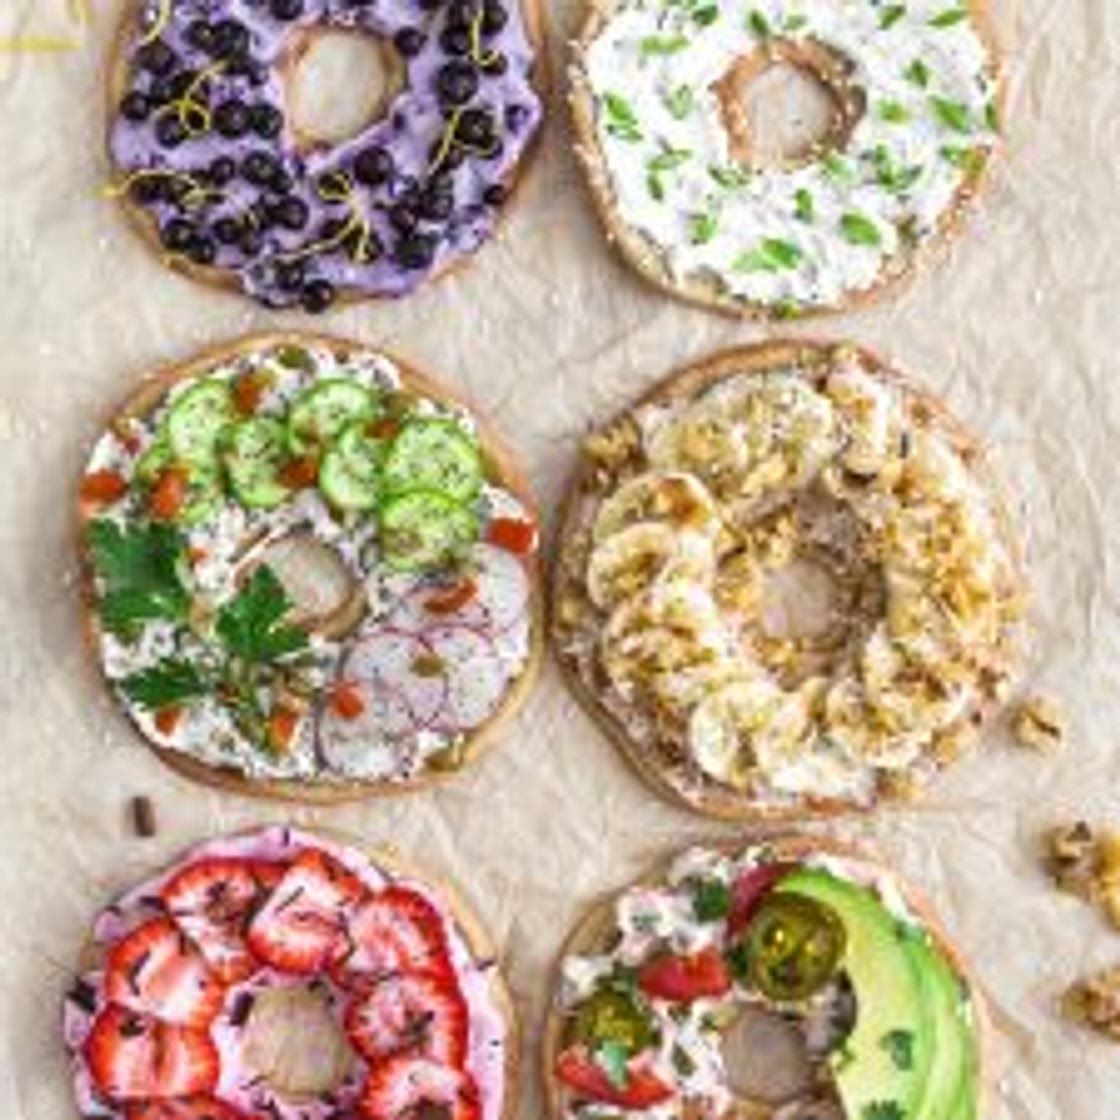
Quinoa Flatbread Bagels
12 steps
Prep:10minCook:12min
Soft and chewy or crisp and crunchy, these amazingly delicious Quinoa Flatbread Bagels are healthy and delicious. Perfectly oven baked consisting of a few simple ingredients, turns these tasty flatbreads into yummy breakfast bagels or snack. The options are endless, making this recipe an ultimate Whole Food Plant Based breakfast treat, no oil, no sugar, no highly processed ingredients and gluten free.
Updated at: Thu, 17 Aug 2023 12:09:17 GMT
Nutrition balance score
Great
Glycemic Index
51
Low
Glycemic Load
10
Moderate
Nutrition per serving
Calories117.1 kcal (6%)
Total Fat2.4 g (3%)
Carbs19.6 g (8%)
Sugars0 g (0%)
Protein4.4 g (9%)
Sodium281.7 mg (14%)
Fiber2 g (7%)
% Daily Values based on a 2,000 calorie diet
Ingredients
6 servings
Instructions
Step 1
Preheat the oven to 425 degrees F.
Step 2
Line 2 – 14 x 20 baking sheets with parchment paper. Invert the parchment paper and trace a total of 9 – 4-inch diameter circles on the parchment paper to use as a pouring guide. Trace 5 on one paper and 4 on the other. Or if you are making the bagels slightly thicker, trace 6 – 4-inch diameter circles for one 14 x 20 baking sheet. Note: We preferred the thinner version and used 2 baking sheets for a total of 9 quinoa flatbread bagels. If you plan to make them into “bagels” (with a hole in the center), then trace a small 1-inch circle in the center of each 4-inch circles.
Step 3
Flip the parchment over and place onto the baking sheet. You should be able to see the circles from the other side. These are your pouring guides. Set aside until ready to pour.
Step 4
Place the dry quinoa in a fine mesh strainer and rinse the quinoa really well with running water for two minutes. This removes the bitterness from the quinoa. Shake to drain excess moisture.
Step 5
Add the rinsed quinoa, plant milk, sea salt and baking powder into a high-speed blender and blend on high for one minute. When using our Vitamix, we use the tamper tool to help move the batter along until it was able to blend on its own. If you don’t help it along, then the batter doesn’t completely mix well and become smooth. The batter should be smooth without any visible quinoa remaining.
Step 6
The batter consistency is key here. Since the quinoa can have slight variations of “dryness” depending on how old it is, you need to pay attention to the thickness of the batter. The batter should be slightly thicker than a fudgy brownie batter. It can pour, but you will need to help it along with a rubber spatula.
Step 7
Next take a gallon sized storage or freezer bag and place it in a large glass with one of the corners pointing downward and roll the edges over the top of the glass. Then pour the batter into the storage/freezer bag. This is so you can pipe it onto the baking sheet circles that you traced as your pouring guide.
Step 8
Once you have all the batter into the storage bag, seal it, then press all the air out and push all the batter to the corner of the bag. Then with a pair of scissors snip the end off the corner of the bag (discard the clipping). Then carefully pipe a strip of batter into the circle guides. Do not pipe a lot as you will then use a teaspoon to spread the batter out. Think of it like this, you are piping a ring of batter inside a larger drawn circle.
Step 9
Once you have piped all the rings, then take a teaspoon and carefully spread the batter out, using the drawn circles as your guide. Take your time, there is no rush to getting this done.
Step 10
Place one baking sheet at a time into the oven and bake for 9 minutes.
Step 11
After 9 minutes, remove the baking sheet from the oven, (be careful they are HOT) using a thin edged spatula, gently loosen the bagels from the parchment paper and using tongs flip them over, and then return them to the oven for another minute, 3 1/2 minutes if you want them extra crispy.
Step 12
Eat either plain or with the Vegan “Cream Cheese” Topper options:
View on monkeyandmekitchenadventures.com
↑Support creators by visiting their site 😊
Notes
0 liked
0 disliked
There are no notes yet. Be the first to share your experience!