1/10

2/10

3/10
4/10
5/10
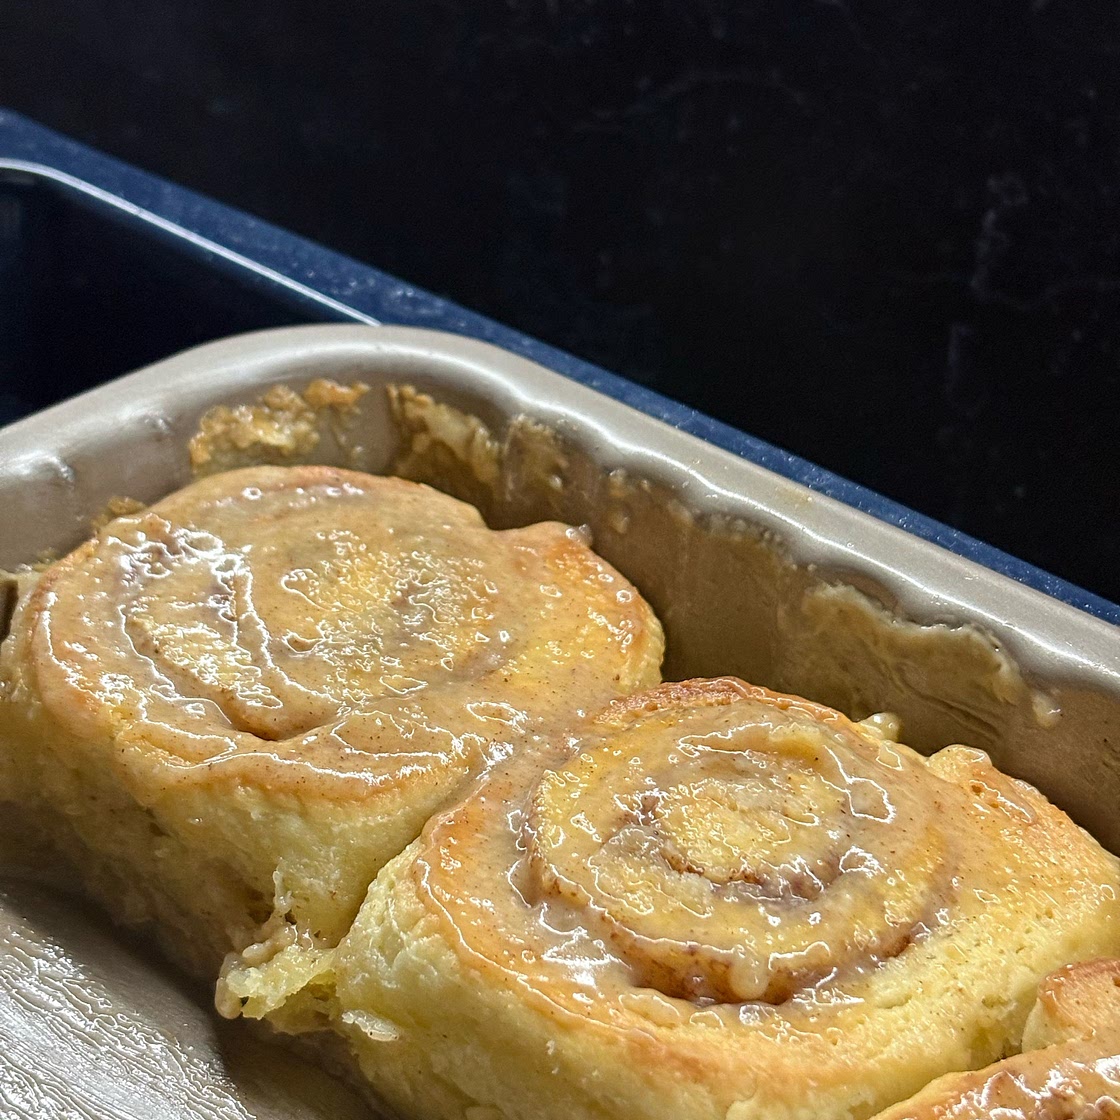
6/10
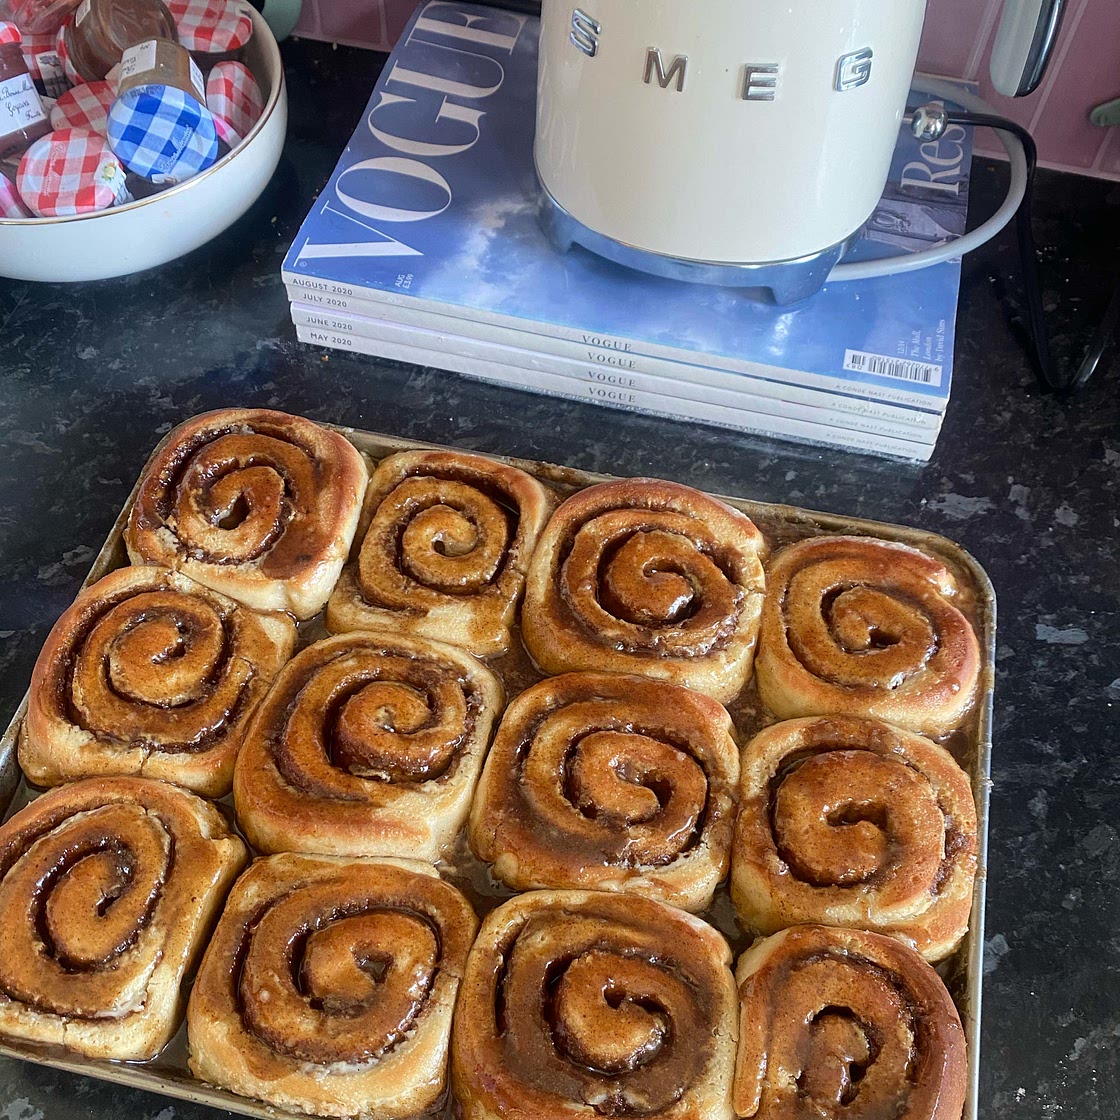
7/10
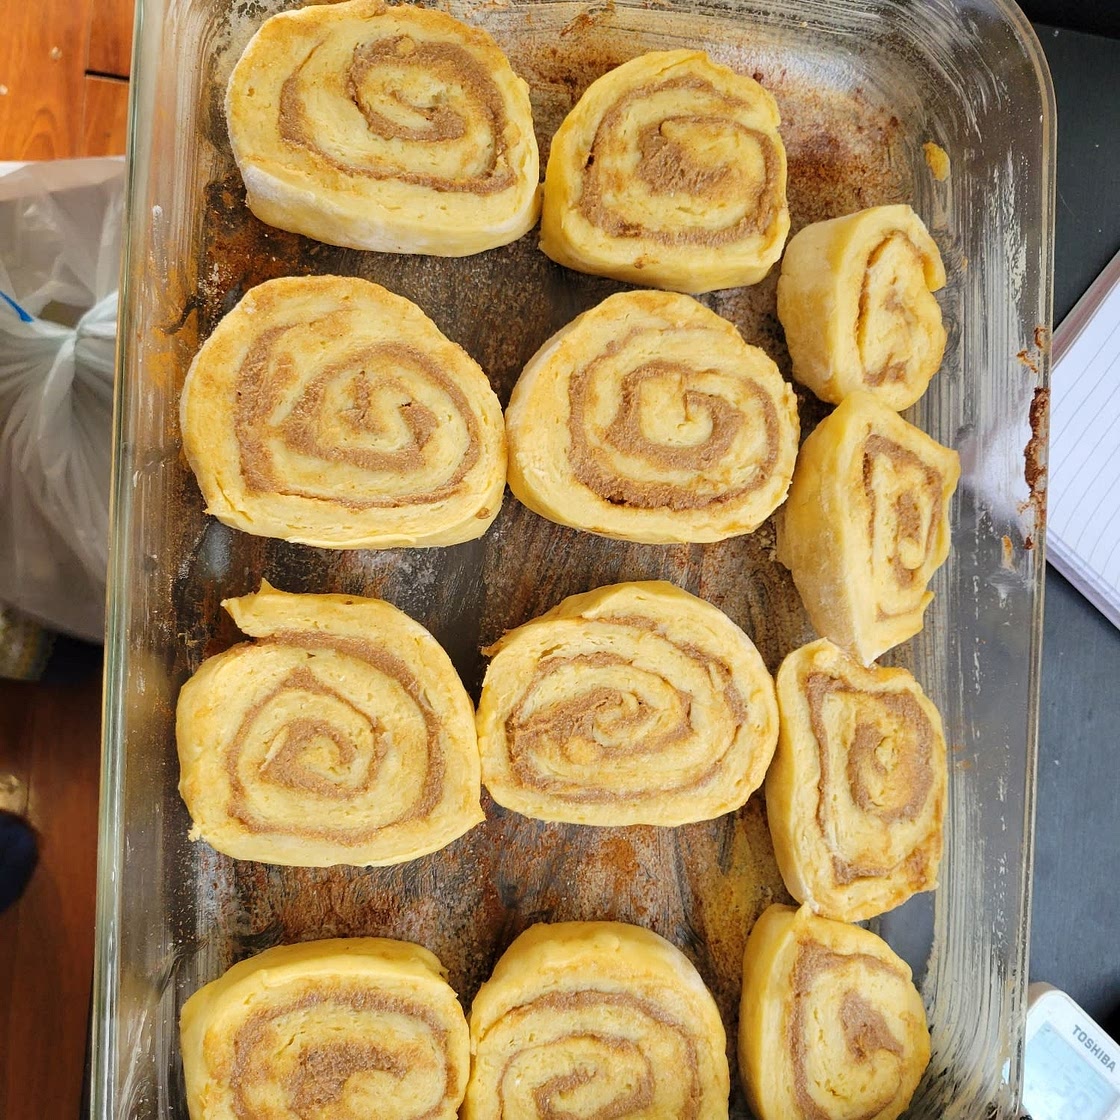
8/10
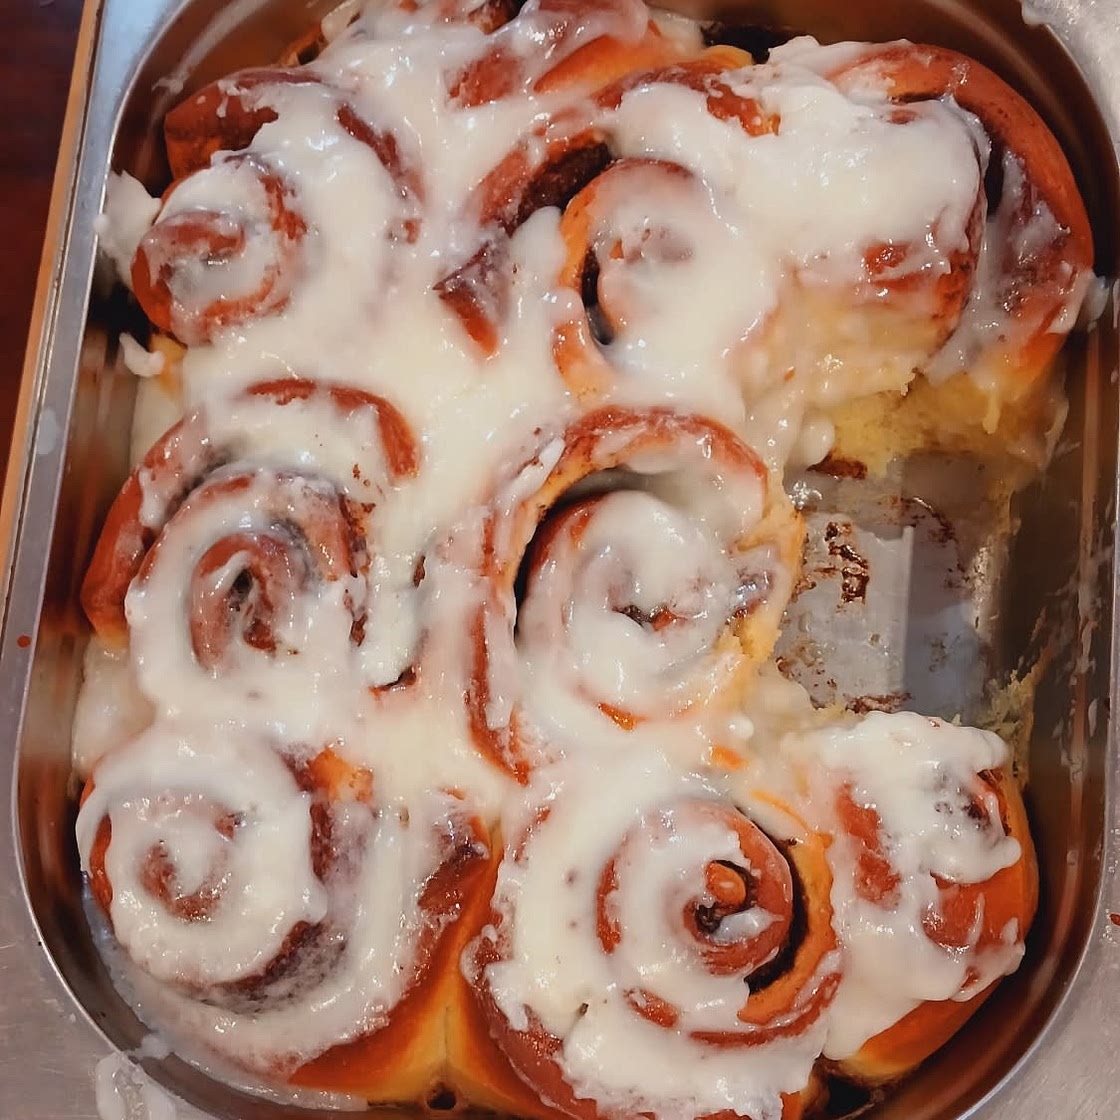
9/10
10/10
95%
26
By Lacey (Lace Bakes)
The BEST Sticky Cinnamon Rolls
27 steps
Prep:2h 20minCook:20min
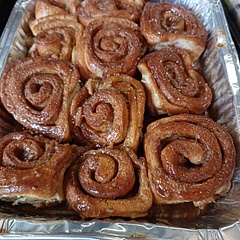
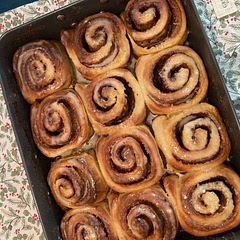
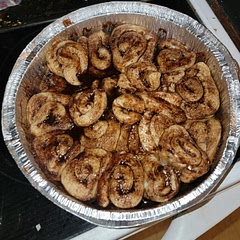
During lockdown, I started running a little microbakery out of our home - these cinnamon rolls sold out instantly every week when the preorders opened!
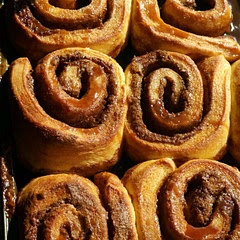
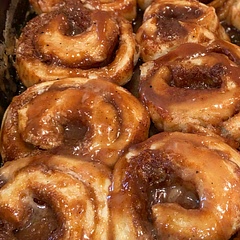
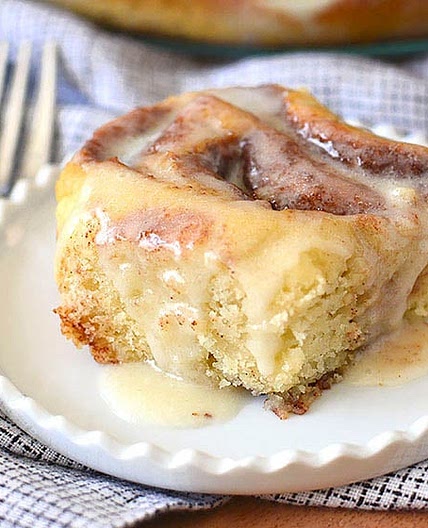
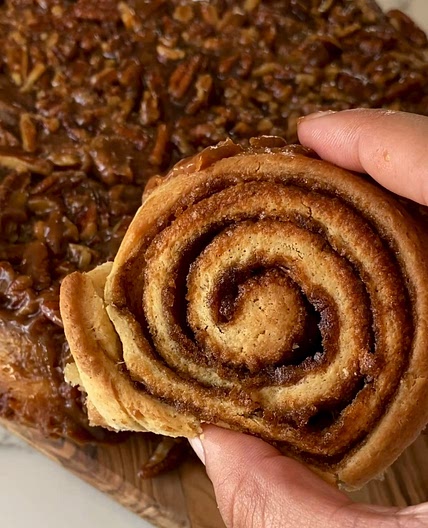
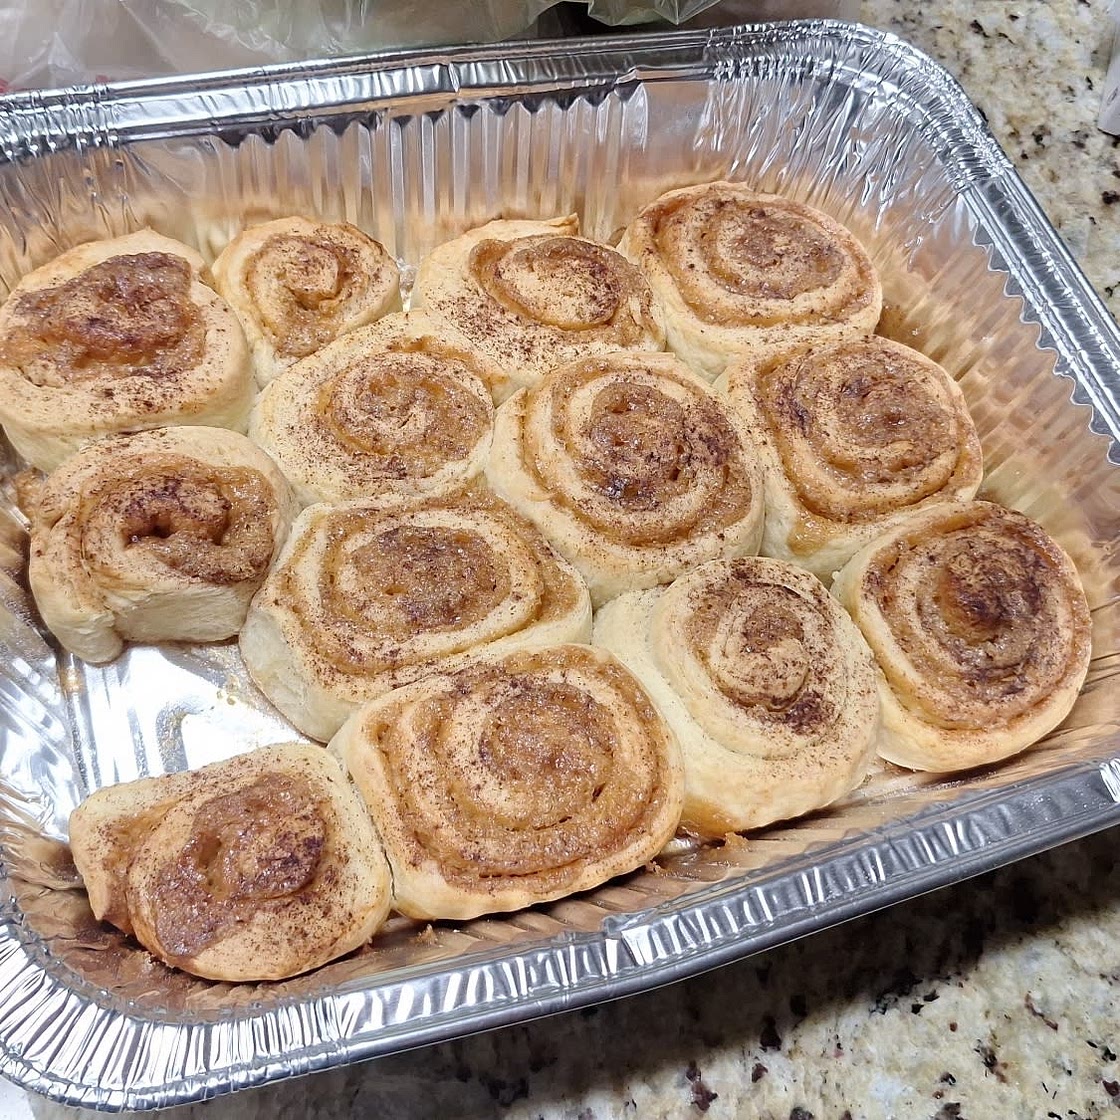
Here's the secret that makes these cinnamon rolls so over-the-top: you line your baking tray with butter and cinnamon sugar and then you pour cream over the top of the cinnamon rolls before baking them. When the butter, sugar, cinnamon and cream bake together the tray, it turns into the most delicious sticky cinnamon caramel, perfect for spooning on top of the rolls once they're out of the oven.
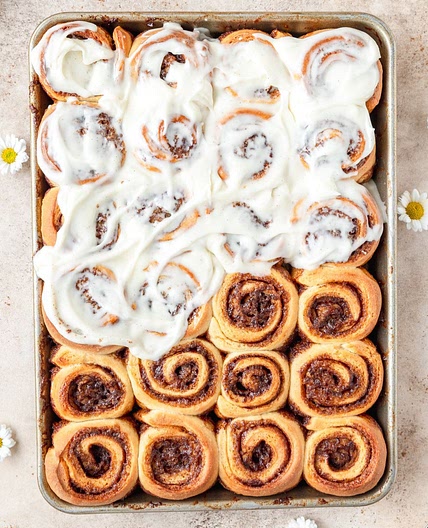
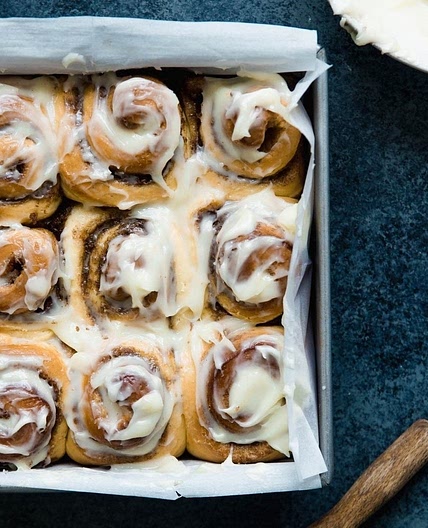
These are perfect glazed with the sauce that accumulates at the bottom of the tray, but if you're an icing-on-your-cinnamon-roll type of person, you'll want to check out my "Whipped Cream Cheese Icing for Cinnamon Rolls" recipe on Whisk! It's on my profile or can also be found on the Lace Bakes community.
Updated at: Sat, 04 Nov 2023 06:07:29 GMT
Nutrition balance score
Unbalanced
Glycemic Index
68
Moderate
Glycemic Load
49
High
Nutrition per serving
Calories688.2 kcal (34%)
Total Fat41.1 g (59%)
Carbs72.2 g (28%)
Sugars34.4 g (38%)
Protein7.9 g (16%)
Sodium497.9 mg (25%)
Fiber2.2 g (8%)
% Daily Values based on a 2,000 calorie diet
Ingredients
12 servings
For the yeast activation
For the dough
50mlwhole milk
2eggs
600gwhite bread flour
can also use plain flour but they’re fluffier with bread flour
45ggranulated sugar
7gsalt
200gsalted butter
softened to room temperature
For the filling
For the sticky cinnamon caramel glaze
Instructions
Activating the yeast:
Step 1
Warm the milk gently in a small saucepan on in the microwave - about 38C or 100F is perfect.
Step 2
Stir in the sugar and then stir in the yeast. Let sit for 7-10 minutes or until it’s nice and frothy.
Mixing and proofing the dough:
Step 3
In a large bowl (or the bowl of a stand mixer), add in the milk, eggs and bread flour, salt, sugar, butter and activated yeast mixture.
Step 4
Using a dough hook on your hand or stand mixer, mix on a low speed for about five minutes. Increase the speed to medium high and mix for another 10 -12 minutes. You should have a
smooth dough that has come away cleanly from the sides of the bowl.
Step 5
Remove dough from bowl, lightly oil the bowl with a neutral oil and then return dough to same bowl. Cover and let proof at room temperature for 45 minutes to 1 hour, or until it has doubled in size.
Make the cinnamon filling:
Step 6
While the dough is proofing, you can mix the cinnamon roll filling. Beat the butter and brown sugar together until the butter is fluffy and aerated and is starting to turn a bit more pale. Add in cinnamon and beat again until evenly combined.
Prepare the baking tray:
Step 7
In a small bowl, mix together 100g granulated sugar and 1 tablespoon of ground cinnamon.
Step 8
On a half sheet pan, or large baking tray measuring between approximately 11” x 16” to 13” x 18”, take 80g of the softened salted butter and use your hands to spread it evenly across the surface of the baking tray. You should have a generous coating of butter on the tray - add the extra 20g of softened butter to achieve this generous coating if you need to.
Step 9
Note that the tray will need to be completely dry before spreading on the butter - you’ll have trouble spreading it on a freshly washed tray that hasn’t been dried properly.
Step 10
Sprinkle the cinnamon sugar mixture evenly over the buttered tray. Pick up tray and tilt it around until the cinnamon sugar mixture coats all sides and forms a uniform layer. Set tray aside.
Shaping and filling the cinnamon rolls:
Step 11
When the dough has finished proofing, scrape it out of the bowl onto a lightly floured worktop. Gently press the dough into a rough rectangle shape. Using a rolling pin, roll the dough out into a large rectangle, measuring roughly 12” x 16” - be sure you’ve rolled it to an even thickness. You can use a dough scraper to gently press the edges into a clean rectangle shape if you wish to. You’ll want the long end of the dough facing you for when you roll it up.
Step 12
Using an offset spatula or the back of a spoon, spread the cinnamon filling evenly across the entirety of the rectangle, only leaving a tiny gap uncovered at the very top of the long end of the dough.
Step 13
Now it’s time to roll it all up. From the bottom of long end of the dough, tightly roll the dough forwards, creating a long log shape.
Step 14
When you’ve reached the bit at the top of the dough that hasn’t been covered with the cinnamon filling, wet your finger with a bit of water and run it along the edge of the dough.
Step 15
Then finish rolling the dough up and make sure the seam is at the bottom of the log of dough so it can seal on itself.
Step 16
Using a dough scraper or knife, make an indentation in the middle of the log of dough - you can use a tape measure if you really want to be precise! Then mark each half of the log in half, and then mark each quarter into thirds. You will end up with 12 sections of cinnamon rolls. You can of course free style the measurements, but I just find pre-marking the dough is useful to keep everything uniform.
Step 17
You can cut through the markings using a dough scraper, a sharp knife, or by using a bit of dental floss. For the dental floss, you slide it under the dough and line it up with the marking you've made on the dough. Then, cross the upper halves of the floss over the top of the dough log and pull. It creates a super clean and precise cut through the dough without squishing it. This is my new favourite method of cutting the dough!
Second proof:
Step 18
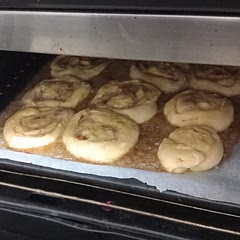
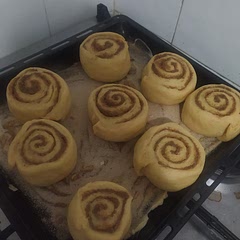
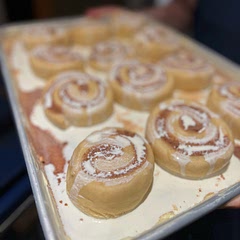
Evenly space the cinnamon rolls onto the prepared tray, swirl side up, in a 4 x 3 formation - or adjust to what feels right if you’re using a tray with slightly different dimensions (or you could even use two smaller trays with 6 rolls each). For the two end pieces, make sure that the pretty swirled side is the side facing up. Cover the tray with a clean tea towel and let proof for about 1 hour.
Baking:
Step 19
The rolls will have puffed up, but not doubled, during their second proof. Near the end of the proof time, preheat your oven to 190C or 375F. Note that this temperature is for a non fan/convection oven - reduce temperature as needed if you have a fan oven, usually by 15-20 degrees.
Step 20
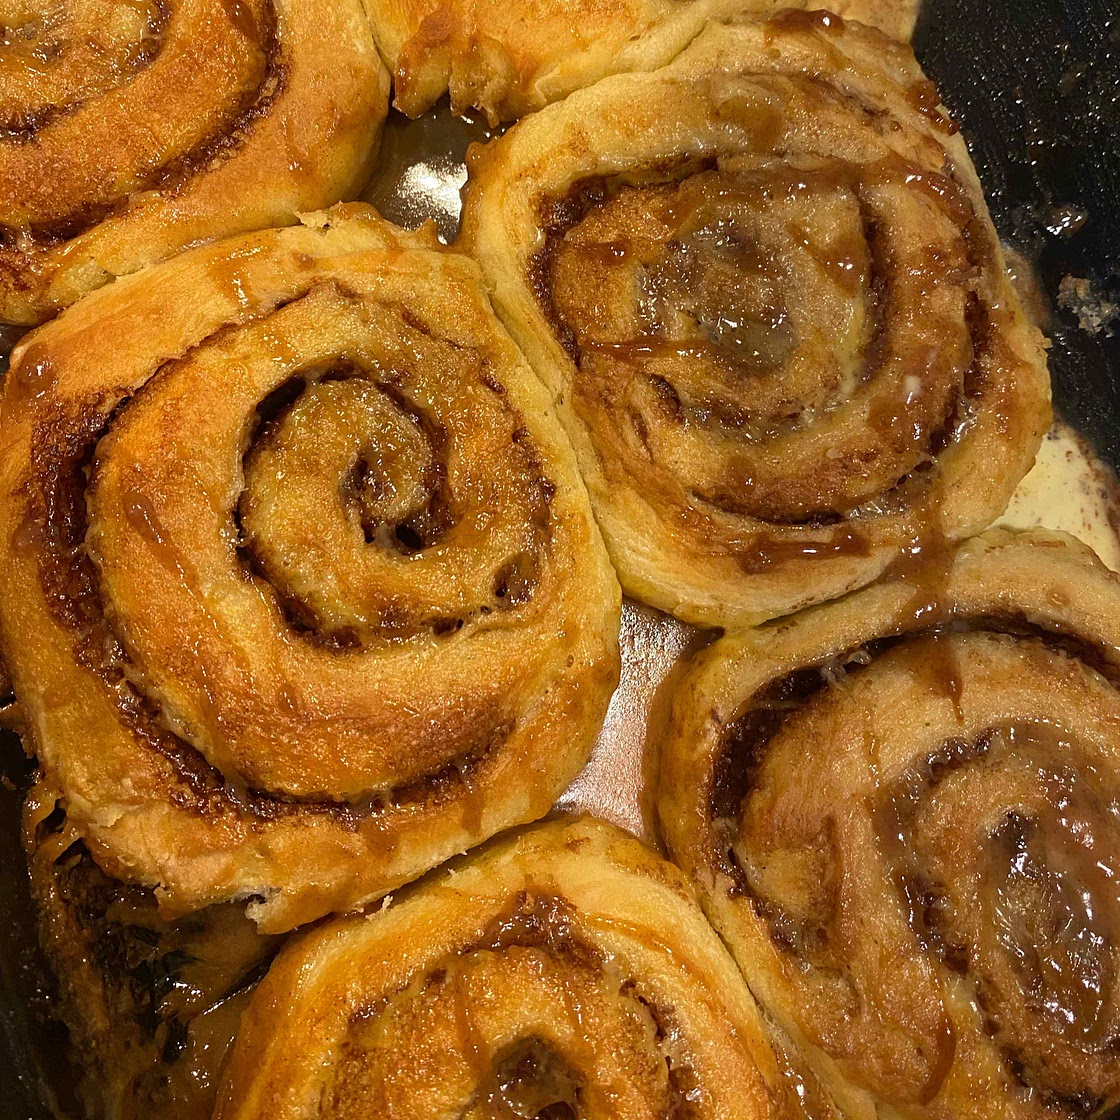
Drizzle the cinnamon rolls evenly with the cream. Some of the cream will seep down onto the tray and when the cinnamon rolls bake the mixture of the butter, cinnamon sugar and cream will result in a sticky caramel at the bottom of the tray.
Step 21
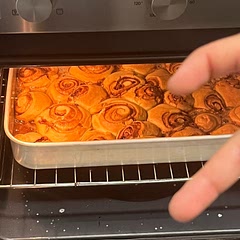
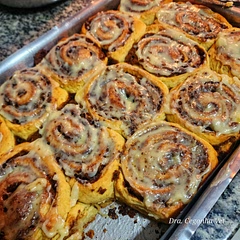
Bake for about 20 minutes or until the cinnamon rolls have an internal temperature of 190F/88C when using a digital thermometer probe. They should be a light golden brown on top.
Step 22
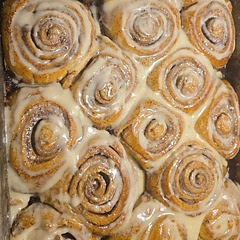
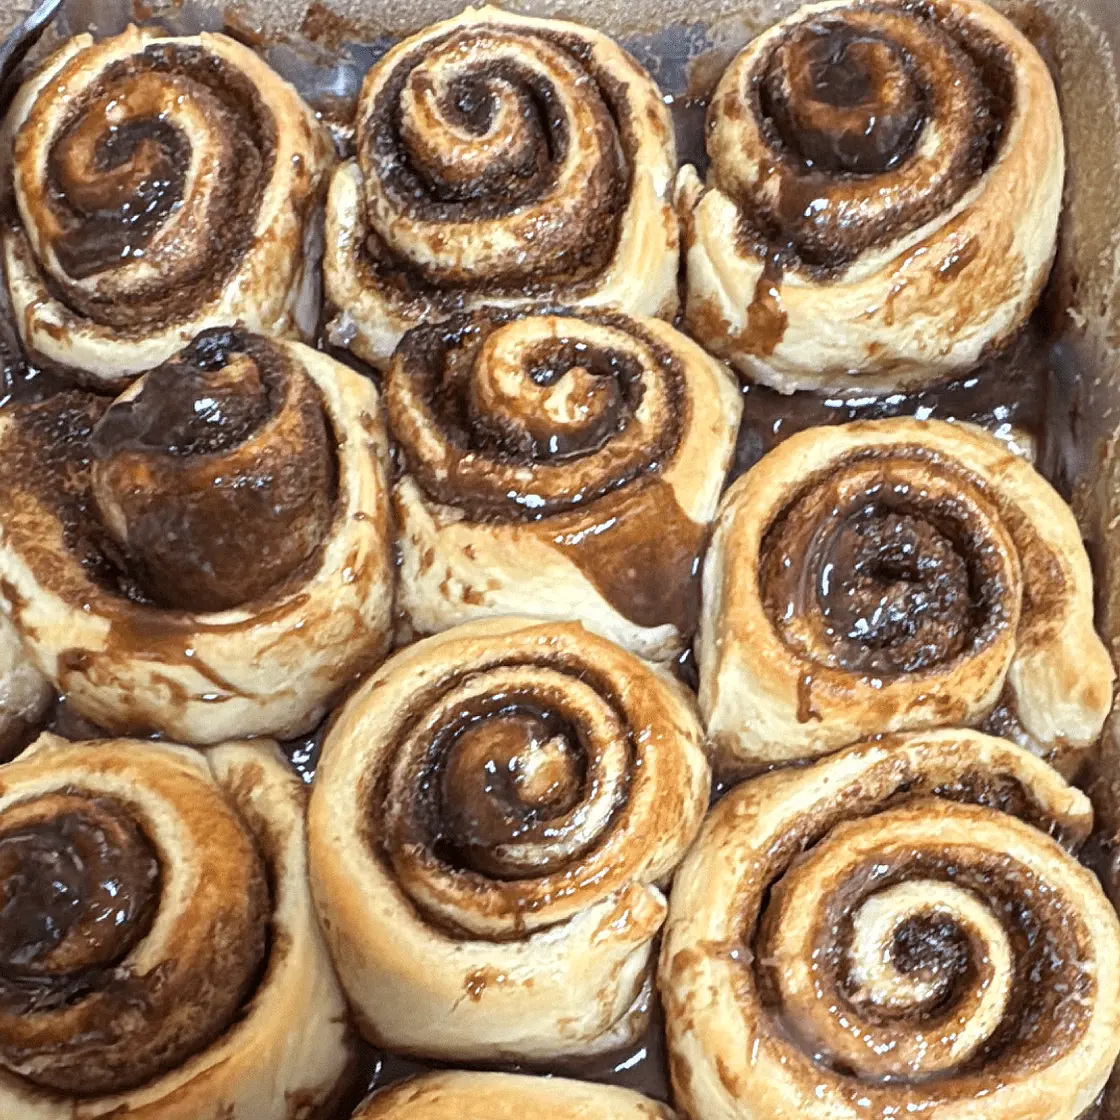
Immediately after the cinnamon rolls are out of the oven, use a spoon to dig the cinnamon caramel mixture from the bottom of the tray. Spoon this gorgeous sticky sauce over the top of the cinnamon rolls. You may have to shuffle the rolls around to gain access to all of the cinnamon caramel that’s accumulated at the bottom of the tray.
Step 23
These are best enjoyed warm, but if you have extras then store them in a sealed container and gently heat them in the microwave for 15 seconds at a time until they’re soft and warm once again.
Step 24
The sticky glazed cinnamon rolls are amazing as is, but if you feel a cinnamon roll isn’t complete without icing, you’ll find my recipe for that on my Whisk profile - it's called 'Whipped Cream Cheese Icing for Cinnamon Rolls'
Make the day before:
Step 25
Follow recipe up until the point where you place the cut cinnamon roll dough onto the tray - do not let them proof for the second time. Cover tightly with plastic wrap and place tray until fridge overnight. Remove from fridge about 1.5 - 2 hours before you wish to bake them to let them proof - they require a longer second proof when they’re coming out of a cold fridge. Bake as normal.
Step 26
Note that the tray size may be a bit big to place into fridge - you can bake on two smaller trays if you wish or you can wait to prepare the buttered/cinnamon sugared tray until the morning of baking. Just place the shaped rolls onto a plate or tray that will fit into fridge and then prepare the buttered/cinnamon sugared tray as instructed before letting the rolls have their final proof.
Make up to 3 weeks ahead:
Step 27
After you’ve shaped your cinnamon rolls, place them onto a
parchment lined tray (or two) - place them so that the rolls are not touching one another as they can be tricky to pry apart once frozen. Cover tray(s) tightly with plastic wrap and place into freezer. The day before you wish to bake the cinnamon rolls, remove the tray(s) from the freezer and put into fridge to thaw overnight. The next morning, prepare the baking tray as instructed above and let rolls proof for about 2 hours before baking.
Notes
105 liked
5 disliked
Delicious
Sweet
Go-to
Moist
Special occasion
