By CJ Eats Recipes
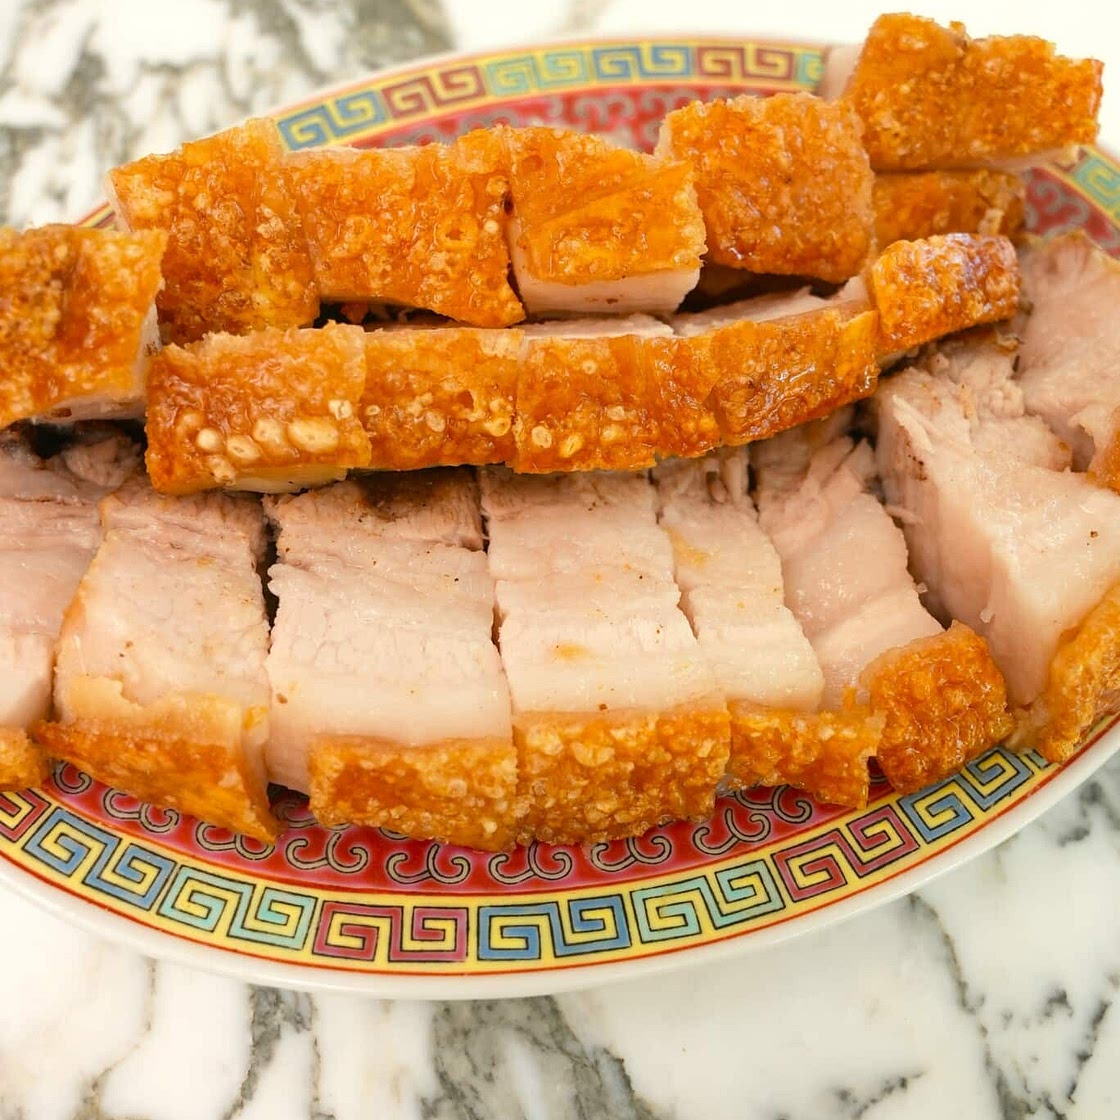
Air Fryer Crispy Pork Belly
6 steps
Prep:10minCook:1h
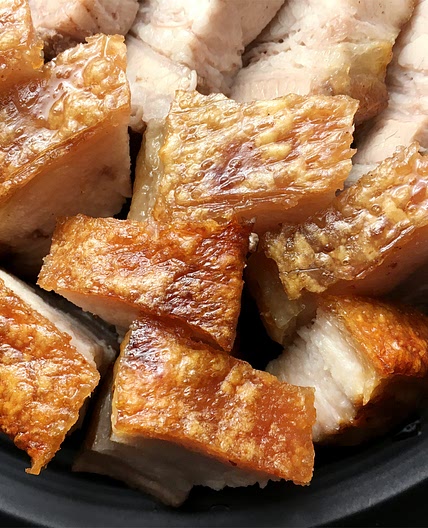
I've spent months perfecting this Air Fryer Crispy Pork Belly recipe. I've tried many different methods at different temperatures, times, and air fryers, and this is the method that consistently puts out a crispy, puffed up skin and juicy, tender meat.
Updated at: Sat, 18 Oct 2025 02:16:09 GMT
Nutrition balance score
Unbalanced
Glycemic Index
54
Low
Glycemic Load
1
Low
Nutrition per serving
Calories1805.4 kcal (90%)
Total Fat182.7 g (261%)
Carbs2.4 g (1%)
Sugars1.5 g (2%)
Protein30.5 g (61%)
Sodium23158.9 mg (1158%)
Fiber0.3 g (1%)
% Daily Values based on a 2,000 calorie diet
Ingredients
4 servings
Instructions
Step 1
To the meat side, use a knife to make 1/2" deep cuts lengthwise across the pork belly. In a small bowl, combine salt, white pepper, five spice powder, sugar, and Shaoxing wine to make a paste. Evenly spread the paste on the meat side of the pork and crevices ensuring not to touch the skin.
Step 2
Pat the skin-on pork belly dry with a paper towel and poke holes all across the skin of the pork using skewers or sharp knife. Ensure that the holes only puncture the skin and fat (do not pierce all the way through the meat). Cut the slab of pork belly so it will fit in your air fryer.
Step 3
Create a tin foil frame around the pork belly, leaving a ½” gap up from the edges of the pork to prevent salt from spilling over. Brush a layer of vinegar on the skin, then cover the skin completely with a layer of salt.
Step 4
Air fry at 250F for 30 minutes or until the salt has dried completely.
Step 5
Remove the salt from the pork belly and brush off any excess. Pat dry with a paper towel.
Step 6
Brush the skin with neutral oil, then air fry at 400F for 30-40 minutes until the skin is puffed and crispy. Check at the 20 minute mark and every 5 minutes to monitor the skin, checking for burning, as the time will vary with different air fryers! If spots of the skin begin to burn, place a small piece of foil over the specific area to cover it and allow the exposed areas to continue crisping up.
View on CJ Eats Recipes
↑Support creators by visiting their site 😊
Notes
8 liked
0 disliked
Crispy
Delicious
Special occasion
Easy
Go-to
There are no notes yet. Be the first to share your experience!
