By Miso Jen Kitchen
Cheesy Kimchi Rice Balls (Yaki Ongiri)
23 steps
Prep:5minCook:10min
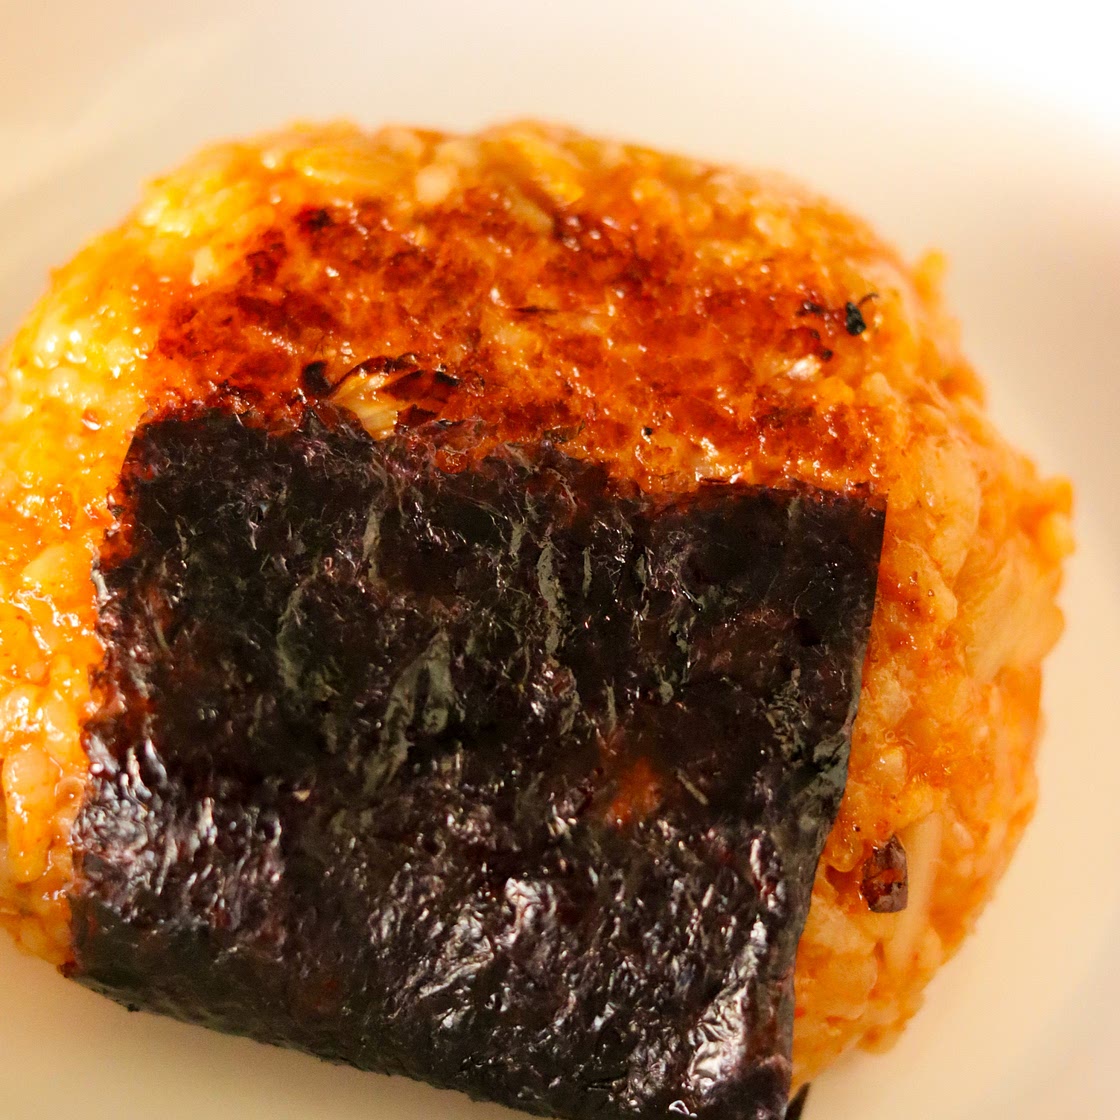
Cheesy kimchi rice balls combine the flavors of kimchi fried rice with the grilled goodness (or pan fried/air fried) of yaki onigiri. This fusion dish offers a delightful blend of Japanese and Korean cuisines. Stuffed with cheese, makes this even better! The melted cheese inside will add a gooey and savory element to the dish. You can either grill, pan fry or air fry these rice balls. Optional fillings - you can add things like cooked meat or vegetables to the center of the rice balls. I hope you enjoy them!
Updated at: Wed, 30 Aug 2023 01:39:31 GMT
Nutrition balance score
Unbalanced
Glycemic Index
66
Moderate
Glycemic Load
14
Moderate
Nutrition per serving
Calories117.2 kcal (6%)
Total Fat2.3 g (3%)
Carbs20.5 g (8%)
Sugars1.7 g (2%)
Protein3.1 g (6%)
Sodium319.7 mg (16%)
Fiber0.6 g (2%)
% Daily Values based on a 2,000 calorie diet
Ingredients
6 servings
Instructions
Prepare Kimchi Fried Rice,
Step 1
Heat sesame oil in a pan over medium heat.
Step 2
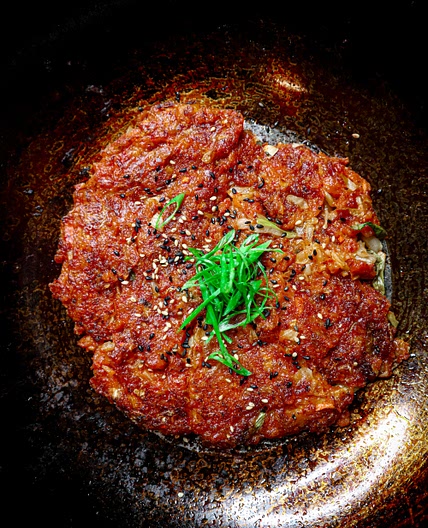
Add chopped kimchi with its juices (2 tbsp of kimchi juice). Kimchi juice is the brine or liquid that forms during the fermentation process of making kimchi. You should have plenty of it in your kimchi jar. It's a concentrated source of the complex and intense flavors that develop during the fermentation of kimchi, perfect for flavoring your kimchi fried rice!
Step 3
Season with gochujang, soy sauce and sugar. Trust me on the sugar! It helps balance the acidity of the kimchi.
Step 4
Saute for 5-7 minutes over medium heat or until the mixture has reduced some. You don't want the mixture to be too wet or else, your fried rice will fall apart when shaping.
Step 5
Add cooked rice to the pan. Break up any clumps and mix everything together.
Step 6
Season with salt, and pepper to taste.
Step 7
Turn off the heat and set this to the side.
Shape Yaki Onigiri (Rice Balls),
Step 8
Tear off a piece of plastic wrap and lay it on a clean surface.
Step 9
Use a spoon or wet your hands to prevent the rice from sticking and then place a portion of the kimchi fried rice mixture onto the plastic wrap.
Step 10
Use your hands or spoon to shape the rice mixture into a mound or triangle, pressing it gently together.
Step 11
Create an indentation in the center of the rice mound and place a cube of mozzarella cheese into the indentation.
Step 12
Gently fold the rice over the filling, using the plastic wrap to help shape and enclose the filling.
Step 13
Continue shaping the rice into a triangle or circle, compacting it with the plastic wrap.
Step 14
Gather the edges of the plastic wrap above the rice ball.
Step 15
Twist the plastic wrap to tightly seal the rice ball within the wrap.
Step 16
Repeat the process to create additional rice balls.
Grilling/Pan-frying/Air-frying the Rice Balls,
Step 17
Heat a grill pan or skillet over medium heat and add a bit of grilling oil.
Step 18
Unwrap the plastic-wrapped rice balls and place them on the grill or pan. Discard the plastic wrap.
Step 19
If air frying, air fry at 400F for 5 minutes or until golden brown.
Step 20
Grill/Pan-fry the rice balls until they develop a crispy, golden-brown crust. Rotate them to ensure an even crust.
Step 21
Once the yaki onigiri are cooked to your preference, remove them from the heat.
Step 22
Wrap a strip of nori around each rice ball. Let them cool slightly before serving.
Step 23
Enjoy!
Notes
9 liked
1 disliked
Delicious
Easy
Go-to
Under 30 minutes
There are no notes yet. Be the first to share your experience!
