![Miso Jen Kitchen](https://art.whisk.com/image/upload/fl_progressive,h_36,w_36,c_fill,dpr_2.0/v1666355836/avatar/30b36336f461ad9e1066e3143732b915.jpg)
By Miso Jen Kitchen
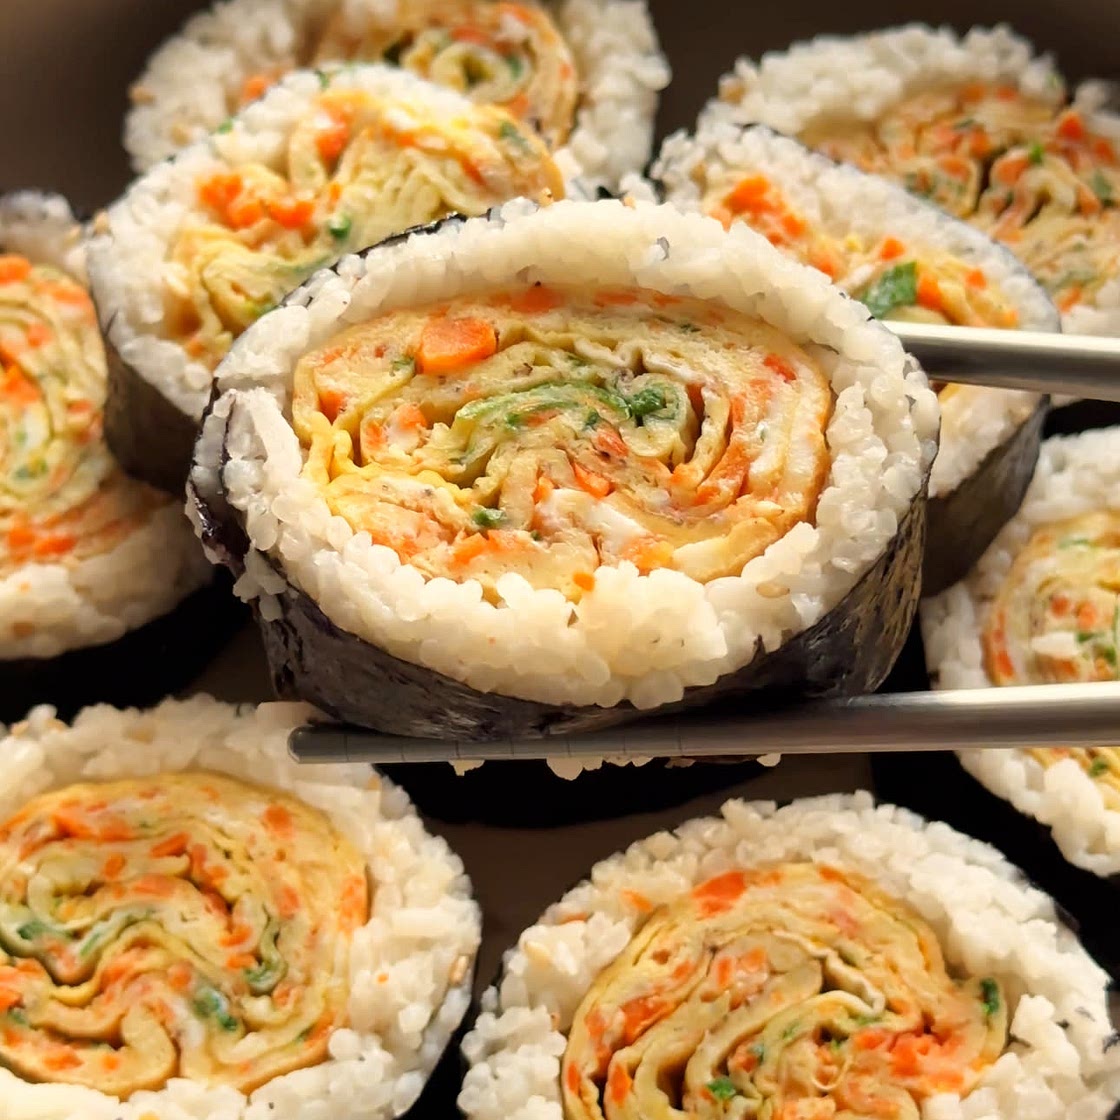
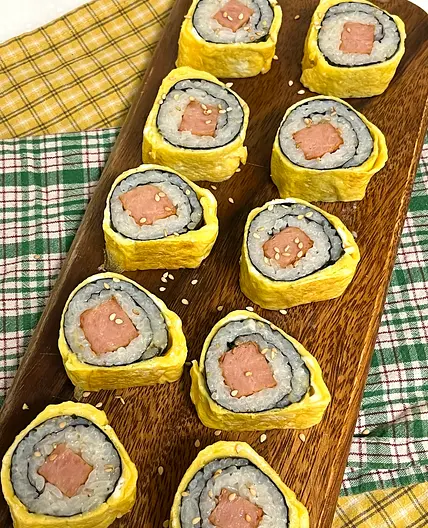
Gyeranmari Kimbap (Egg Omelette Kimbap)
12 steps
Prep:10minCook:10min
Updated at: Thu, 07 Nov 2024 23:40:50 GMT
Nutrition balance score
Unbalanced
Glycemic Index
71
High
Glycemic Load
107
High
Nutrition per serving
Calories968.4 kcal (48%)
Total Fat26.7 g (38%)
Carbs150.4 g (58%)
Sugars1 g (1%)
Protein26.7 g (53%)
Sodium675.4 mg (34%)
Fiber3.4 g (12%)
% Daily Values based on a 2,000 calorie diet
Ingredients
2 servings
Gyeranmari
![4 large eggs](https://art.whisk.com/image/upload/fl_progressive,h_48,w_48,c_fill,dpr_2.0/v1550765018/graph/fooddb/fa43dd85a5a5b36d90db62044e58e857.jpg)
4eggs
large
![2 tbsp minced carrots](https://art.whisk.com/image/upload/fl_progressive,h_48,w_48,c_fill,dpr_2.0/v1552312211/custom_upload/1031eaaf8321d585f99b147587fedcef.jpg)
2 Tbspcarrots
minced
![1 tbsp finely chopped green onions](https://art.whisk.com/image/upload/fl_progressive,h_48,w_48,c_fill,dpr_2.0/v1584100919/custom_upload/b3d4520f334be58343d5bec54e6c6bbd.jpg)
1 Tbspgreen onions
finely chopped
![Sprinkle of MSG](https://art.whisk.com/image/upload/fl_progressive,h_48,w_48,c_fill,dpr_2.0/v1550764529/graph/fooddb/d3c9e98554c0d6f58c59de773776d9a6.jpg)
MSG
![Sprinkle of salt](https://art.whisk.com/image/upload/fl_progressive,h_48,w_48,c_fill,dpr_2.0/v1550765002/graph/fooddb/eb238db694872ac4ebb19f67029d0f81.jpg)
salt
![Sprinkle of black pepper](https://art.whisk.com/image/upload/fl_progressive,h_48,w_48,c_fill,dpr_2.0/v1550764831/graph/fooddb/39f1b878713bff480cfa4b95237008d2.jpg)
black pepper
![Oil, for greasing the griddle pan](https://art.whisk.com/image/upload/fl_progressive,h_48,w_48,c_fill,dpr_2.0/v1554130417/custom_upload/9373920d5ea10e1c6d1e08c688086615.jpg)
Oil
for greasing the griddle pan
Rice
Assembly
Instructions
Prepare the gyeranmari
Step 1
In a mixing bowl, whisk the eggs until smooth. Stir in the minced carrots, green onions, MSG, salt, and black pepper.
![eggs](https://art.whisk.com/image/upload/fl_progressive,h_24,w_24,c_fill,dpr_2.0/v1550765018/graph/fooddb/fa43dd85a5a5b36d90db62044e58e857.jpg)
![carrots](https://art.whisk.com/image/upload/fl_progressive,h_24,w_24,c_fill,dpr_2.0/v1552312211/custom_upload/1031eaaf8321d585f99b147587fedcef.jpg)
![green onions](https://art.whisk.com/image/upload/fl_progressive,h_24,w_24,c_fill,dpr_2.0/v1584100919/custom_upload/b3d4520f334be58343d5bec54e6c6bbd.jpg)
![MSG](https://art.whisk.com/image/upload/fl_progressive,h_24,w_24,c_fill,dpr_2.0/v1550764529/graph/fooddb/d3c9e98554c0d6f58c59de773776d9a6.jpg)
![salt](https://art.whisk.com/image/upload/fl_progressive,h_24,w_24,c_fill,dpr_2.0/v1550765002/graph/fooddb/eb238db694872ac4ebb19f67029d0f81.jpg)
![black pepper](https://art.whisk.com/image/upload/fl_progressive,h_24,w_24,c_fill,dpr_2.0/v1550764831/graph/fooddb/39f1b878713bff480cfa4b95237008d2.jpg)
Step 2
Lightly oil a griddle pan and place it over medium-low heat.
![Oil](https://art.whisk.com/image/upload/fl_progressive,h_24,w_24,c_fill,dpr_2.0/v1554130417/custom_upload/9373920d5ea10e1c6d1e08c688086615.jpg)
Step 3
Pour a thin layer of the egg mixture onto the pan, just enough to coat the surface. Let it cook until it starts to set, but still a bit runny on top.
Step 4
Begin rolling the egg from one end, creating a log shape. Push the roll to the side of the pan, add another thin layer of the egg mixture, and repeat the rolling process until all the egg mixture is used up.
Step 5
Transfer the rolled egg to a cutting board and let it cool slightly.
Season the rice
Step 6
In a bowl, combine the cooked white rice with sesame seeds, salt, MSG, and a drizzle of sesame oil. Mix gently until evenly seasoned.
![white rice](https://art.whisk.com/image/upload/fl_progressive,h_24,w_24,c_fill,dpr_2.0/v1550764616/graph/fooddb/3e85f4433791f84362efce59d4cad8b8.jpg)
![sesame seeds](https://art.whisk.com/image/upload/fl_progressive,h_24,w_24,c_fill,dpr_2.0/v1550764605/graph/fooddb/c2663aa22c2ee0af0799bbe4c31cb4df.jpg)
![salt](https://art.whisk.com/image/upload/fl_progressive,h_24,w_24,c_fill,dpr_2.0/v1550765002/graph/fooddb/eb238db694872ac4ebb19f67029d0f81.jpg)
![MSG](https://art.whisk.com/image/upload/fl_progressive,h_24,w_24,c_fill,dpr_2.0/v1550764529/graph/fooddb/d3c9e98554c0d6f58c59de773776d9a6.jpg)
![sesame oil](https://art.whisk.com/image/upload/fl_progressive,h_24,w_24,c_fill,dpr_2.0/v1550764684/graph/fooddb/0a15cb596f106a0eabc036b2352602e9.jpg)
Assemble
Step 7
Place the sheet of nori on a flat surface, shiny side down.
![nori](https://art.whisk.com/image/upload/fl_progressive,h_24,w_24,c_fill,dpr_2.0/v1568110599/custom_upload/54dc61d0b6421907999ea5fdcea3c889.jpg)
Step 8
Spread an even layer of the seasoned rice over the nori, leaving a small border at the top.
Step 9
Arrange the gyeranmari in a line across the center of the rice.
Step 10
Starting from the edge closest to you, carefully roll the nori and rice over the egg roll, pressing gently but firmly to secure it into a tight roll.
Step 11
Once rolled, brush the outside of the kimbap with a little sesame oil to give it a glossy finish.
![sesame oil](https://art.whisk.com/image/upload/fl_progressive,h_24,w_24,c_fill,dpr_2.0/v1550764684/graph/fooddb/0a15cb596f106a0eabc036b2352602e9.jpg)
Step 12
Use a sharp knife to slice the kimbap into rounds. Serve and enjoy your gyeranmari kimbap!
Notes
0 liked
0 disliked
There are no notes yet. Be the first to share your experience!