By Yesika
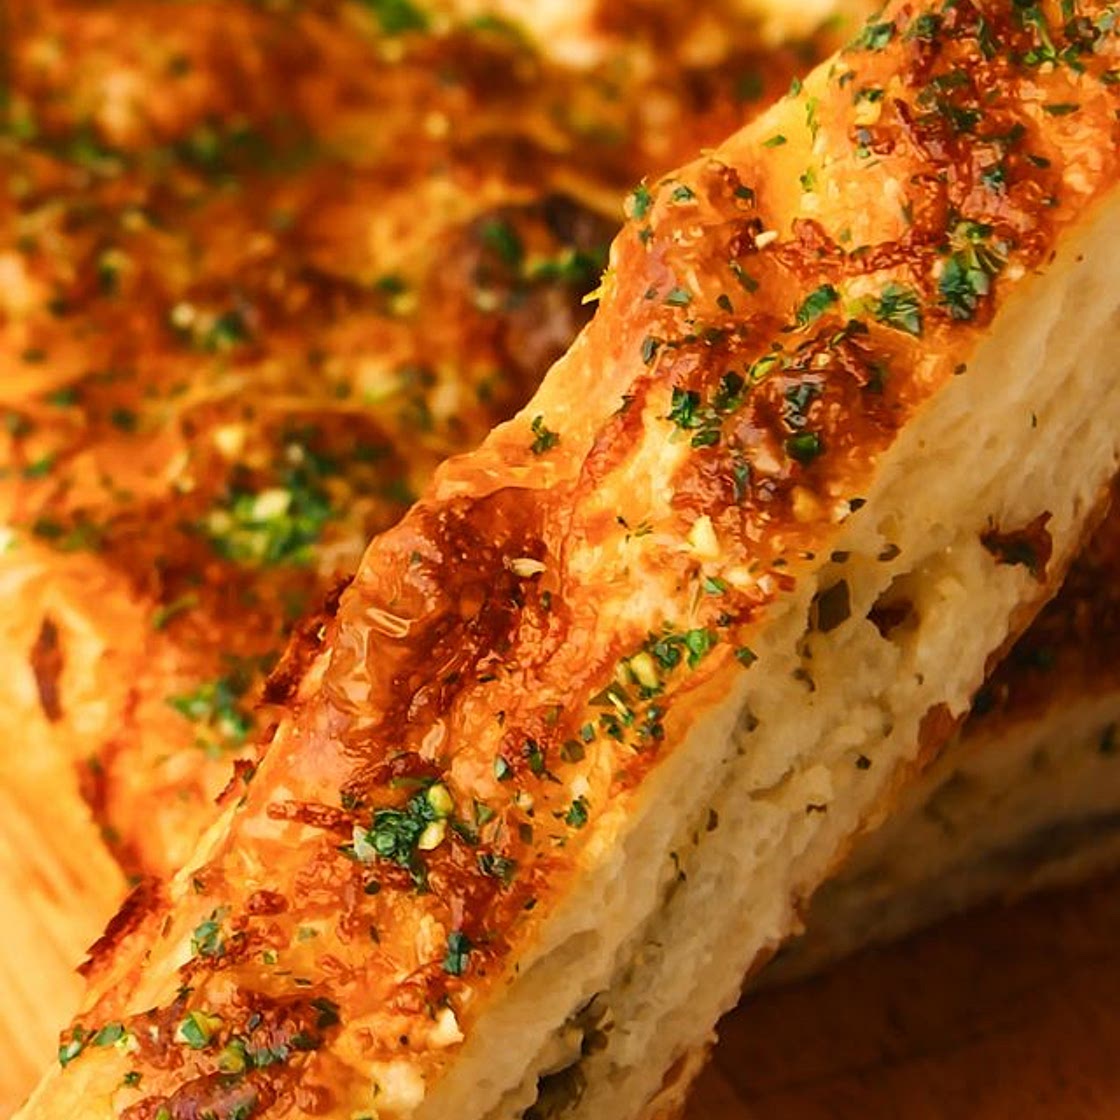
Cheesy garlic focaccia
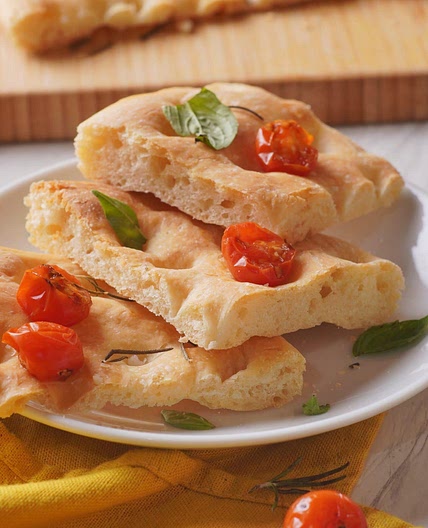
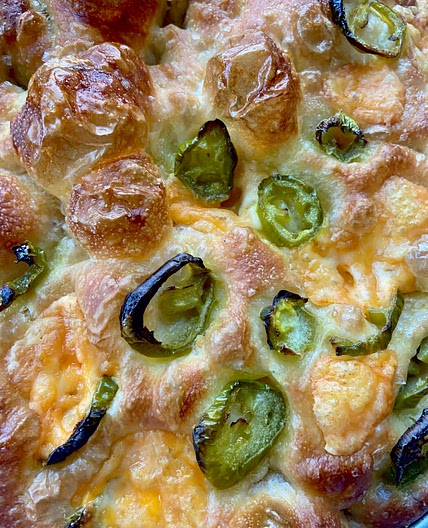
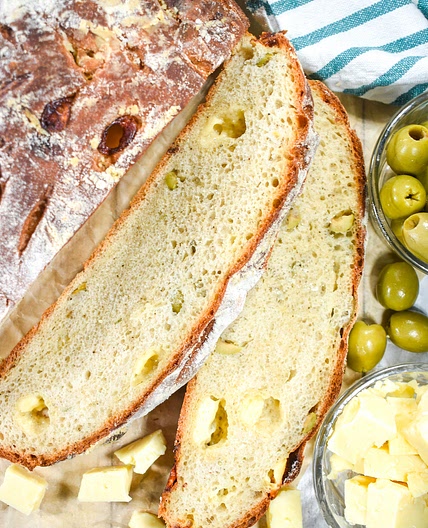
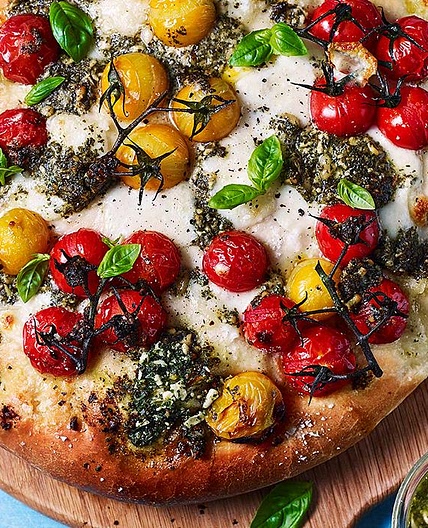
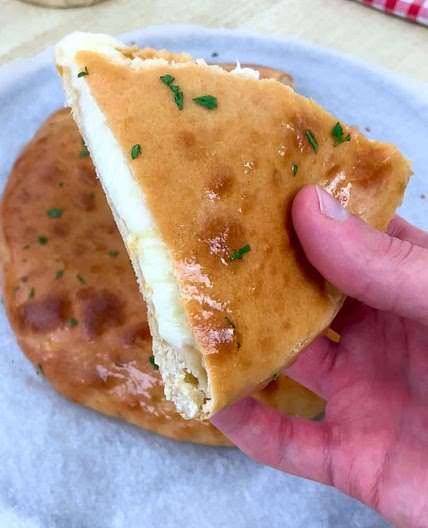
If you can resist eating a whole tray of this cheesy garlic focaccia, you’re a better person than me. Even if you’re a novice bread maker, my no-knead focaccia recipe is the perfect place to start. ❤️
Here’s what you need:
Updated at: Sun, 21 Jan 2024 22:36:37 GMT
Nutrition balance score
Unbalanced
Glycemic Index
74
High
Glycemic Load
310
High
Nutrition per serving
Calories3168.3 kcal (158%)
Total Fat119.1 g (170%)
Carbs417.7 g (161%)
Sugars14.8 g (16%)
Protein99.7 g (199%)
Sodium5164.5 mg (258%)
Fiber14.3 g (51%)
% Daily Values based on a 2,000 calorie diet
Ingredients
1 servings
Instructions
Make the dough:
Step 1
1. To a large mixing bowl, add all the ingredients in order as listed except the flour. Whisk together, then add flour. See note for substituting with active dry yeast. Use a Danish dough hook or the neck of a wooden spoon to mix until the dough is wet and sticky. Cover with a tea towel. Rest for 10 minutes.
Fold the dough:
Step 2
2. In this recipe, I like to combine two types of folding methods.
STRETCH AND FOLD METHOD:
Step 3
Wet your hands before proceeding as it will make it easier to handle the dough. Work your way around the dough like you are looking at clock - you want to perform a fold at 12, 3, 6 and 9 o’clock. Pull the dough up and over to the other side of the bowl. Cover with a tea towel for 10 minutes.
COIL METHOD:
Step 4
Gently loosen the edges of the dough by pulling it away from the sides of the bowl. Make sure your hands are wet. Place your fingertips under the dough, so that you can pick it up in the middle. Allow the dough to unstick from the bowl and fold using its own weight, while you support the middle. Turn the bowl 90° and repeat to perform another coil fold, two total. Do this coil method 3 times total, 10 minutes apart. With each set of folds, the dough gluten structure gets stronger, making it easier to lift and fold.
Step 5
3. Coat the focaccia with oil, then cover loosely with plastic wrap and a tea towel. Let it rise in a warm spot at room temperature for at least 1-1½ hours. If it hasn't doubled in size and bubbled up in that time, perform a set of "envelope" folds, and let it sit for an additional 20 minutes. *Note: If you have time, cover the bowl with plastic wrap and refrigerate overnight after the last set of folds. Then, remove from the refrigerator, place directly into a 9"x13" oiled baking tray, cover with plastic wrap again and let it rise in warm spot for anywhere between 1-3 hours until dough is at room temperature. Proceed with the directions.
Prep the dough and bake:
Step 6
4. Remove the plastic wrap. Move the bowl back and forth to allow the dough to breathe and open its bubbles. Coat a generous layer of olive oil on the bottom of a 9"x13" inch baking pan. Gently pour the dough in and use your hands to grab the dough. Reserve 1/4 cup of cheese and garlic herb sauce. Set aside. Evenly spread the rest on top of the dough. Then, fold the dough into thirds, turn 180° and flip over so the seams are on the bottom of the baking tray.
Step 7
5. Gently spread the dough into the corners with your fingertips but don't force it. Cover with a baking tray or plastic wrap and allow the dough to rest for the final rise for 1 hour. The dough will continue to stretch and rise into the corners. If the room is not warm enough, and you don't see the dough growing into the corners of the pan, add an additional 20 minutes of rise time.
Step 8
6. Preheat the oven to 450°F. Lightly drizzle the top with olive oil and dimple the dough. Bake for 15 minutes, remove and add the remainder of the cheese. Bake for additional 5-7 minutes until cheese is melted, golden and the edges are crispy. Depending on the strength of your oven, it may take more or less time. Just keep an eye out. Brush the leftover garlic herb sauce over the top of the bread.
View on instagram.com
↑Support creators by visiting their site 😊
Notes
0 liked
0 disliked
There are no notes yet. Be the first to share your experience!
