Nutrition balance score
Unbalanced
Glycemic Index
69
Moderate
Glycemic Load
27
High
Nutrition per serving
Calories289.5 kcal (14%)
Total Fat12.1 g (17%)
Carbs38.9 g (15%)
Sugars5.8 g (6%)
Protein6.6 g (13%)
Sodium451.1 mg (23%)
Fiber1.9 g (7%)
% Daily Values based on a 2,000 calorie diet
Ingredients
6 servings
210gBread flour
50gAll purpose flour
15gsugar
6gsalt
6ginstant yeast
15gunsalted butter
160gmilk
room temp
48gsalted butter
divided into 6 pieces
For the Jellycat Legs:
For decoration:
Instructions
Step 1

Combine all dough ingredients except butter and knead either in a stand mixer/bread machine or on a floured surface for about 10 minutes.
Step 2

When smooth, add the butter and knead again for another 10 minutes (or until no longer sticky). Take a small piece of dough and stretch it between your fingers. If you can stretch it thin and translucent without tearing, it's done. This is called the 'windowpane test'.
Step 3

For the Jellycat legs, take out 58g of dough and knead in the cocoa powder + water until smooth. Transfer to a bowl and cover with cling film. Let the dough rise in a warm place until doubled in size.
Step 4
Transfer the rest of the dough to a bowl. Cover with cling film and let the dough rise in a warm place until doubled in size (around 1 1/2 hours).
Step 5

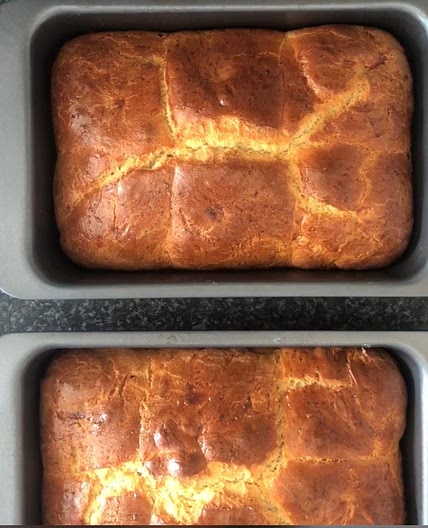
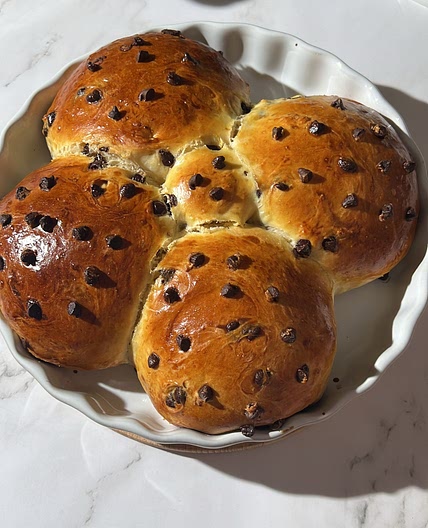
Once the dough has doubled, knock out the air and split into 6 equal portions (around 68g each). Cover again and rest for an additional 20 minutes. (In the picture I made a double batch)
Step 6
For the legs, split the dough into 12 equal pieces (around 6g each). Cover and let rest until ready to shape.
Step 7

Flatten a portion of dough into the shape of an elongated teardrop (around 15cm long). Using a rolling pin, roll out each teardrop shape dough to create an flat inverted triangle (around 40-45cm long)
Step 8

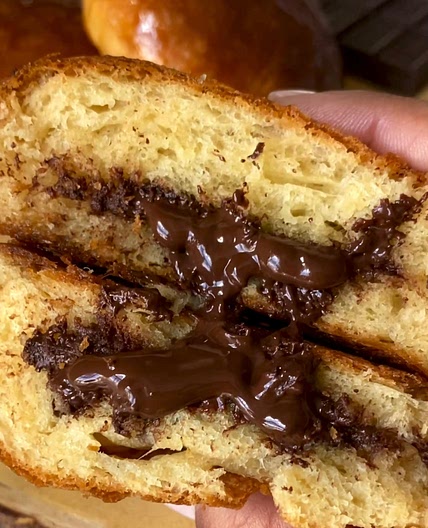
Place a piece of salted butter at the wide end of the triangle and start rolling the dough towards you. Seal the butter in dough with the first fold by pinching the sides around the butter.
Step 9

To make the legs, take a 6g portion of chocolate dough and start rolling into a log shape from the centre of the dough ball. Apply pressure to one side of the log only so that one side becomes thin and the other side maintains a rounded ball shape. Repeat with the rest of the chocolate dough. (Make sure you cover the dough between shaping so it doesnt dry out!)
Step 10

When everything is shaped, Place two ‘legs’ down onto a lined baking tray before flattening the thin end slightly and dabbing on a bit of water to help the ‘body’ stick to the legs. Place one of the body portions on top of the legs, seam facing down. Manipulate the roll to resemble a crescent shape and repeat for the rest of the dough portions, making sure to leave ample space between each one.
Step 11

Cover and proof the bread rolls for 30 mins (in warm weather) - 1 hour (cold weather). Once halfway through the final fermentation, preheat the oven to 200 degrees c.
Step 12
When the rolls are ready to bake they should be puffy and doubled in size. Optionally using a spray bottle, spray the rolls with water before baking at 200c for 15-20 mins or until golden brown.
Step 13

Once out of the oven, leave the bread rolls to cool on the baking tray for at least 15 minutes before transferring to a wire rack.
To Decorate:
Step 14

Make sure the bread rolls are completely cool before decorating. Using melted dark chocolate and a toothpick or paper piping bag, draw the Jellycat smiley faces onto each roll.

