By Rui Araujo
No-Bake Chocolate Custard Recipe | Silky & Easy Dessert | Sharp Blades
7 steps
Prep:20minCook:10min
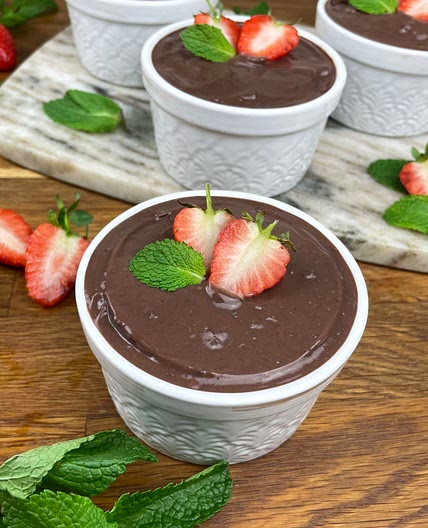
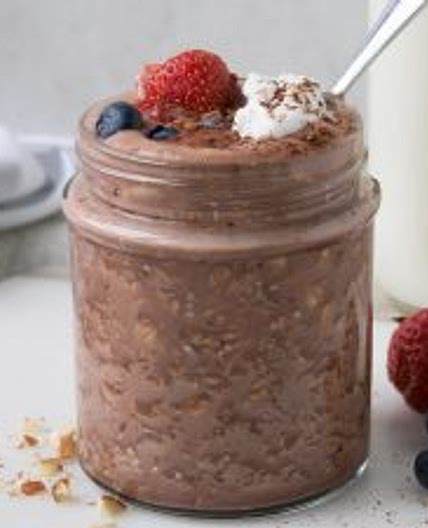
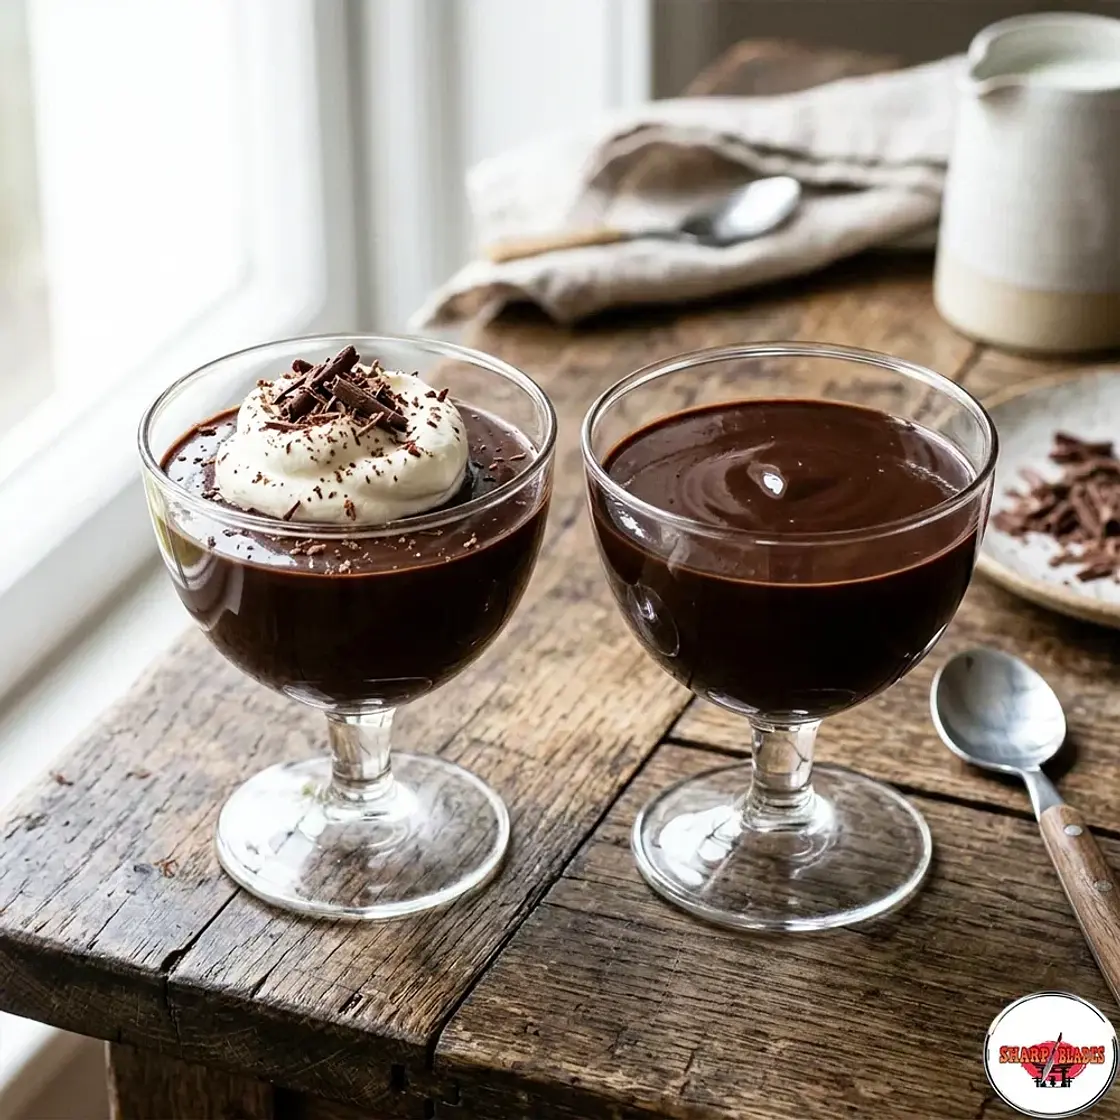
There are desserts that make an impression and desserts that make an impression with ease. The latter applies to this No-Bake Chocolate Custard.
Updated at: Wed, 04 Mar 2026 13:52:38 GMT
Nutrition balance score
Unbalanced
Glycemic Index
51
Low
Glycemic Load
31
High
Nutrition per serving
Calories548.4 kcal (27%)
Total Fat32.1 g (46%)
Carbs60.5 g (23%)
Sugars45.1 g (50%)
Protein11.3 g (23%)
Sodium221.3 mg (11%)
Fiber6.8 g (24%)
% Daily Values based on a 2,000 calorie diet
Ingredients
4 servings
480mlwhole milk
½ cupheavy cream
½ cupgranulated sugar
24gcornstarch
¼ teaspoonsalt
21gunsweetened cocoa powder
115gdark chocolate
70% cocoa, finely chopped
2egg yolks
large
1 ½ teaspoonsvanilla extract
1 tablespoonunsalted butter
optional, for extra shine
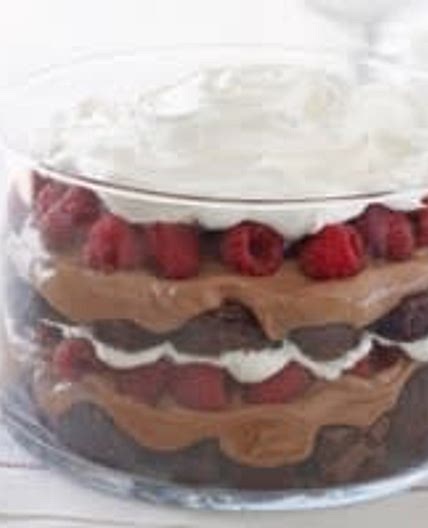
lightly sweetened whipped cream
chocolate
shavings or curls
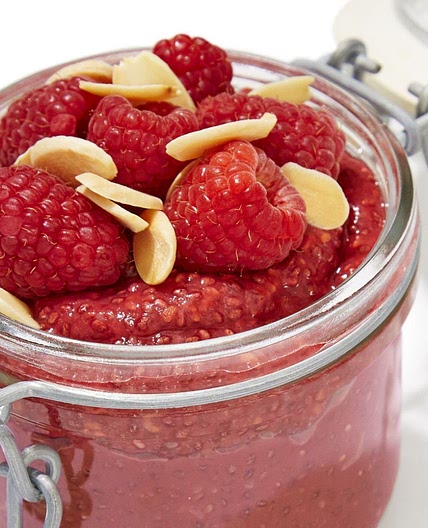
Fresh raspberries
or strawberries
Utensils
Needed
saucepan
medium
whisk
Mixing bowls
one heatproof
spatula
rubber
4glasses
Serving, or ramekins
Plastic wrap
for covering
Instructions
Step 1
Detailed Instructions
Mix the dry ingredients:
Mix the granulated sugar, cornflour, cocoa powder and salt in a medium pot that is off the burner. To avoid lumps of cocoa or cornflour later on, it is essential to whisk these dry ingredients first.
Step 2
To add dairy:
Slowly pour whole milk and heavy cream into a saucepan, stirring constantly. Continue whisking until the mixture is entirely smooth and the dry ingredients have dissolved.
Step 3
Temper the Egg Yolks:
Beat the egg yolks gently in a different small basin. Pour roughly ½ cup of the saucepan's milk mixture into the yolks gradually while whisking constantly. In order to prevent the eggs from scrambling when put to the hot pot, this procedure, known as tempering, gradually elevates their temperature. Refill the pot with the tempered yolk mixture.
Step 4
To cook the custard:
Set the saucepan over medium heat. Using a whisk or silicone spatula, stir continuously, scraping the pan's corners and bottom to avoid burning. Cook for 5 to 7 minutes, or until the mixture thickens and starts to softly boil. When the custard coats the back of a spoon and maintains a distinct line when you run your finger through it, it is ready.
Step 5
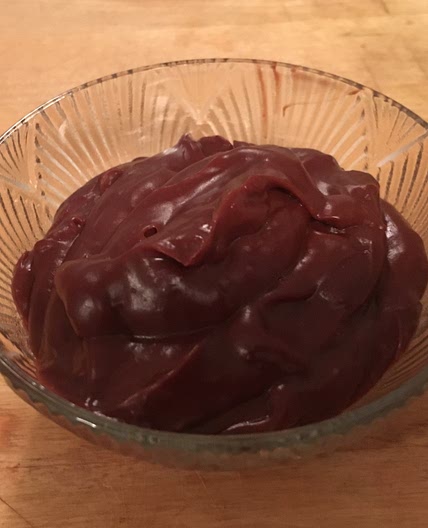
The Chocolate & Butter:
Take the saucepan off of the burner and add the chocolate and butter. Add the tablespoon of butter (if using), vanilla essence, and finely chopped dark chocolate right away. After allowing the chocolate to melt for a minute, carefully stir until the mixture is uniformly smooth and shiny.
Step 6
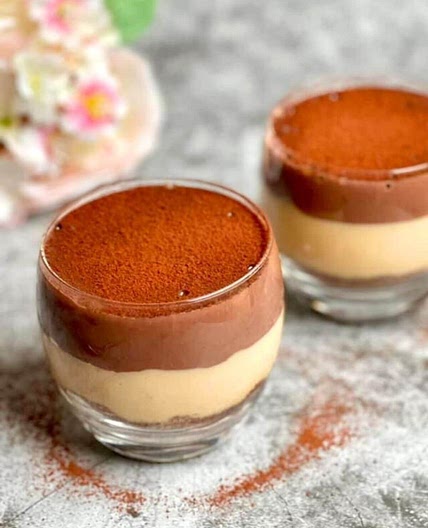
Portion and Chill:
Evenly distribute the custard among your ramekins or serving glasses. Put a piece of plastic wrap immediately on each custard's surface to stop a skin from developing. Refrigerate until completely cooled and set, at least four hours.
Step 7
Serve:
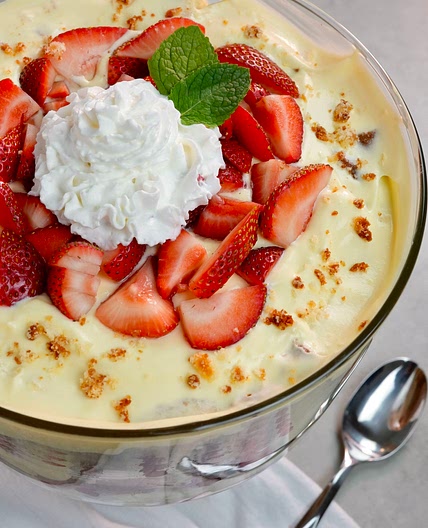
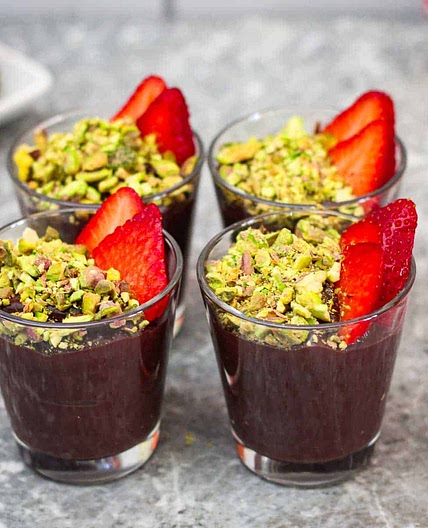
Take off the plastic wrap when it's time to serve. For a burst of colour and freshness, sprinkle some chocolate shavings, a hefty dollop of whipped cream, and a few fresh berries on top.
View on sharpblades.co.uk
↑Support creators by visiting their site 😊
Notes
1 liked
0 disliked
Bland
Crispy
Delicious
Dry
Easy