1/3
2/3
3/3
Leave a note

By 33RECIPES
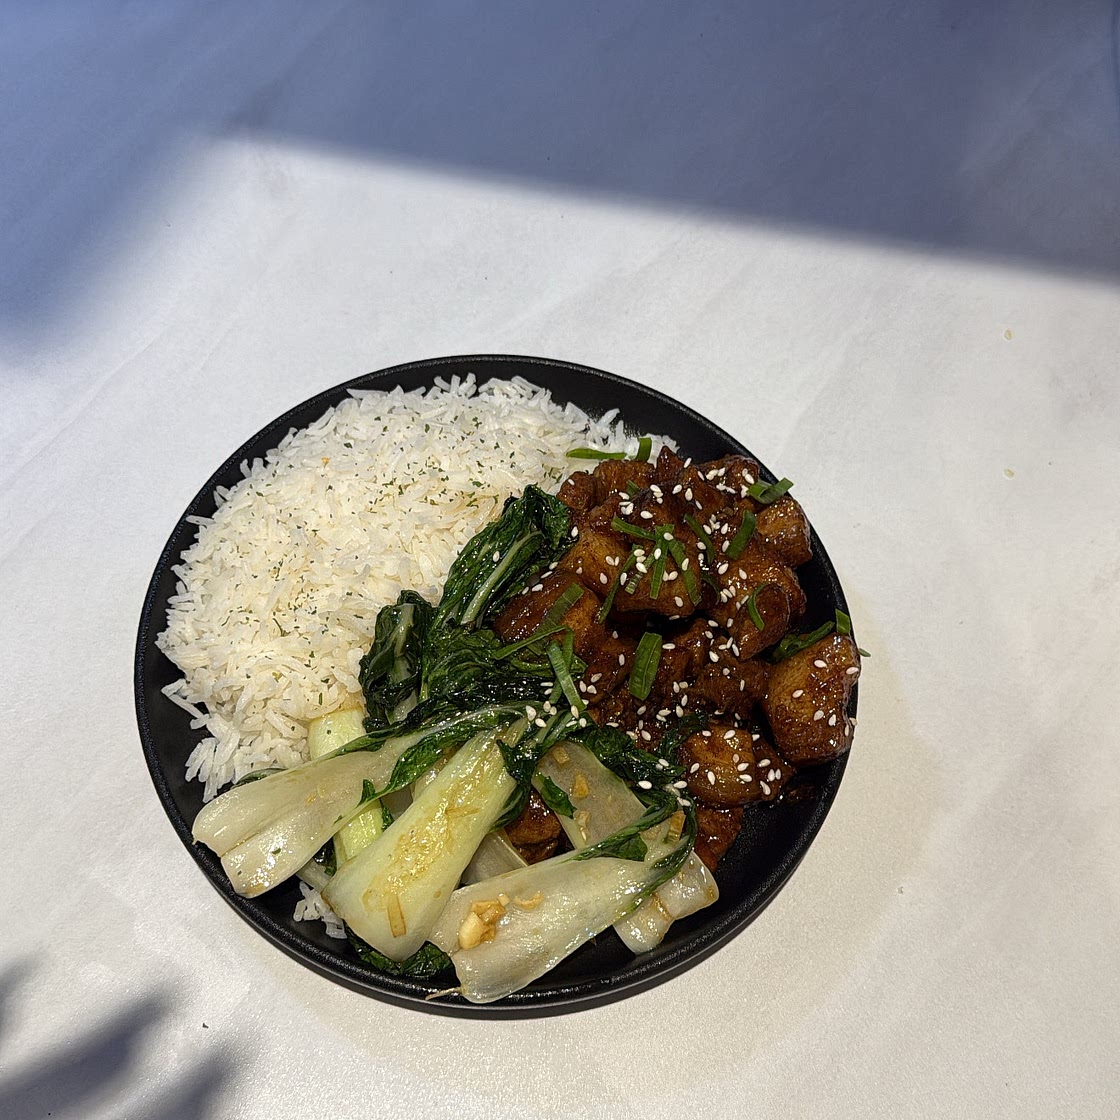
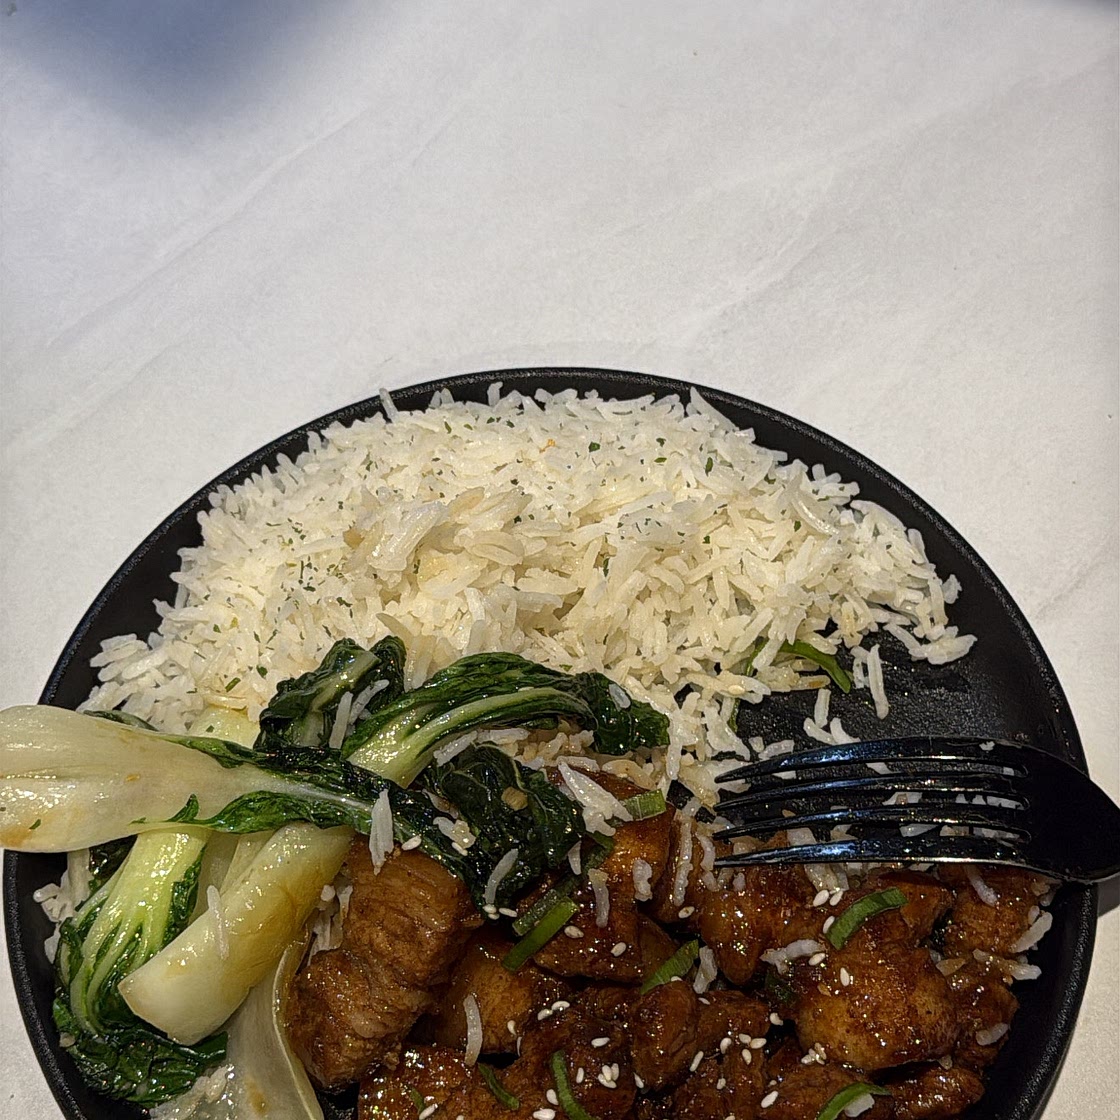
CHINESE STYLE PORK BELLY WITH COCONUT RICE & GARLIC PAK CHOI
11 steps
Prep:10minCook:40min
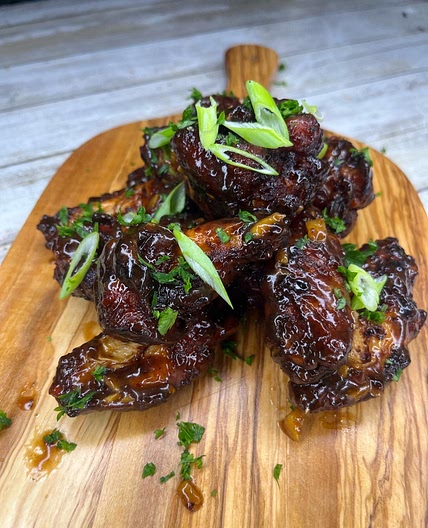
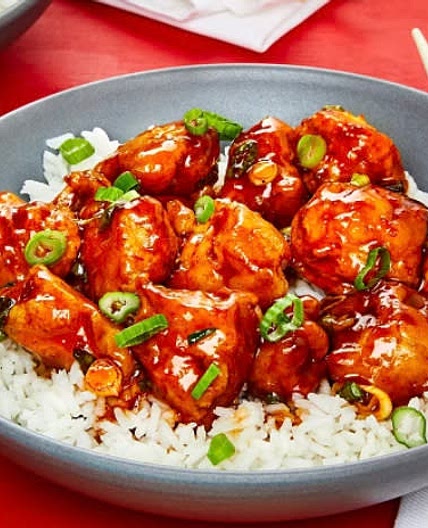
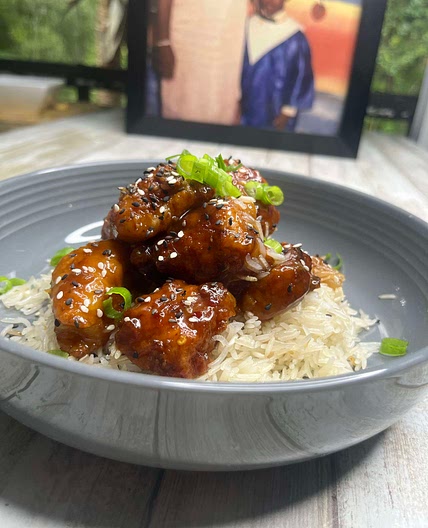
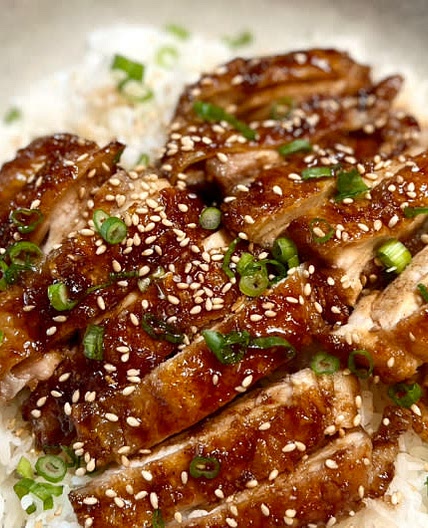
Crispy-edged pork belly coated in a rich, sticky Chinese-style garlic, ginger and soy glaze, served with fluffy coconut rice and garlicky pak choi.
Updated at: Mon, 28 Sep 2026 01:26:51 GMT
Nutrition balance score
Unbalanced
Glycemic Index
66
Moderate
Glycemic Load
39
High
Nutrition per serving
Calories1023.9 kcal (51%)
Total Fat78.9 g (113%)
Carbs58.5 g (22%)
Sugars11.9 g (13%)
Protein20.9 g (42%)
Sodium1005.7 mg (50%)
Fiber4.5 g (16%)
% Daily Values based on a 2,000 calorie diet
Ingredients
3 servings
FOR THE PORK BELLY

360gpork belly slices

½ tspChinese five spice

½ tspwhite pepper

2 Tbsplight soy sauce
1 Tbspdark soy sauce

2 Tbspsoft brown sugar

3garlic cloves
minced

1 tspginger
grated, or ginger paste

1 Tbsprice vinegar
½ tspChinese five spice

100mlwater

½ tspoil
FOR THE COCONUT RICE


FOR THE PAK CHOI

TO FINISH


Instructions
MAKE COCONUT RICE
Step 1
Rinse the rice thoroughly under cold water. Add to a saucepan with the coconut milk, water and a pinch of salt.
Step 2
Bring to a gentle boil, cover and reduce to low heat. Cook according to the rice packet instructions until tender. Remove from the heat and leave covered for 5–10 minutes before fluffing with a fork.
PREPARE THE PORK BELLY
Step 3

Cut the pork belly slices into chunky bite-sized pieces and pat thoroughly dry.
Step 4
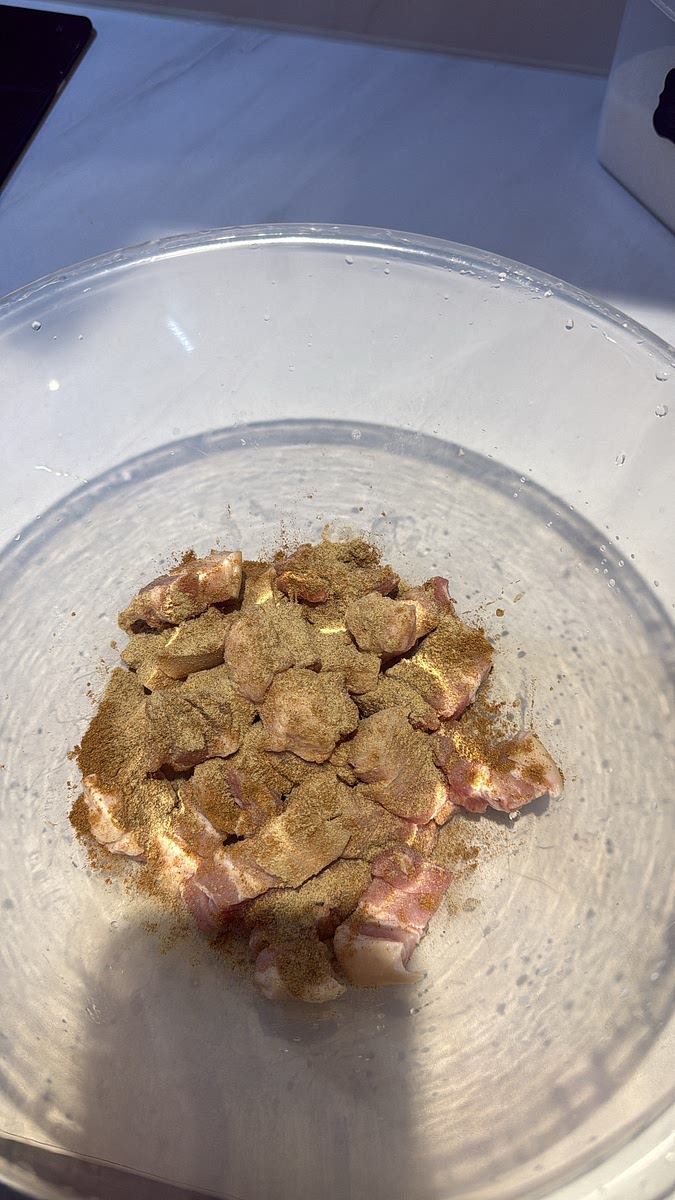
Season with Chinese five spice and the white pepper.
COOK THE PORK
Step 5
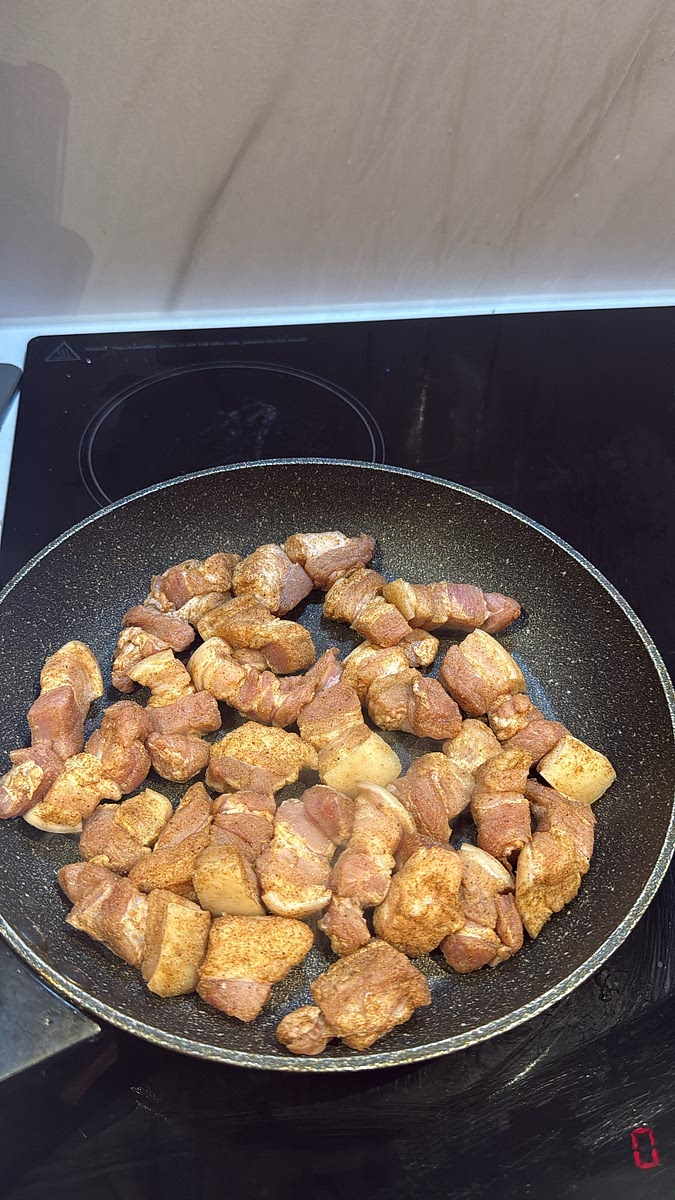
Add the pork to a dry frying pan in a single layer, then turn the heat to medium.
Step 6
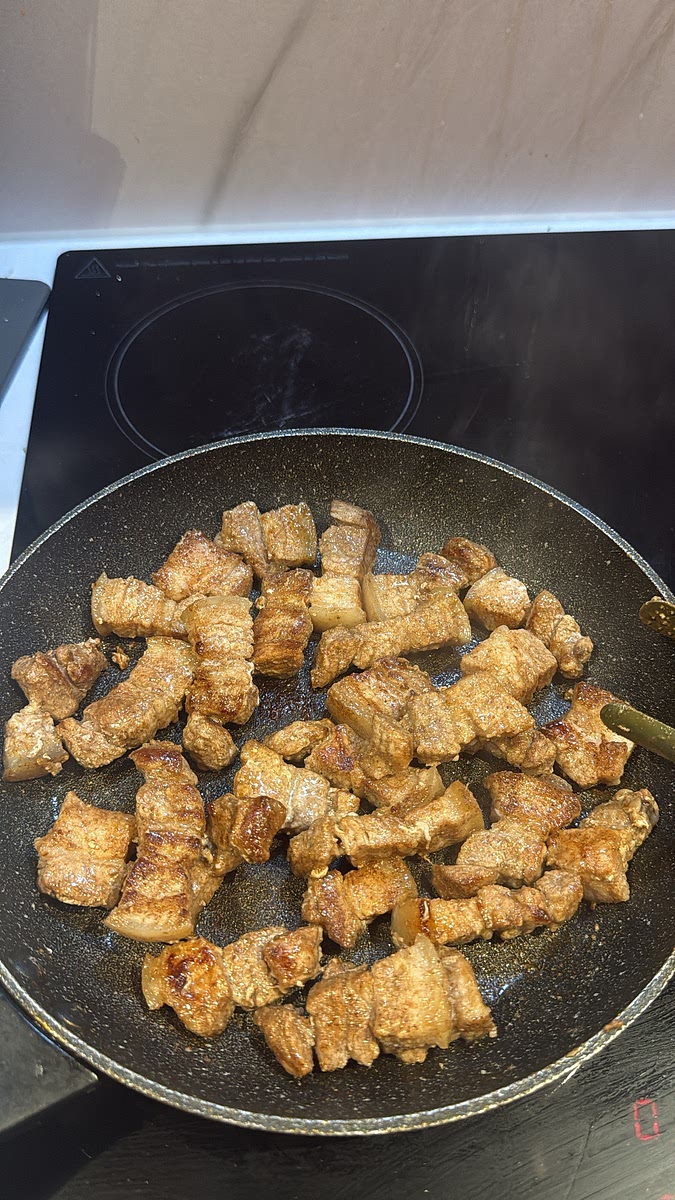
Cook for around 10 minutes, turning regularly, allowing the fat to render and the pork to become golden and crisp around the edges. Carefully drain most of the rendered fat if there is any, leaving approximately 1 tbsp in the pan.
MAKE THE SAUCE
Step 7
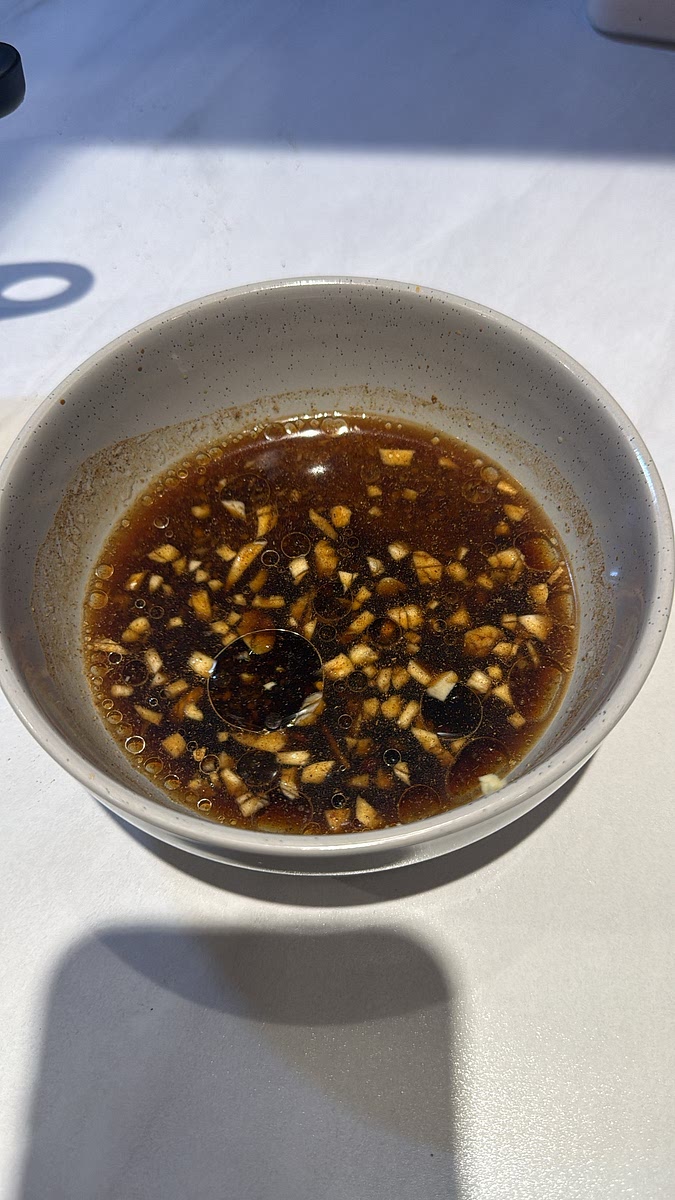
add the garlic, ginger , light soy sauce, dark soy sauce, brown sugar, rice vinegar, five spice and water and oil to a bowl
Step 8
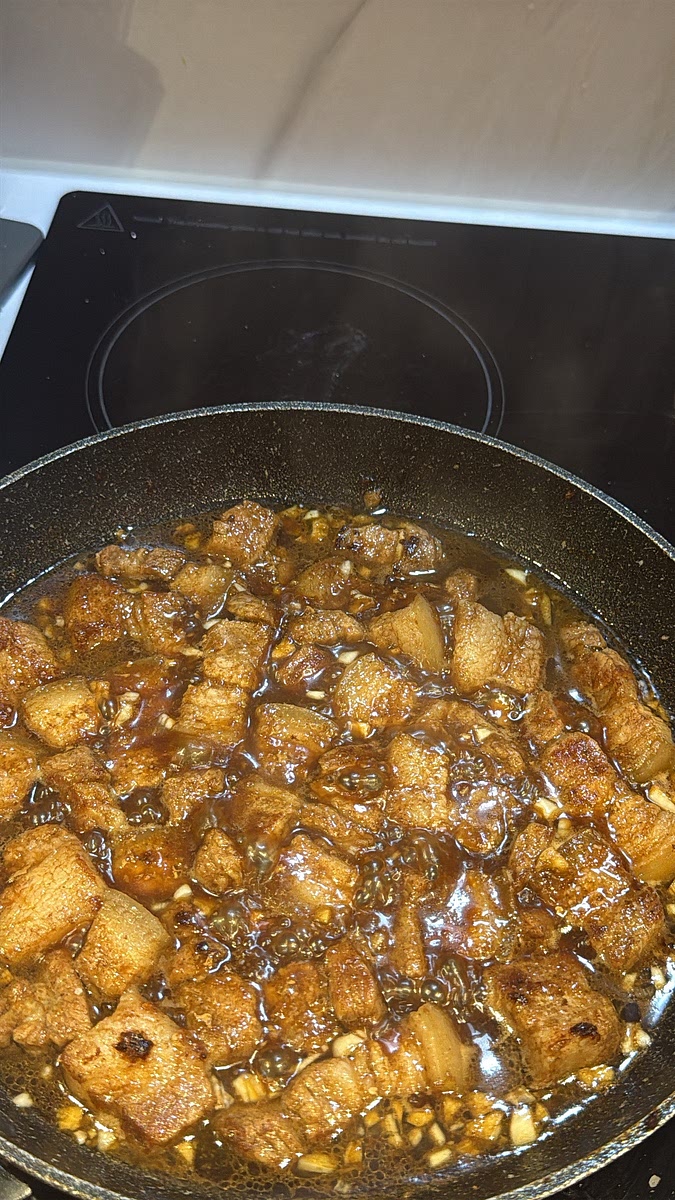
Reduce the heat slightly and add in the sauce stir and bring to a simmer
GLAZE THE PORK
Step 9
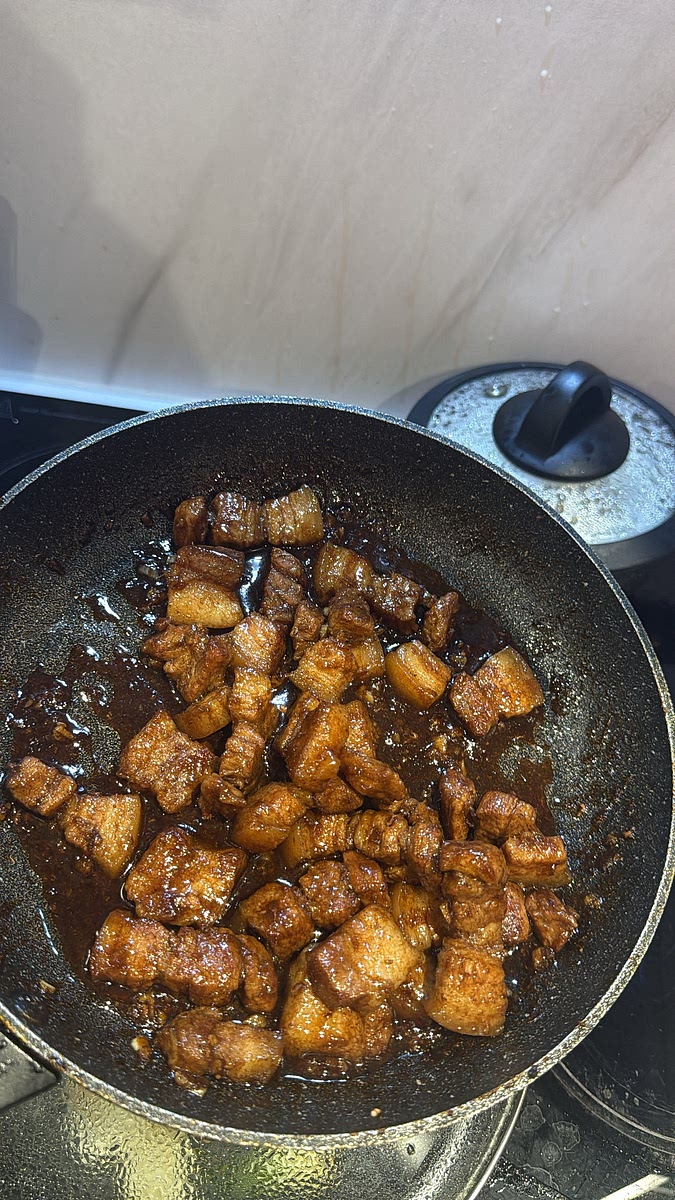
Cook uncovered for around 8–12 minutes, regularly tossing the pork through the sauce. Allow the sauce to reduce until dark, glossy and sticky, but leave a little extra sauce to coat the pork rather than reducing it completely dry. Turn off the heat
COOK THE PAK CHOI
Step 10
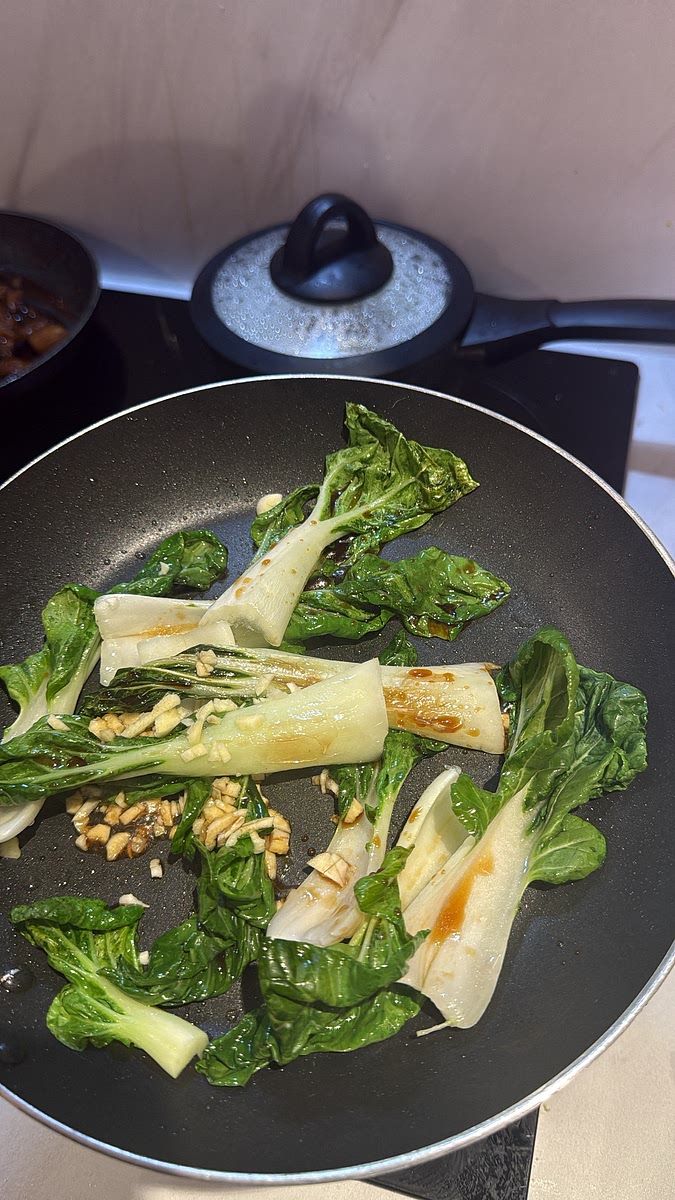
Heat the oil in a frying pan and add the pak choi Cook for 2–3 minutes. Add the chopped garlic and fry briefly before adding the soy sauce and a small splash of water. Cook for another 1–2 minutes until tender.
SERVE
Step 11

Serve the sticky pork belly alongside the coconut rice and garlicky pak choi. Spoon any remaining sticky sauce over the pork and finish with sliced spring onions and sesame seeds. Sprinkle a little dried parsley over the rice if desired.
Notes
0 liked
0 disliked
There are no notes yet. Be the first to share your experience!