Nutrition balance score
Good
Glycemic Index
69
High
Glycemic Load
1
Low
Nutrition per serving
Calories4.9 kcal (0%)
Total Fat0 g (0%)
Carbs1 g (0%)
Sugars0 g (0%)
Protein0.2 g (0%)
Sodium7.8 mg (0%)
Fiber0.1 g (0%)
% Daily Values based on a 2,000 calorie diet
Ingredients
500 servings
Instructions
Step 1
In a large mixing bowl, whisk together the starter and warm water.
Step 2
In a second bowl, mix together the flours.
Step 3
Add the flours to the wet mixture and mix with your fingers until you have an even, sticky dough.
Step 4
Scrape the dough off your fingers and wash your hands with water (but not soap).
Step 5
Dust your work surface with flour.
Step 6
Wet your hands to stop the dough sticking to them, then knead it for about six minutes
Step 7
Don't worry if the dough sticks to the work surface: use your scraper to keep the ball together and concentrate on developing it evenly (and enjoying the feel of the dough in your hands).
Step 8
After 5-6 minutes your dough should feel noticeably stiffer and less sticky - this is the gluten developing.
Step 9
Place the dough back in the bowl and leave it to rest for 30 minutes.
Step 10
Lightly dust the work surface with flour again.
Step 11
Sprinkle 1 teaspoon of the salt evenly over the dough ball and knead for 30 seconds to distribute it evenly through the mixture.
Step 12
Repeat Step 5 three times, until you have added 2 teaspoons of salt, and you have kneaded for about 2 minutes in total.
Step 13
With the dough on your work surface, scrape the bowl clean.
Step 14
Put the dough back in the bowl and fold, trapping as much air as you can inside the dough.
Step 15
Cover with a clean tea towel and let it rest for 1 hour.
Step 16
Repeat folding three times so that you have folded the dough four times in total over a four hour period.
Step 17
Don't worry if your timings aren't exact - the yeast won't know!
Step 18
Take a proving basket and liberally dust it with rice flour or semolina to stop the dough from sticking to it.
Step 19
Gently move the dough ball into the basket and cover it with a clean tea towel.
Step 20
Place the basket in the fridge and leave it to prove overnight (a minimum of 8 hours, but up to 12 will be fine).
Step 21
An hour before you want to bake, remove the proving basket from the fridge and bring it to room temperature.
Step 22
Preheat the oven to 240°C (220°C fan)/gas mark 10 with a heavy baking tray or baking stone on the middle shelf, and add a source of steam.
Step 23
When the oven is ready, remove the stone and carefully turn the loaf out of the proving basket onto it.
Step 24
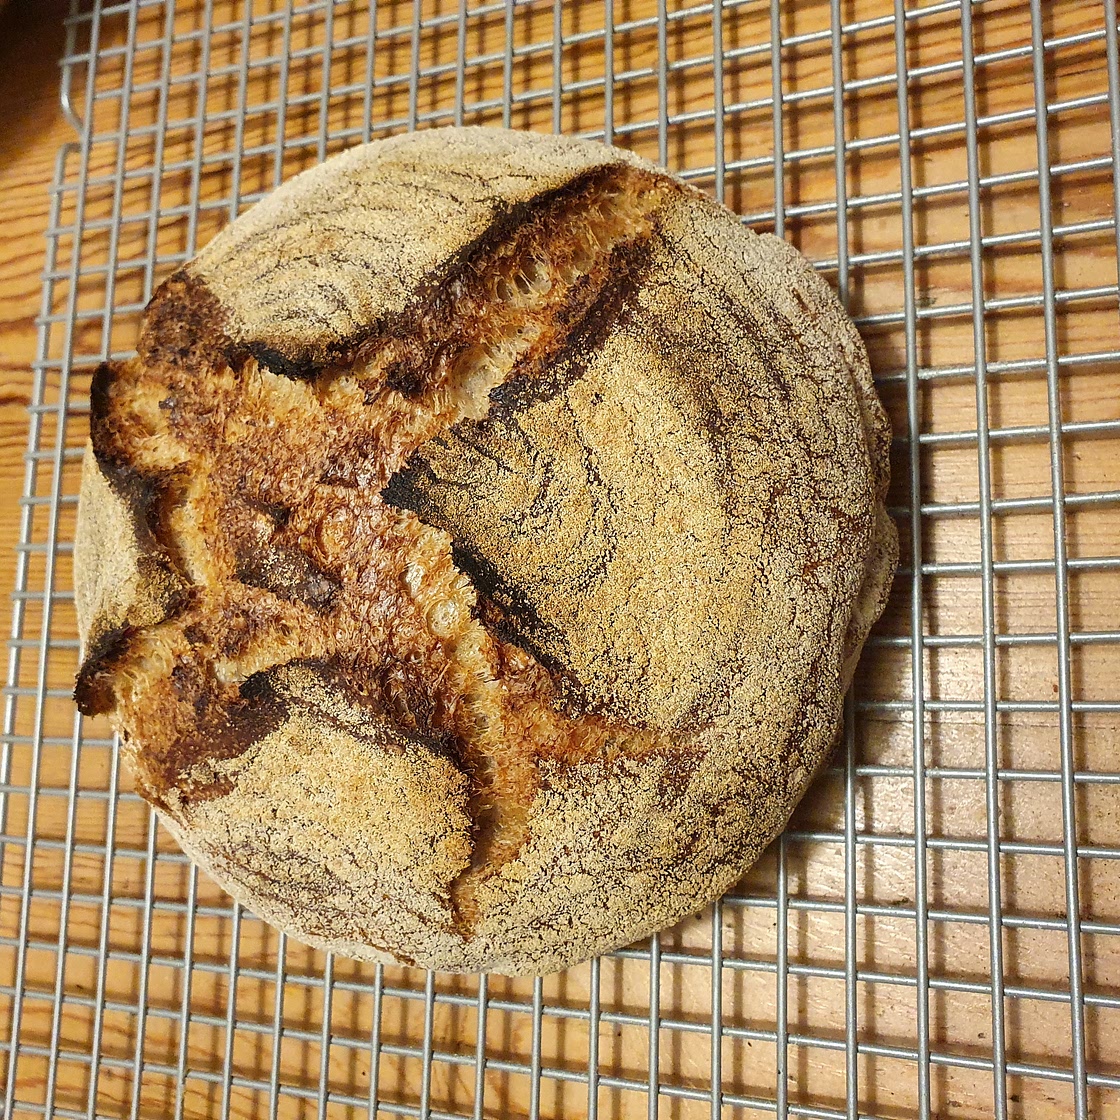
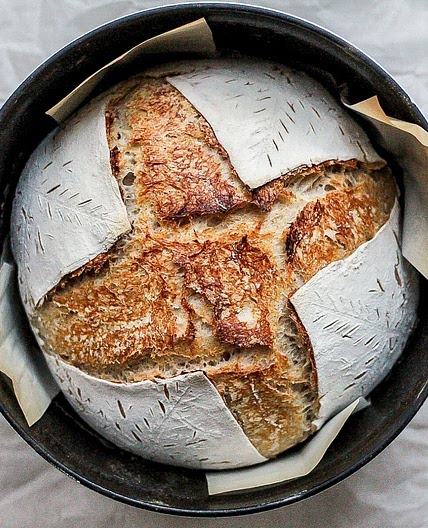
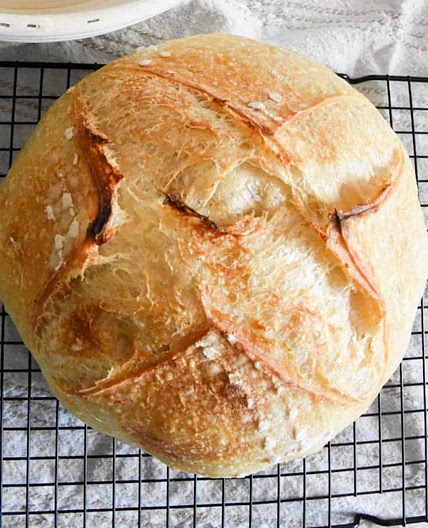
Using a sharp blade or scissors, make four cuts in the top of the loaf - in a cross or a square – about 2cm deep.
Step 25
Bake for 30 minutes, then check the loaf to make sure that it is baking evenly.
Step 26
If necessary, rotate it through 180 degrees.
Step 27
Reduce the temperature to 210°C (190°C fan)/gas mark 6 and bake for another 20 minutes, or until the loaf is done and sounds hollow on the base when tapped with a fingertip.
Step 28
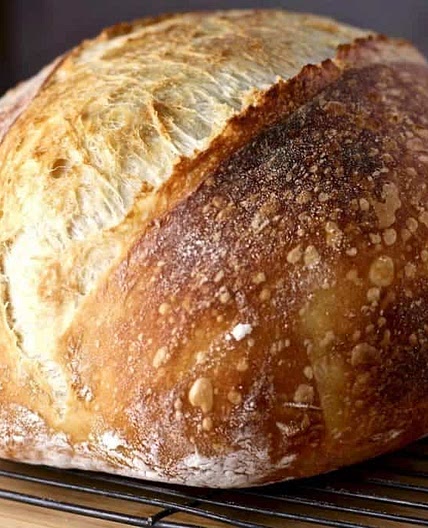
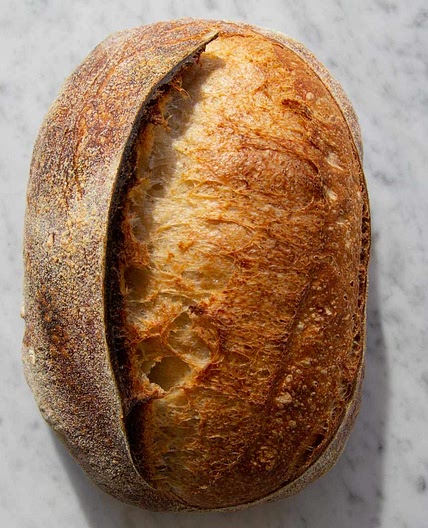
Leave to cool on a wire rack before eating.
Notes
0 liked
0 disliked
There are no notes yet. Be the first to share your experience!
