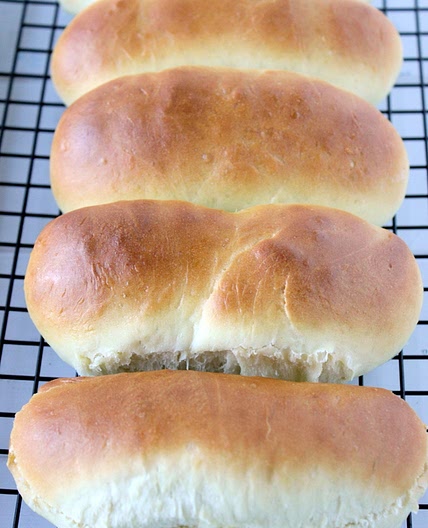
1/2
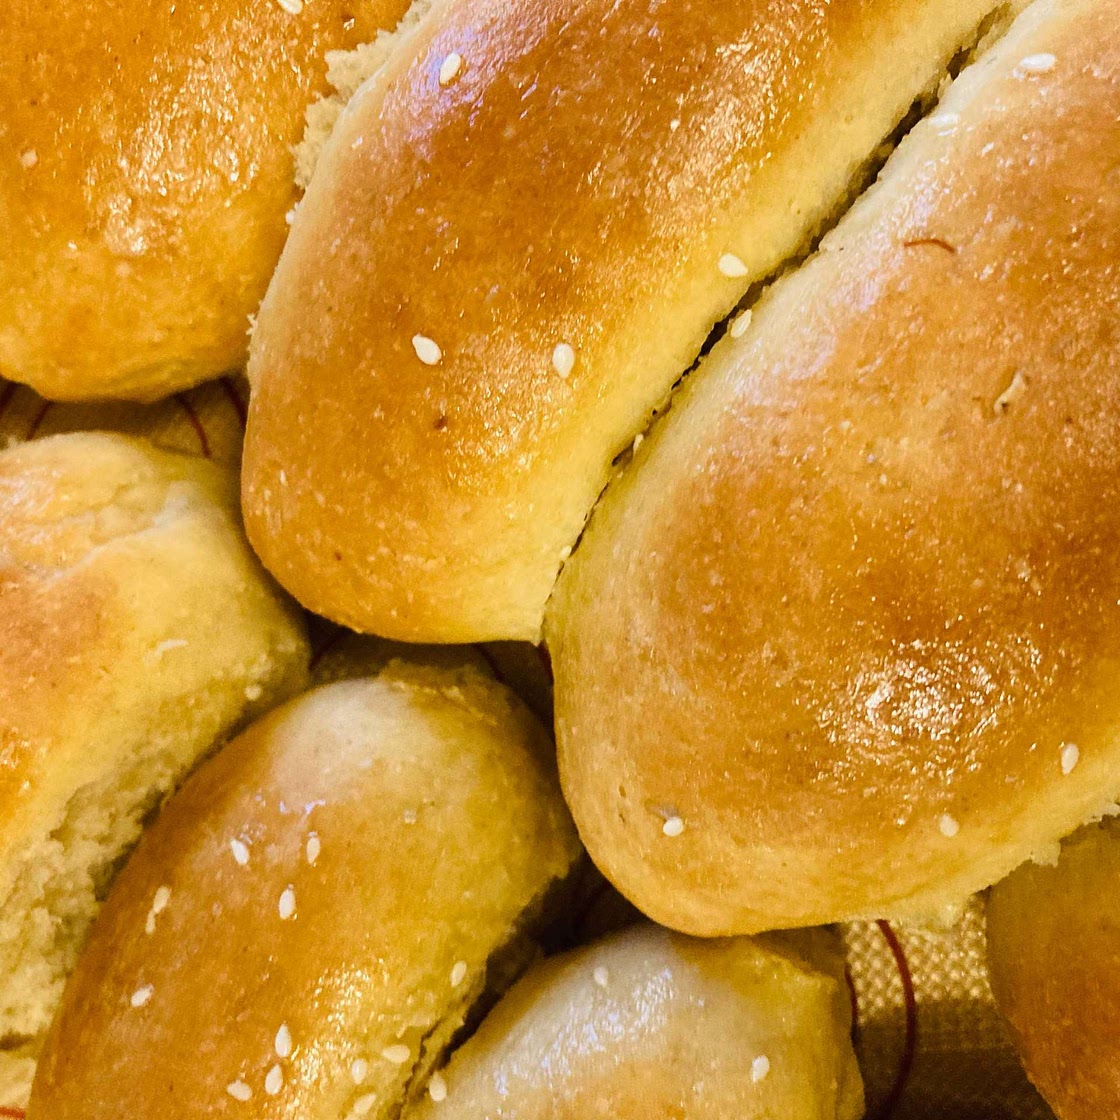
2/2
50%
2
By SouthernBelle
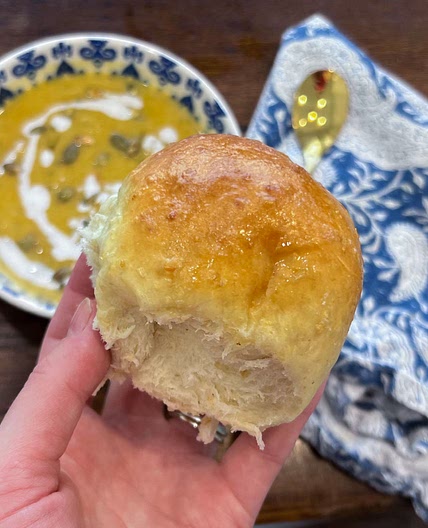
The Perfect Hot Dog With Homemade Buns feat. Roy Choi
9 steps
Prep:2hCook:25min
Making the perfect hot dog starts by making the perfect hot dog bun, I'm talking that homemade stuff. You know how I am. Not to mention our special guest Roy...
Updated at: Thu, 17 Aug 2023 06:36:34 GMT
Nutrition balance score
Unbalanced
Glycemic Index
70
High
Glycemic Load
23
High
Nutrition per serving
Calories226.3 kcal (11%)
Total Fat7.8 g (11%)
Carbs32.7 g (13%)
Sugars3.8 g (4%)
Protein6.2 g (12%)
Sodium361.7 mg (18%)
Fiber1.9 g (7%)
% Daily Values based on a 2,000 calorie diet
Ingredients
10 servings
Instructions
Step 1

HAND KNEAD METHOD: Proof 2 tsp yeast and 1 tsp sugar in 1/2 cup warm water. Let stand about 10 minutes covered or until foamy. Also add 1 tsp yeast and tsp sugar to starter mix. (***See bread starter recipe at the end of these instructions.) While the yeast and bread starter are proofing, in a large mixing bowl, stir together the flour, oats that has been blended into a flour, salt, 2 tbsp sugar. Add EVOO and softened butter and the eggs. Finally, add the warm milk, proofed yeast and bread starter. Mix manually with your bare hand and knead for about 8-10 until the dough is smooth and pulling away from the bowl and your hand. It becomes soft and buoyant. Form into a ball in large, greased bowl with lid. Place in an oven that is turned off and allow to rise for an hour or until doubled in size. Lightly flour a cutting board or countertop surface and roll out dough about 1/2 inch thick as wide as possible. With your bench knife, divide dough into two and then evenly cut each half into 5-6 pieces for a total of 10-12 pieces.
Step 2
While the yeast and bread starter are proofing, in a large mixing bowl, stir together the flour, oats that has been blended into a flour, salt, 2 tbsp sugar. Add EVOO and softened butter and the eggs. Finally, add the warm milk, proofed yeast and bread starter.
Step 3
Mix manually with your bare hand and knead for about 8-10 until the dough is smooth and pulling away from the bowl and your hand. It becomes soft and buoyant. Form into a ball in large, greased bowl with lid. Place in an oven that is turned off and allow to rise for an hour or until doubled in size.
Step 4
Lightly flour a cutting board or countertop surface and roll out dough about 1/2 inch thick as wide as possible. With your bench knife, divide dough into two and then evenly cut each half into 5-6 pieces for a total of 10-12 pieces.
Step 5
Form each piece into balls and then place in a pan covered with greased cellophane and a teacup towel as another layer on top of cellophane. Allow to rest in the oven for 10 minutes.
Step 6
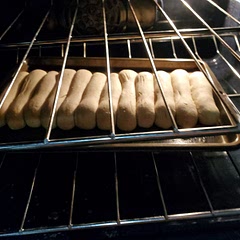
Take each ball and roll the dough back and forth against cutting board surface, creating a cylinder shape until it is about 5-6 inches. Line up each dough cylinder close to each other (less than 1/2 inch apart.) Once all of the balls have been rolled into cylinders and lined up side-by-side, lengthwise, place a greased cellophane layer over dough loosely to allow room to rise. Place a teacup towel over the cellophane layer. Allow to rise for 30 minutes.
Step 7
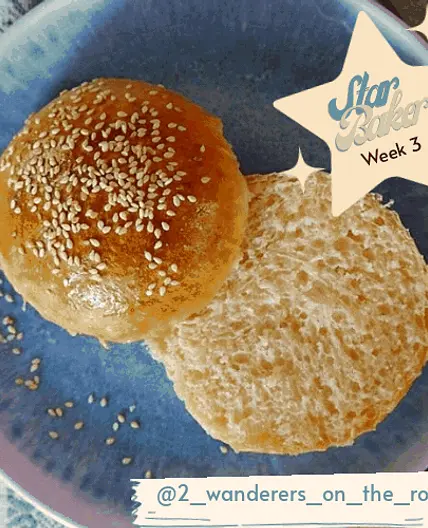
At this point, you can brush with butter, oil or egg wash. You can also add sesame seeds or nuts on top, if desired. Bake at 365° for 20-25 minutes and then brush with butter. You can cut the side of the bun (most common) or cut on top (New England style) and fill your buns with your favorite meats, sausages, cheeses or any other sandwich filling.
Bread Starter (Optional) Start 1-3 Days Ahead
Step 8
1 cup bread flour
1 tbsp yeast 1 tsp sugar 1/3 cup warm water (95° to 110° F) Whisk together all the ingredients until it forms a thick pancake batter consistency. (About 2-3 minutes) and then let it stand unrefriderated for 24-72 hours. Keep in the sink as the yeast is active and foaming during this period. Stir when needed. If you want sour dough, allow the bread starter to develop for up to one week. Bread starter adds flavor and complexity any bread recipe making it taste much better than without. After using a portion of the bread starter in your bread recipe, store the rest in the refrigerator, where your bread starter will live. Be sure to refresh the bread starter about once per month with flour, sugar and yeast. If there is a greenish, black tint on the surface of the bread starter, pour it off without pouring out the bread starter. If there isn’t any built-up greenish black liquid but yet there is discoloration, simply rinse the surface of the bread starter with warm from the tap while leaving some of the bread starter behind. Once you have refreshed your bread starter, then you can feed it with flour, sugar and yeast. Allow it to proof and then use in your bread recipe. Each time you refresh your bread starter, always save a little bit to make your future bread starter with. For example: if you used 1/2 cup of bread starter in your recipe and there is some left, use that which is left to create your new bread starter before making your bread each time you get ready to bake. There is no need to allow the bread starter to sit for 24-72 hours except for when you are starting completely over and you didn’t save at least a tablespoon of old bread starter to mix in the new bread starter.
Step 9
**Some revisions were made to the original recipe. You may use all bread flour without the oat flour. The bread starter is optional and is a flavor enhancer for the bread dough.
View on youtube.com
↑Support creators by visiting their site 😊
Notes
1 liked
1 disliked
Delicious
Easy
Fresh
Go-to
Moist
