By Mary G
Go-To Apple Pie Filling
22 steps
Prep:2hCook:1h
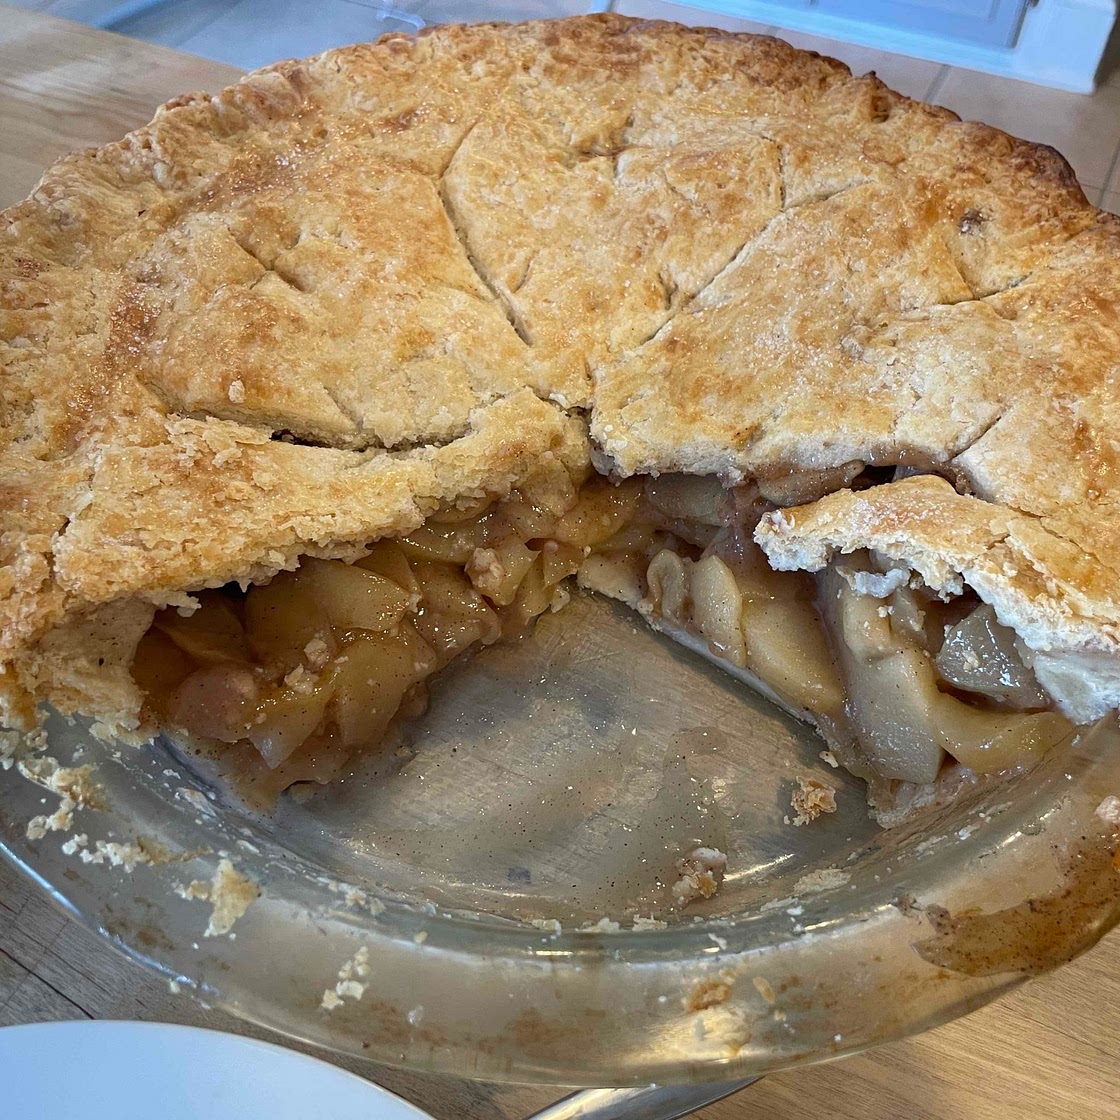
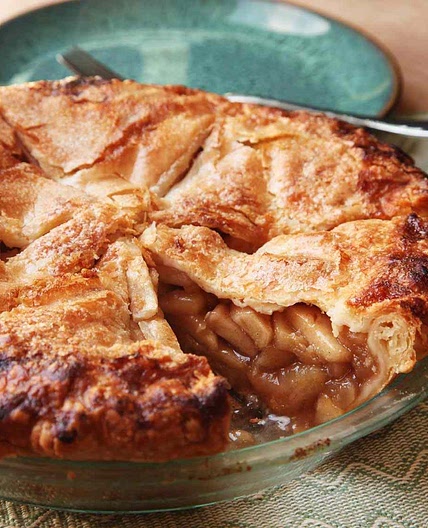
This apple pie filling will quickly become your go-to. Tart apples are cooked and covered in a gooey caramel-like sauce. Precooking the apples ensures the perfect pie texture and prevents a gap from forming between the filling and top crust.
Recipe adapted from The Food Charlatan’s Apple Pie Recipe.
Note: 3 lbs of apples should perfectly fill a 9-inch pie. If you’re using a deep dish pie pan or a larger pan, increase the amount of apples.
Updated at: Thu, 17 Aug 2023 11:34:35 GMT
Nutrition balance score
Unbalanced
Glycemic Index
56
Moderate
Glycemic Load
31
High
Nutrition per serving
Calories272.4 kcal (14%)
Total Fat6.2 g (9%)
Carbs52.8 g (20%)
Sugars32.6 g (36%)
Protein1.7 g (3%)
Sodium156.7 mg (8%)
Fiber4.1 g (15%)
% Daily Values based on a 2,000 calorie diet
Ingredients
10 servings
1pie crust
top & bottom, I like my Go-to Pie Crust recipe
3 lbsGranny Smith apples
peeled, cored, and sliced into roughly 1/8” slices
2 Tbsplemon juice
½ cupbrown sugar
packed
½ cupwhite sugar
5 Tbspall purpose flour
¼ tspsalt
1 ½ tspcinnamon
¾ tspnutmeg
1 ½ tspvanilla
1 Tbspmilk
for brushing on pie
1 Tbspsugar
for topping pie
foil
Vanilla ice cream
optional, for serving
Caramel sauce
optional, for serving
Instructions
Make the filling
Step 1
Peel and core apples. Slice into roughly 1/8” slices.
Step 2
Add apple slices and lemon juice to a high sided 12” skillet. (You can do this as you slice the apples so the lemon juice prevents the apples from turning too brown. Just leave the skillet off heat until all the apples are sliced.)
Step 3
Once you have all the apples peeled and sliced in the pan, set it on medium heat on the stove.
Step 4
Add brown sugar, white sugar, flour, salt, cinnamon, and nutmeg. Stir together gently so you don’t break all the apples.
Step 5
Once the mixture is moistened and you don’t see patches of flour or cinnamon, cover pan with a lid and set a timer for 20 minutes.
Step 6
Stir mixture every 3 minutes or so, replacing lid after stirring.
Step 7
Cook for 20 minutes, until the apples are fork tender but still hold their shape. The apples will not soften more while baking in the oven, so have a taste and see if you want to cook them longer or shorter. Only you can know your apple al dente perfection level.
Step 8
Once apples are your desired tenderness, remove pan from heat and stir in vanilla.
Step 9
Transfer the apple pie filling (including the brown caramel gooeyness) to a half sheet pan, or any pan with a lip. Spread the apples all the way to the edges. Cool the apple pie filling completely (will only take 20-30 minutes if you put the pan in the fridge or freezer).
Assemble and bake
Step 10
Roll out pie dough and put in a 9-inch pie dish, allowing excess to hang over the edge.
Step 11
Use a rubber spatula to scrape all the chilled apple pie filling into the pie dish. Don’t forget to scrape in every last bit of the gooey filling.
Step 12
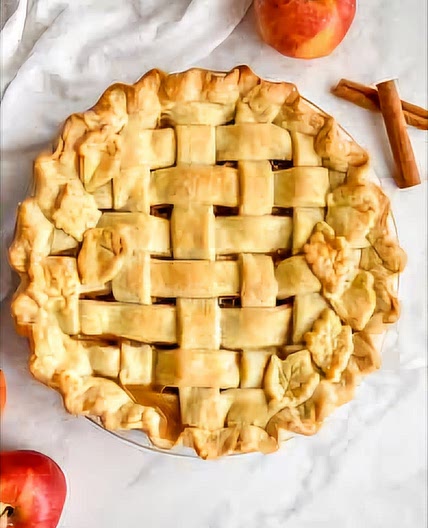
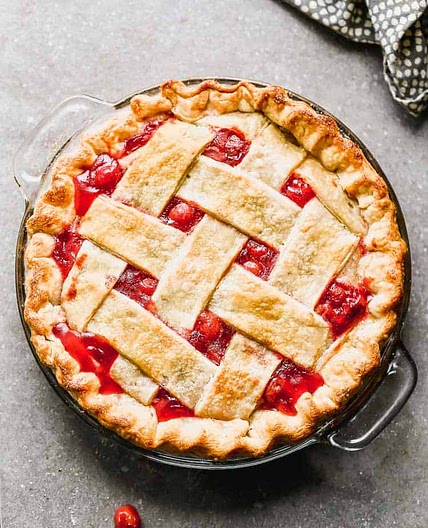
Top your pie with the second pie crust. Fold the edges in and crimp however you like. If you don’t do a lattice, make sure to vent your pie by poking the top a few times with a sharp knife.
Step 13
Place a baking sheet in the center rack of your oven and preheat to 425 degrees F. Let it heat up for at least 20-25 minutes to make sure it’s really hot (since this hot pan will help ensure a cooked, flaky bottom crust).
Step 14
Right before putting it in the oven, brush the crust of your pie all over with milk or egg, or both. Milk will help your pie crust brown but will stay matte; egg will add gloss and shine to your pie crust. Sprinkle the whole pie with sugar.
Step 15
Put the pie on the baking sheet in the oven and bake for 15 minutes. The crust on the edge should be turning light brown.
Step 16
Meanwhile, get a square of tin foil that is the same size as your pie. Fold it in half, then in half again. Cut out the center. Open it up again. You should have a square of foil with a circle cut out of the center.
Step 17
Reduce the heat to 350 degrees F.
Step 18
Remove the pie from the oven and place the foil on top. Loosely crimp it around the crust on the edge. This will protect it from burning.
Step 19
Don’t forget to lower the oven temperature to 350. Place the pie back on the baking sheet in the oven and bake at 350 for 40-45 more minutes. You will know the pie is done when the edges are brown and the center is light golden brown. If you did a lattice crust, you should see the filling bubbling away nicely.
Step 20
Let the pie cool on a wire rack for about 4 hours (if you cut into the pie without completely cooling, the filling will be too liquid).
Step 21
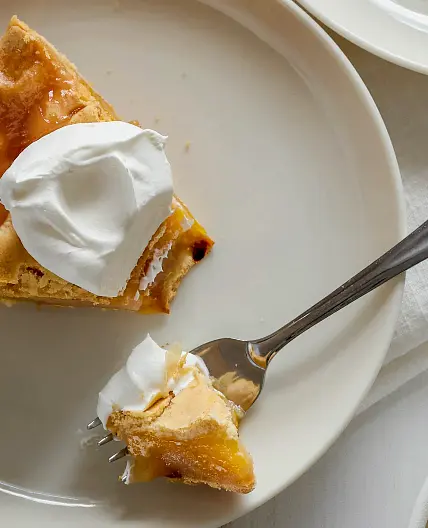
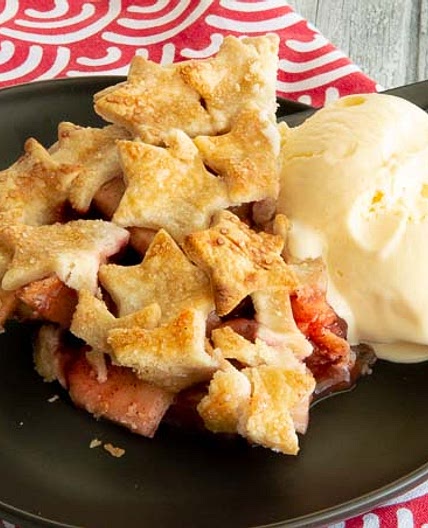
Slice and serve! Tastes great with vanilla ice cream and/or caramel sauce.
Step 22
Store the pie on the counter for up to 2 days, covered with plastic wrap. After that transfer it to the fridge.
Notes
1 liked
0 disliked
Delicious
Go-to
Sweet
