By Joanne Wong
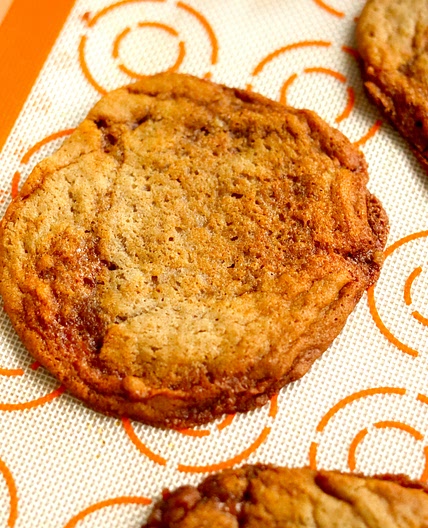
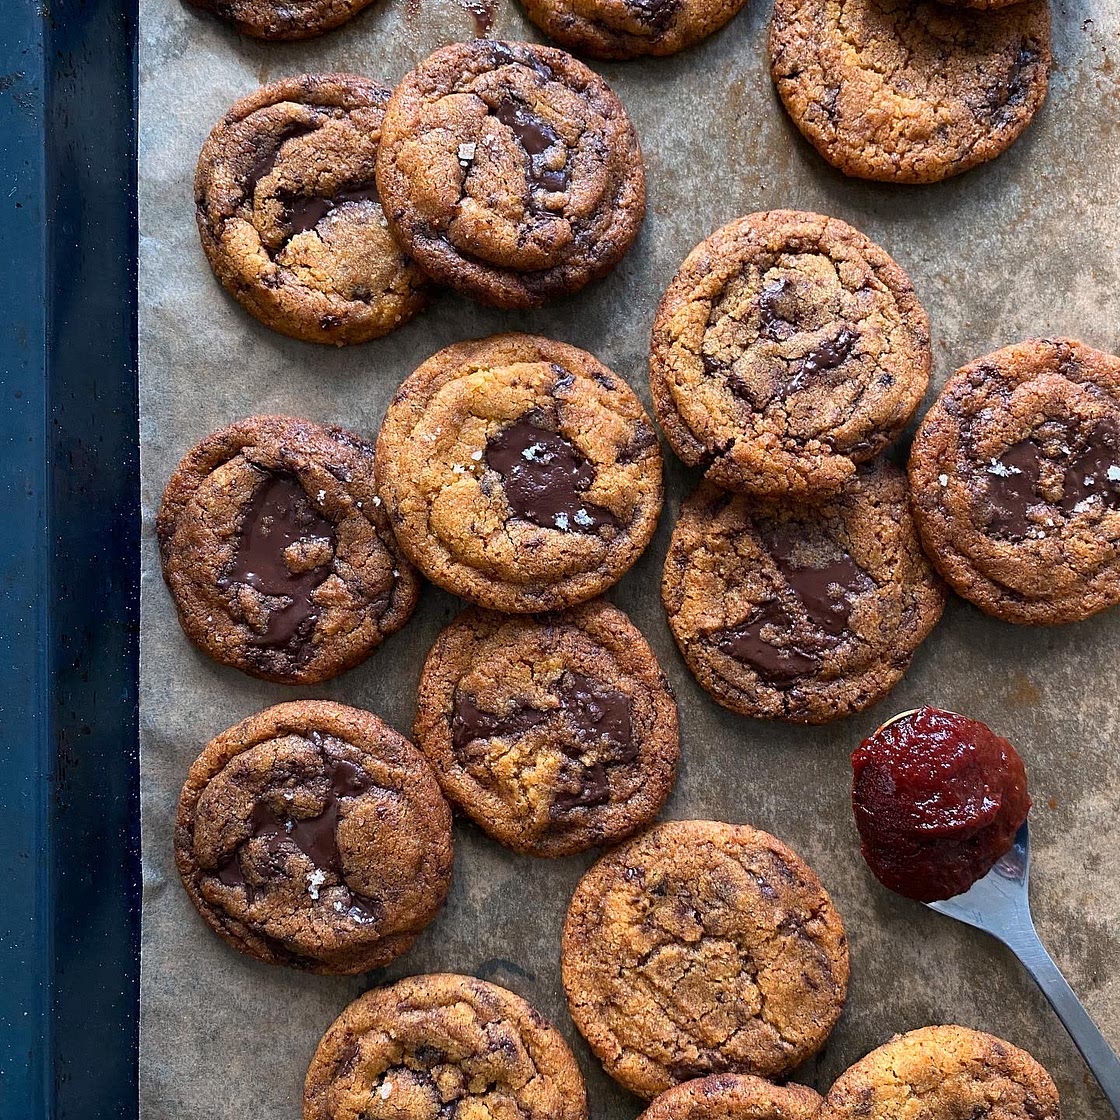
Gochujang chocolate chip cookies
12 steps
Prep:1h 20minCook:11min
This is a play on the miso chocolate chip cookie fad. Instead of using miso chocolate chips, I used gochujang instead and paired it with semisweet chocolate.
Updated at: Thu, 17 Aug 2023 13:34:09 GMT
Nutrition balance score
Unbalanced
Glycemic Index
63
Moderate
Glycemic Load
10
Low
Nutrition per serving
Calories149.2 kcal (7%)
Total Fat10.1 g (14%)
Carbs15.6 g (6%)
Sugars9.6 g (11%)
Protein1.5 g (3%)
Sodium23.8 mg (1%)
Fiber0.7 g (3%)
% Daily Values based on a 2,000 calorie diet
Ingredients
24 servings
¾ cupbrown butter
unsalted melted, chilled
1 ½ Tbspmilk powder
optional
¾ Tbspgochujang
can use less if you don’t want too much spice
½ cupbrown sugar
¼ cupwhite sugar
1 tspvanilla sugar
or vanilla extract
½ tspespresso powder
optional
1egg
large
⅔ cupall-purpose flour
½ cupbread flour
1 Tbspcorn starch
½ tspbaking soda
200 gramssemi-sweet chocolate
Instructions
Step 1
On low heat, melt your butter. Once melted, add milk powder and stir.
Step 2
Continue to heat until the butter starts to brown. Once brown, take it off the heat, and add the gochujang. Stir until the gochujang is mixed well into the butter. Set the butter aside to cool.
Step 3
In the cooled melted butter mixture, add brown sugar, white sugar, vanilla sugar (or extract), and espresso powder (optional). Incorporate well with a whisk. n.b. The espresso powder enhances the chocolate flavour.
Step 4
Add egg to the mixture and fold it well.
Step 5
Sift flour, baking soda, and corn starch into the sugar mixture and fold until just incorporated.
Step 6
Chop up your semi-sweet chocolate in large chunks (I prefer to have chocolate chunks instead of chocolate chips). Fold this to the mixture.
Step 7
Scoop out your batter with a 1.5" cookie scoop. Let it chill in your refrigerator for at least 1 hour (or even better, overnight -- this allows for the flavours to infuse better together; I prefer to scoop and freeze the scooped batter). This allows for your cookies to maintain a good size when baking too.
Step 8
Preheat your oven to 180°C.
Step 9
Evenly space the dough about 2 inches apart from one another on a lined baking pan.
Step 10
Bake for about 11-13 minutes.
Step 11
Let the cookies cool on the baking sheet for another 5 minutes or so before transferring them fully onto a baking rack. If you have sea salt, sprinkle a tiny bit on the cookies while they are cooling.
Step 12
Enjoy!
Notes
1 liked
0 disliked
Delicious
Spicy
Sweet
There are no notes yet. Be the first to share your experience!