By True Table
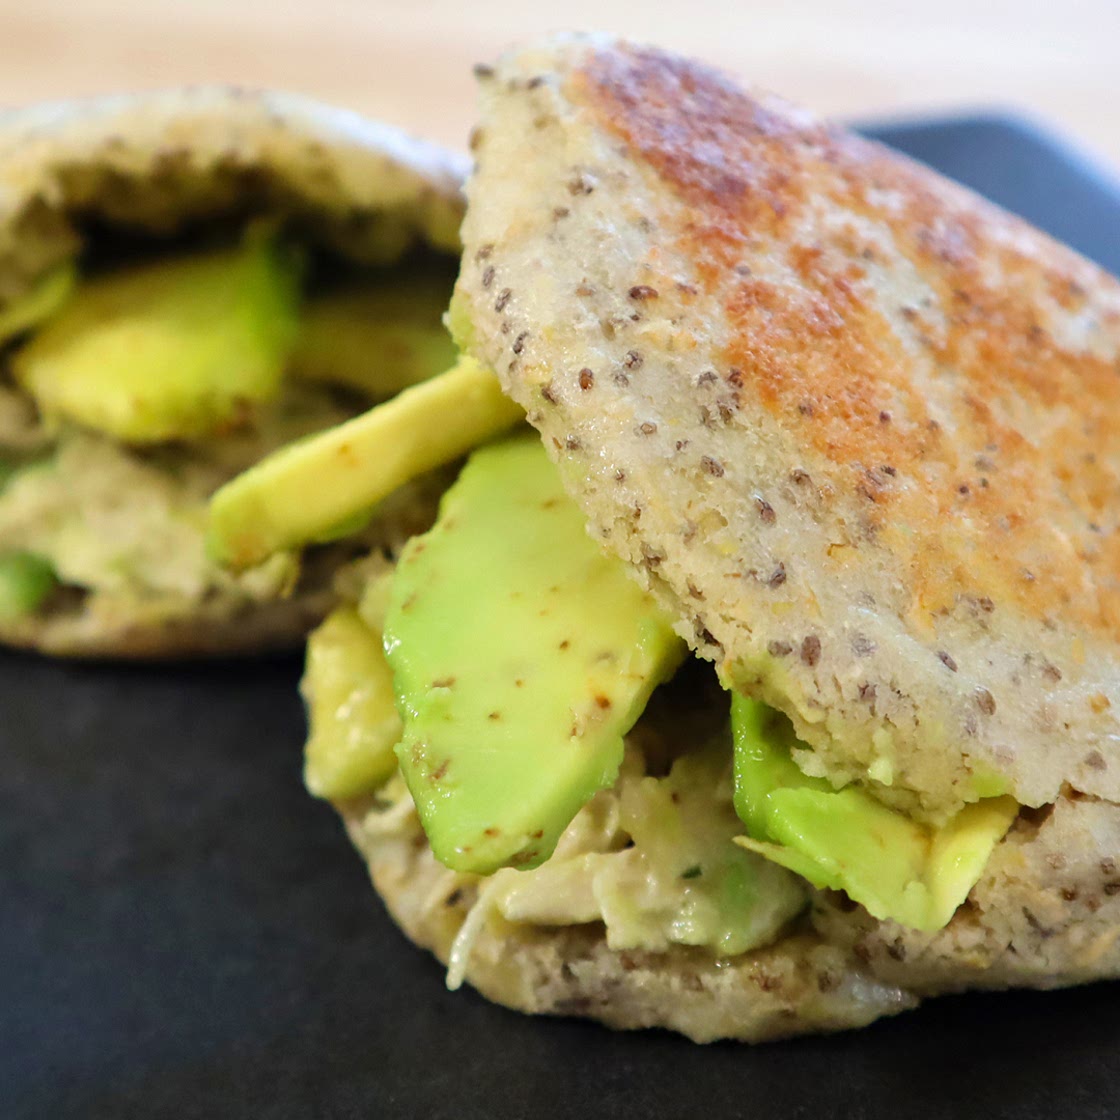
Healthy Twist on Venezuelan "Reina Pepiada" Arepas | Creamy Chicken & Avocado with Multigrain Arepas recipe.
12 steps
Prep:10minCook:20min
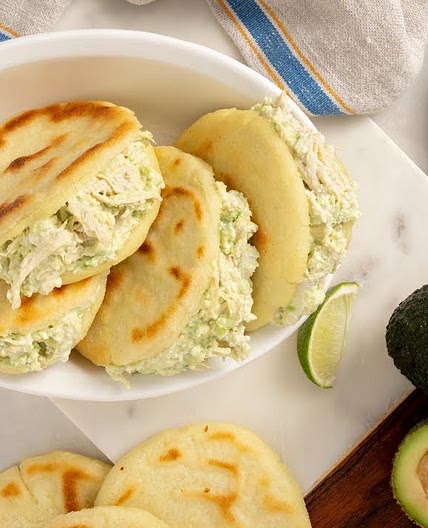
Venezuelan arepas are delicious, round, gluten-free flatbreads made from pre-cooked cornmeal. They are incredibly versatile and can be enjoyed for any meal. The fillings for arepas are endless, allowing for a wide range of delicious combinations. In addition to the traditional fillings, we will show you a recipe with a twist to make your arepas even healthier and richer in nutrients and fiber. This recipe features oats, chia seeds, and a touch of honey. This variation adds new flavors and provides additional nutritional benefits, making your arepa experience even more enjoyable and wholesome. The filling is just glorious: chicken-avocado salad. One of the best fillings ever.
Updated at: Sun, 20 Aug 2023 13:00:23 GMT
Nutrition balance score
Good
Glycemic Index
60
Moderate
Glycemic Load
22
High
Nutrition per serving
Calories609.4 kcal (30%)
Total Fat39.4 g (56%)
Carbs37.1 g (14%)
Sugars3.9 g (4%)
Protein28.8 g (58%)
Sodium968.5 mg (48%)
Fiber6.9 g (25%)
% Daily Values based on a 2,000 calorie diet
Ingredients
4 servings
For the Arepas:
1 cupwhite corn flour
pre-cooked, check notes
½ cupold-fashioned oats
2 tablespoonschia seeds
1 teaspoonpink salt
2 teaspoonshoney
1 ½ cupswater
For the filling:
Instructions
For the filling:
Step 1
First, prepare the filling. Bring 2 liters of water to a boil in a medium pot with the garlic clove, bay leaf, and a teaspoon of salt. Once boiling, add the chopped chicken breast and simmer for 12 minutes. Once cooked, shred the chicken in a medium bowl using a hand mixer, forks, or your hands.
Step 2
On a cutting board, use the spine of the knife to smash the remaining garlic clove and create a garlic paste. Set it aside.
Step 3
Using a fork, smash half of the avocado as if you were making guacamole. Once done, add the smashed garlic, mayonnaise, cilantro, salt, and pepper to taste. Add the shredded chicken and mix well until all the ingredients are combined.
For the arepas:
Step 4
Preheat your "budare" (pan or griddle) over medium heat.
Step 5
In a medium/large bowl, combine all the ingredients except the water and mix them well.
Step 6
Pour the water into the mixture and start kneading gently but firmly. It only takes a few minutes for the dough to become smooth and malleable. Some people prefer to do it the other way around, gradually adding the mixture to the water and stirring until the right consistency is achieved. Whichever option you choose is fine, the important thing is to have the correct flour/water proportion to avoid lumps. It is a fairly easy dough to work with, so fear not!
Step 7
Once the dough is smooth and malleable, let it rest for 3 minutes. This step is very important, so don't skip it.
Step 8
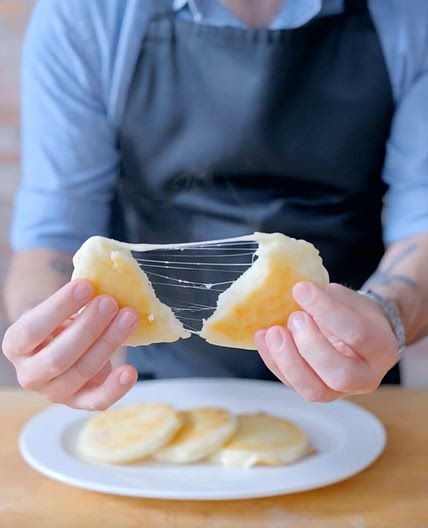
After the dough has rested, check that it is still smooth. If it cracks or feels hard in your hand, it needs more water. Adjust gradually by adding tablespoons of water until you achieve the desired consistency, as shown in the video.
Step 9
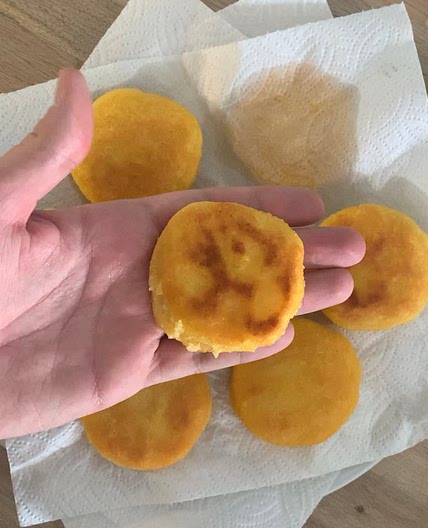
Flatten the dough in the bottom of the bowl and use a knife to divide it into 4 equal parts. Take a portion and shape it into a ball in your hand, then use the heel of your hand to flatten it into round patties. Press and turn, repeating this movement until you have a flat round pattie, about half an inch thick, as shown in the video.
Step 10
Spray oil on the "budare" (pan or griddle) and spread it evenly with a napkin. Place your arepa near the edge of the pan to leave space for the others. Having a small bowl of water nearby is quite useful to wet your hands every time you work with the dough. This prevents it from sticking and helps seal it once placed on the pan.
Step 11
Once in the pan, cook each side for 6 minutes. There are different ways to finish this process beautifully. The most common is to flip them in the pan every 5 minutes (at least 2 times on each side). The second (our preferred method) is using the Air Fryer at 350F for 7 to 10 minutes. The last option is to use the oven and cook them on a rack at 400F for 15 minutes. You will know they are ready when you tap them with your fingers and hear a hollow sound. You are looking for a crust with a few blackened spots, which is okay. Check the notes for more info.
Step 12
Once done, let them rest for a couple of minutes so you can handle them with your hands. Use a knife to open the arepa, create a pocket, and stuff it with your chicken salad. Yummy!
Notes
0 liked
0 disliked
There are no notes yet. Be the first to share your experience!
