By Lisa Mitchell
Same Day Sourdough Bread
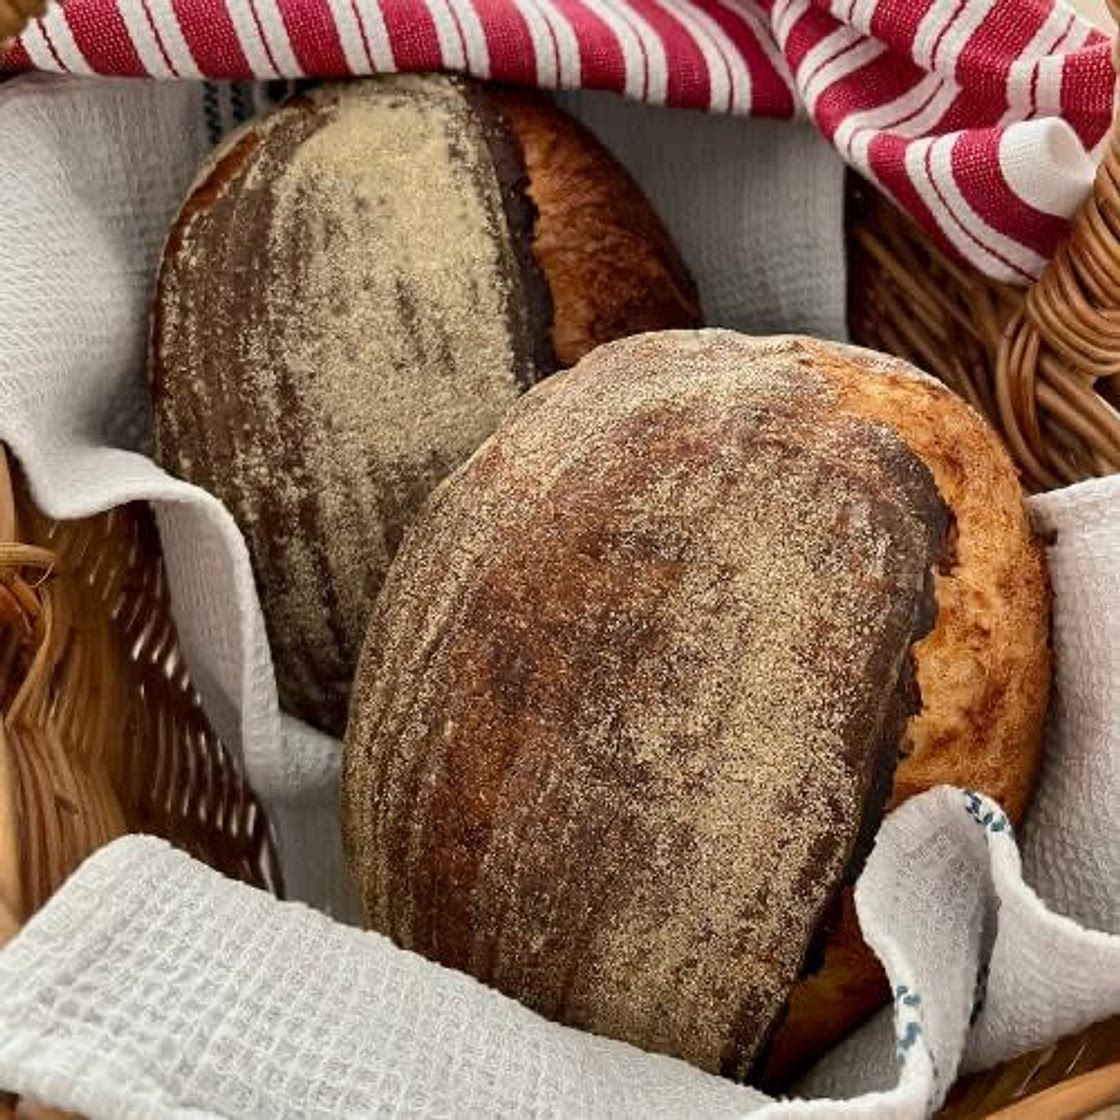
This same day sourdough bread recipe is designed to be mixed, fermented and baked all in the same day! And there's no commercial yeast in sight!
Updated at: Tue, 21 Nov 2023 14:44:22 GMT
Nutrition balance score
Good
Glycemic Index
71
High
Nutrition per recipe
Calories2254.5 kcal (113%)
Total Fat11 g (16%)
Carbs440.6 g (169%)
Sugars3 g (3%)
Protein77.9 g (156%)
Sodium3885.8 mg (194%)
Fiber33 g (118%)
% Daily Values based on a 2,000 calorie diet
Ingredients
0 servings
Instructions
Step 1
PREMIX THE DOUGH
Step 2
Weigh out your sourdough starter and water into a large mixing bowl and mix together briefly.
Step 3
Now add your flour and salt and mix whole lot together to form a dry dough.
Step 4
Cover your bowl with cling film or a damp tea towel and let it sit for around 1 hour.
Step 5
This process is called the "autolyse" and allows your flour to soak in all the water and become hydrated. You can see how the dough has changed in this photo.
Step 6
FORMING UP THE DOUGH
Step 7
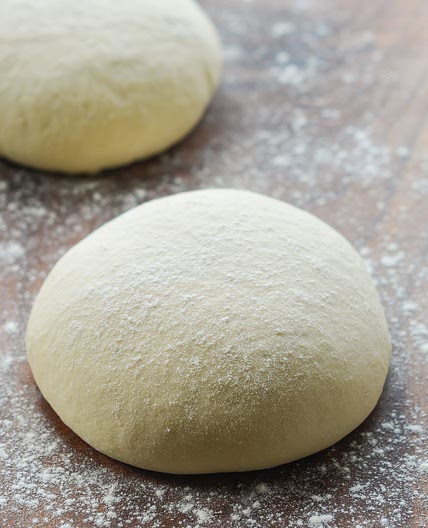
Bring the dough together into a ball. Pull the edges of the dough into the centre until it's smoother and more formed.
Step 8
You'll notice that the dough is fully hydrated after soaking all the water up. It will be fairly sticky but as you bring it into a ball, it will become smoother and shinier.
Step 9
Once the dough has formed into a smooth ball, pop the cling film back on and let it rest for 30 minutes.
Step 10
STRETCH & FOLD PHASE (STRENGTHENING PHASE)
Step 11
Over the next few hours you need to create some structure for your dough by "stretching and folding".
Step 12
Aim to do around 4-6 sets of stretches and folds.
Step 13
For each set, stretch the dough up and over itself 4 times. Leave around 15 minutes in between each set. Again you do not have to be exact with time, but you need to do at least 4 sets over 2 hours.
Step 14
BULK FERMENTATION (RISE PHASE)
Step 15
Once you've finished your stretch and folds, place the cling film or damp tea towel back over your dough and let it rest and ferment (a plastic cover is a better option for this stage). Remember because you're trying to ferment your dough more quickly, you'll need to let it ferment in a warm place.
Step 16
SHAPE THE DOUGH
Step 17
Once your dough has finished it's first ferment, it's time to shape it into either a boule or a batard.
Step 18
You'll need to flour your counter top with rice flour for this (we use rice flour because it has no gluten). Try to be quite sparing with the rice flour, you only need a very light dusting.
Step 19
Use a silicone dough scraper to gently ease the dough out of the bowl. You want it to land upside down on your counter so that the smooth top of the dough is on the countertop and the sticky underside is facing up. This will make it easier to shape.
Step 20
You want to pull the edges of the dough into the centre and then flip it over so that the sticky side is now underneath. Using the stickiness, gently pull the dough into a tight ball.
Step 21
You will need a banneton to put your dough into. If you do not have a banneton, then a bowl or basket lined with a floured tea towel is perfectly fine. Make sure your bowl isn't too big though, you want your dough to retain some shape.
Step 22
Whatever you're using needs to be liberally floured with your rice flour. If you're using a banneton - liberally sprinkle it with rice flour. If you're using a cloth or tea towel, rub the flour into it to ensure it becomes non stick.
Step 23
PUT DOUGH INTO THE BANNETON
Step 24
Once the dough is shaped into a tight ball, place it into your banneton smooth side down, so your seam is on the top - this way the top of your dough will get the pretty lines from the banneton.
Step 25
If you're using a cloth or tea towel in a bowl it's ok to put your dough with the smooth side up. Just make sure the dough is tight.
Step 26
Lift your dough around the edges to pop a little more rice flour if you feel it needs it. Just try to handle the dough as little as possible and be really gentle as you really want to preserve all the gases and air bubbles that have formed during your bulk ferment.
Step 27
PROOFING
Step 28
Now the dough is in its "shaping container" cover it loosely with a plastic bag or damp tea towel and let it sit on the counter to proof. You'll need to let it sit for around an hour or two. Just be careful not to let it get too puffy or you'll lose your oven spring!
Step 29
As a caveat, if you do have a few hours until you need to bake your sourdough then do pop it in the fridge for a short cold ferment. It does make it easier to score.
Step 30
PREPARE TO BAKE YOUR DOUGH
Step 31
Once you're ready to bake your sourdough, you'll need to preheat your oven to 230C/450F. While your oven is preheating, place your sourdough in the freezer.
Step 32
Place your Dutch Oven into the oven when you turn it on so it gets hot. Try to preheat for around 1 hour to ensure your oven is super hot - but you know your oven so just adjust this time if you need to.
Step 33
BAKE YOUR SOURDOUGH BREAD!
Step 34
Now it's time to bake!
Step 35
When your oven is at temperature, gently tip your sourdough out of the banneton and onto a piece of parchment paper. If it hasn't been in the freezer, just handle it very gently as it may be very soft.
Step 36
Make sure that you make the baking paper big enough to use the edges as a handle to lower to dough into your Dutch Oven.
Step 37
Gently score your bread with a lame, clean razor blade or knife. At minimum a large cross is sufficient, but you can get as artistic as you like. You can find my full guide on how to score sourdough bread here.
Step 38
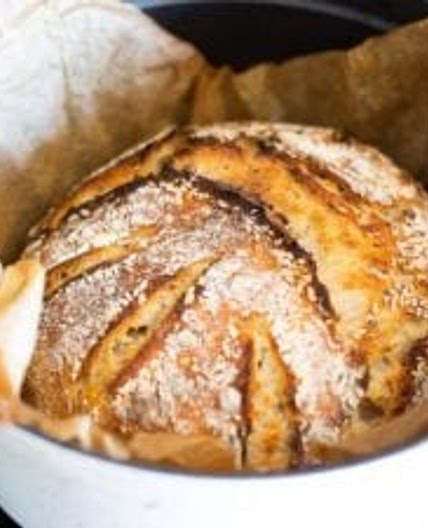
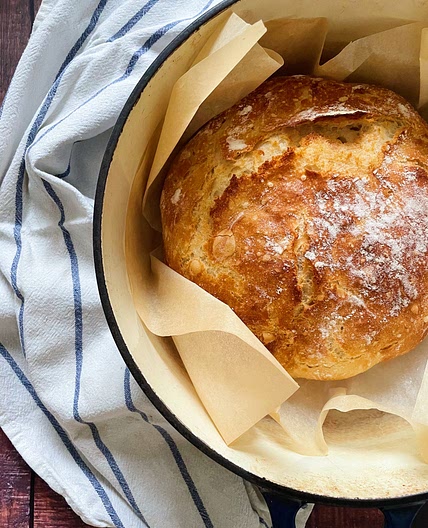
Carefully take your dutch oven out of the oven. Place the sourdough into the pot using the baking paper as a handle. Put the lid on and place into the hot oven.
Step 39
If you want to you can spritz your dough with extra water before you put the lid on.
Step 40
BAKE TIME:
Step 41
30 Minutes with the lid on at 230C/450F plus
Step 42
10-15 Minutes with the lid off at 210C/410F
Step 43
LET YOUR BREAD COOL
Step 44
When you remove your dough from the oven, carefully remove it from the dutch oven as soon as possible and place on a wire rack to cool.
Step 45
NOTES
Step 46
Notes on Flour: This recipe is written using strong Bread Flour. Bread flour has a higher protein content than All Purpose flour. If you choose to use All Purpose flour you may have a different result because of this. You can read more about the differences between All Purpose Flour and Bread Flour here.
Step 47
Notes on Sourdough Starter: This recipe is based on you having an active starter that you have fed a few hours before starting your bake. For info on how to make a sourdough starter, go here.
Step 48
Notes on Stretch & Folds: If you are going to do the stretch & folds on your bench top, spray your surface with water mist rather than using flour. You can leave the dough in the bowl if you want to. Wet your hands to stop the dough sticking - although it shouldn't be too sticky. It will get less sticky as you do your stretches and folds. For more information on how to do stretch and folds, go here.
Step 49
Notes on Bulk Fermentation: If your home is warm then your dough will ferment a lot faster and could be done in as little as a few hours. If it's colder, it will take longer. You will know your dough is ready to move to the next stage when it has *just* doubled in size. It will be fairly wobbly and full of bubbles. You should be able to see large air bubbles under the surface of the dough.
Step 50
You don't want to let it go any further than doubled as it will be over fermented.
Notes
0 liked
0 disliked
There are no notes yet. Be the first to share your experience!
