By misstasty
Big Bubble No-Knead Focaccia Recipe
24 steps
Prep:10minCook:25min
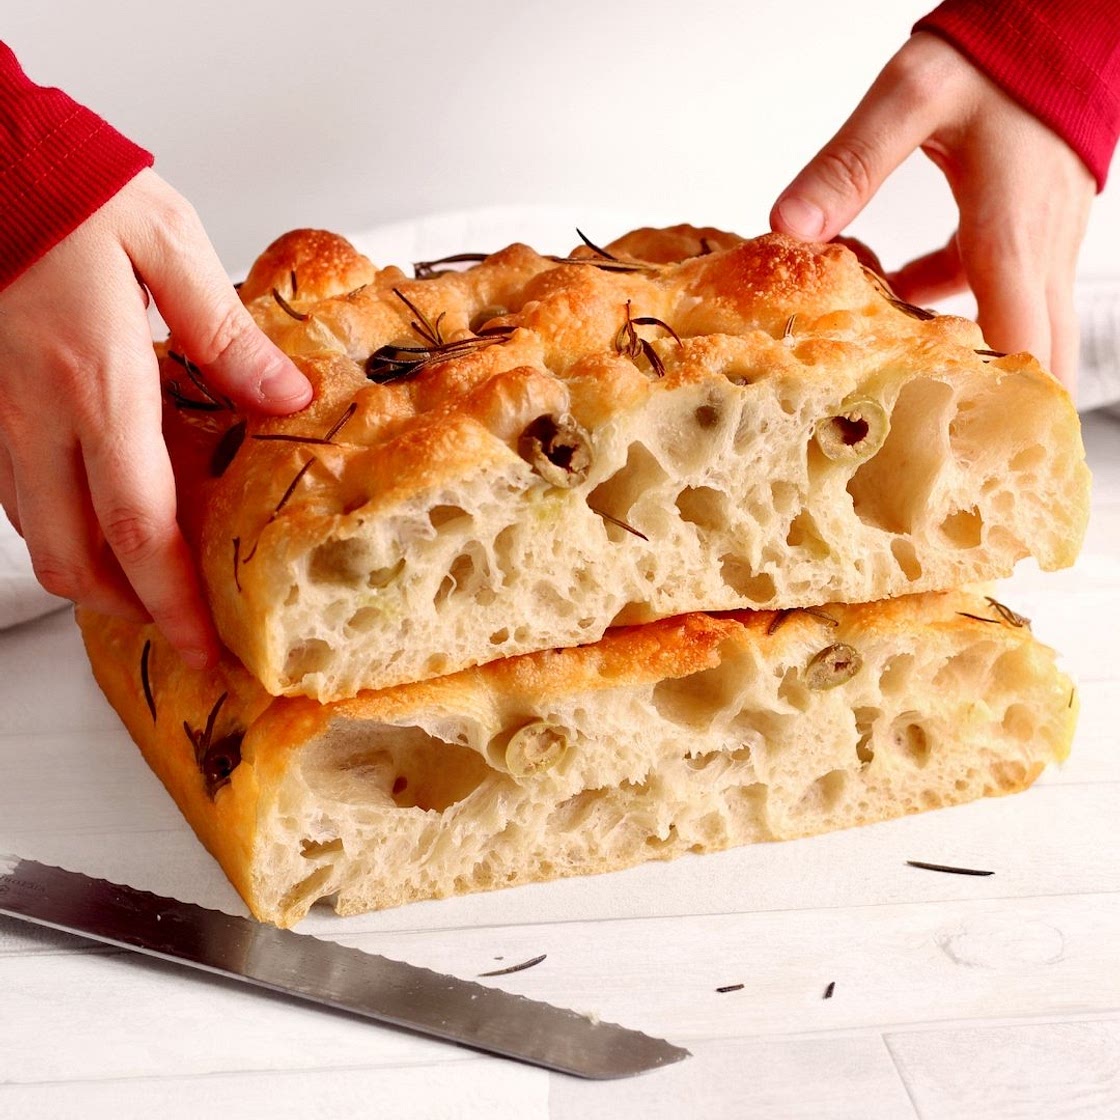
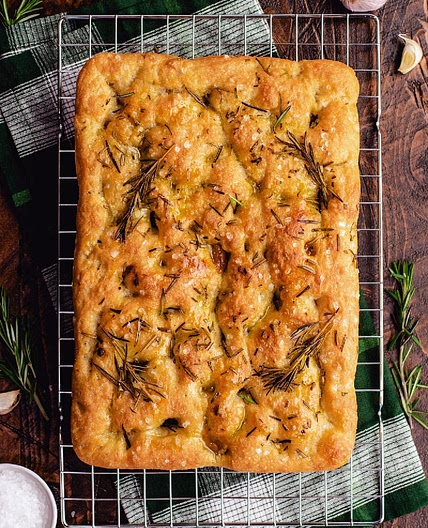
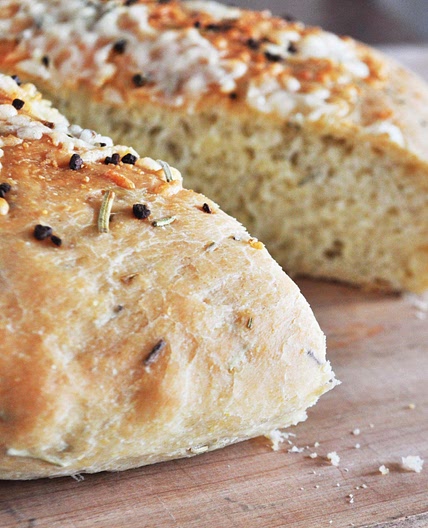
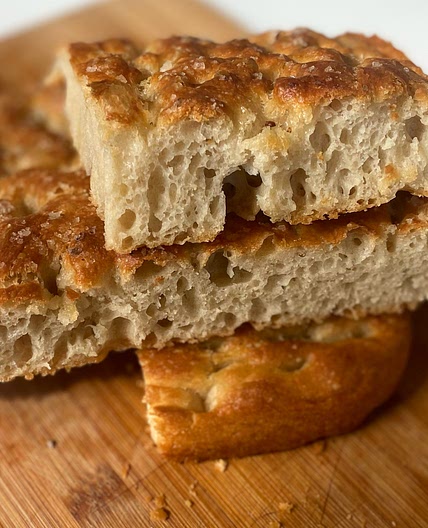
This no-knead focaccia recipe is the easiest way to make authentic focaccia with a soft, open crumb texture and a crispy exterior.
Updated at: Sun, 27 Oct 2024 00:01:06 GMT
Nutrition balance score
Unbalanced
Glycemic Index
74
High
Nutrition per recipe
Calories2439.4 kcal (122%)
Total Fat54.2 g (77%)
Carbs410 g (158%)
Sugars1.7 g (2%)
Protein70 g (140%)
Sodium5164.1 mg (258%)
Fiber15.6 g (56%)
% Daily Values based on a 2,000 calorie diet
Ingredients
0 servings
470gwater
lukewarm, That is somewhere between 80°F and 100°F, 27°C to 37°C
11gsalt
1 Tbspextra virgin olive oil
plus lots more for greasing the tray and drizzling
7gdried yeast
any kind of dried yeast—active or instant— will work
560gbread flour
or Italian 00 flour, with 12% protein content
olives
2 Tbspolive oil
flaky sea salt
Instructions
Step 1
Make the dough
Step 2
In a large bowl combine the water, salt, olive oil and yeast. Give these a whisk.
Step 3
Add the bread flour and mix using a large spoon or spatula until well combined and hydrated.
Step 4
Scrape down the sides and cover the bowl for 30 minutes.
Step 5
Please note, depending on how “thirsty” your flour is, you might need to add more water to get the wet dough consistency you’re looking for (see the photos below for the right consistency). So if your dough is dry, don’t be afraid to add more water.
Step 6
Stretching and folding the dough
Step 7
We are going to perform four rounds of "stretches and folds". Take one side of the dough, stretch and fold bringing the dough to the opposite side of the bowl. Rotate the bowl one quarter and repeat another 3 times. (See video for details of the stretch and fold technique.)
Step 8
Folding the focaccia dough
Step 9
Cover the bowl and leave for 30 minutes.
Step 10
Repeat the stretch and fold process another 3 times, leaving 30 minutes in between each round.
Step 11
Allow the dough to proof
Step 12
After your last series of stretch and folds, cover the dough with plastic wrap and place in the fridge over night. Please note I have given you an option to skip this step if you want your focaccia the same day—see three paragraphs down, beginning “Or, if you want a quicker result…”). I really do recommend the overnight method, though.
Step 13
Or, if you want a quicker result, you can skip the cold fermentation in the fridge completely. Instead, you can simply allow the dough to sit one last time at room temperature for 30 to 40 minutes.
Step 14
Shaping the focaccia and final proofing
Step 15
Into a 9x13 inch tray (at least 2 inches deep) add 3 to 4 tbsp of olive oil. Be generous with the oil, focaccia craves it. Grease the tray well. (If your tray is not non stick, line the bottom with parchment paper before adding the oil.)
Step 16
Carefully perform one last series of stretches and folds and then gently place the dough into your tray. Drizzle with more olive oil.
Step 17
Cover well and allow to proof one last time for at least 1 hour. Please note if you cold-fermented the dough in the fridge overnight, the dough will need to rise in the tray for around 2 hours at room temperature because it will still be cold from the fridge.
Step 18
After the final proof, drizzle the dough with more olive oil (yes, really!). Then, cover your hands with oil, and gently make dimples in the dough. Jiggle the dough to spread the it out in the pan. (See the video for details).
Step 19
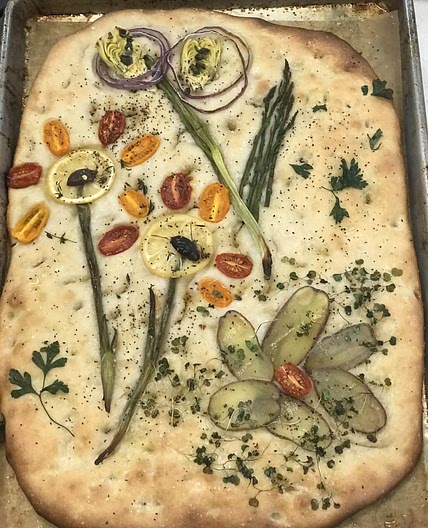
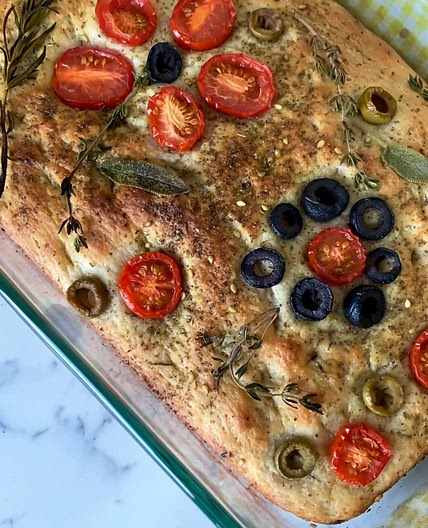
Add the toppings of you choice, making sure the toppings are oiled to prevent burning.
Step 20
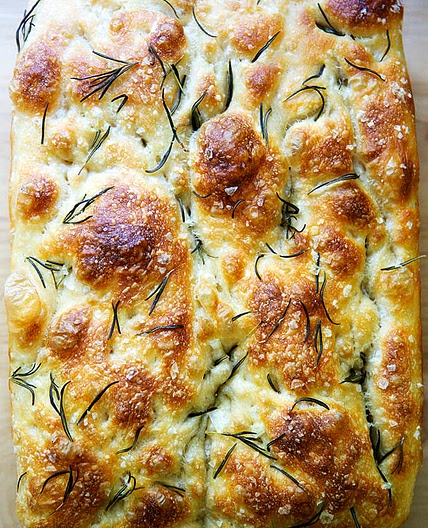
Preheat the oven to 400°F (200°C) with the fan on (if your oven has a convection fan) and bake the focaccia for about 20 to 25 minutes (it's done when the top is golden and crispy).
Step 21
Remove from the oven and wait for at least 10 to 15 minutes before slicing into it. (Focaccia can be served warm or cold - it’s great when it’s still warm because the outside will still be crispy).
Step 22
Assembling the focaccia sandwich
Step 23
Finally put the top the bread back on and cut into sandwiches of the size you want.
Step 24
Obviously, you can use whatever fillings you prefer!
Notes
1 liked
0 disliked
Delicious
Easy
Go-to
Special occasion
