1/10

2/10
3/10
4/10
5/10
6/10
7/10
8/10
9/10
10/10
100%
1
By Fernando O
CROSTATA ALL'ARANCIA - Italian sweet orange tart
17 steps
Prep:30minCook:40min
This recipe makes a sweet, tangy and delicious Italian tart using orange flavoured pasta frolla (pastry) and an orange marmalade filling. Pasta frolla is similar to a traditional pie shortcrust but has a sweeter and lighter flavour and texture.
It's possible to make Pasta Frolla ahead of time, keeping it in the fridge for 2 or 3 days maximum. Alternatively, you can freeze it and keep it in the freezer for about 3 months. When you want to use it, defrost it in the fridge.
Updated at: Wed, 29 Apr 2026 19:30:27 GMT
Nutrition balance score
Unbalanced
Glycemic Index
62
Moderate
Glycemic Load
66
High
Nutrition per serving
Calories633.2 kcal (32%)
Total Fat21.9 g (31%)
Carbs105.4 g (41%)
Sugars62.8 g (70%)
Protein7.1 g (14%)
Sodium175.5 mg (9%)
Fiber1.9 g (7%)
% Daily Values based on a 2,000 calorie diet
Ingredients
8 servings
Pasta frolla (pastry)
200gunsalted butter
at room temperature
200ggranulated sugar
1 ½ tspvanilla extract
1zest of orange
1egg
large
1yolk
large
400gplain flour
½ Tbspbaking powder
1 pinchsalt
Filling and finishing
Instructions
Pasta frolla - the pastry
Step 1
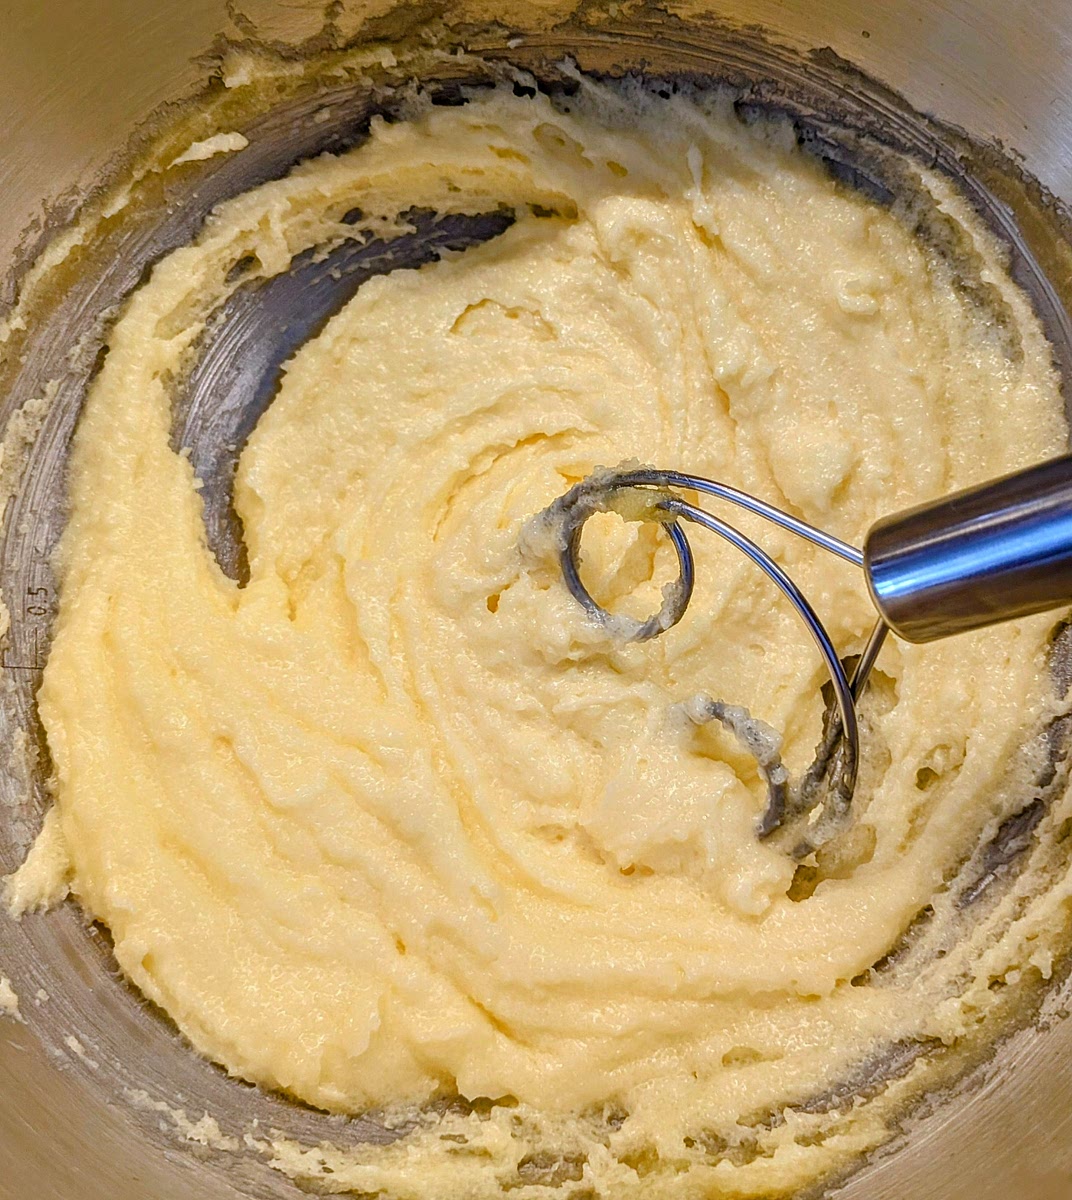
In a large bowl, add the soft (room temperature) butter and the sugar, and beat together with a pastry whisk until the sugar has dissolved and you get a creamy homogeneous mix. You can also do this step in a mixer with a beater attachment, but I prefer hand mixing it to minimise the heat added to the dough.
Step 2
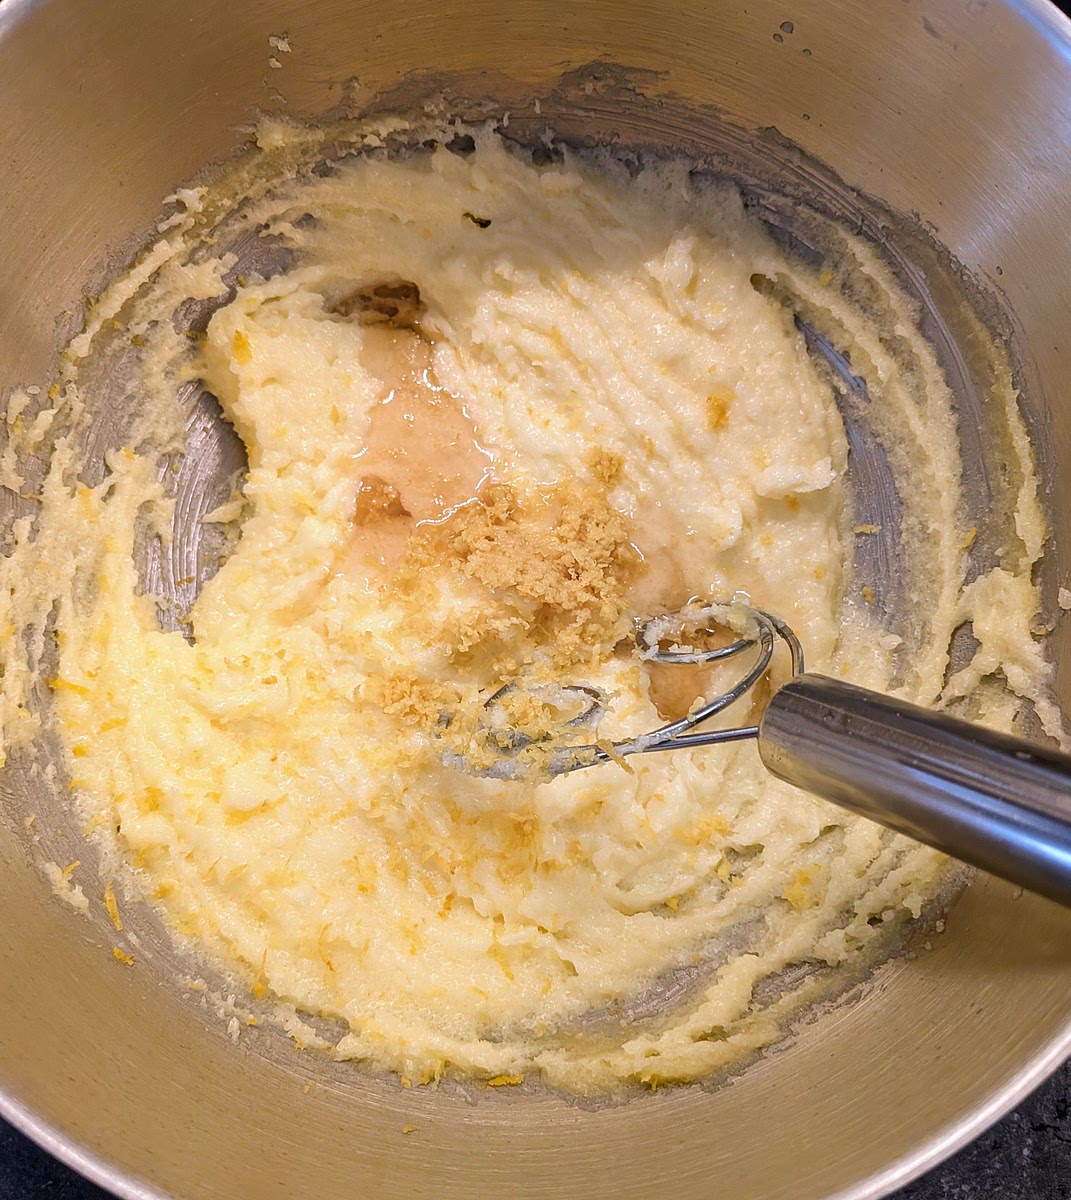
Now you need to flavour / perfume the mix. Add the vanilla extract and the zest of 1 large orange and mix until integrated.
You can also do this step in a mixer with a beater attachment, but I prefer hand mixing it to minimise the heat added to the the dough.
Step 3
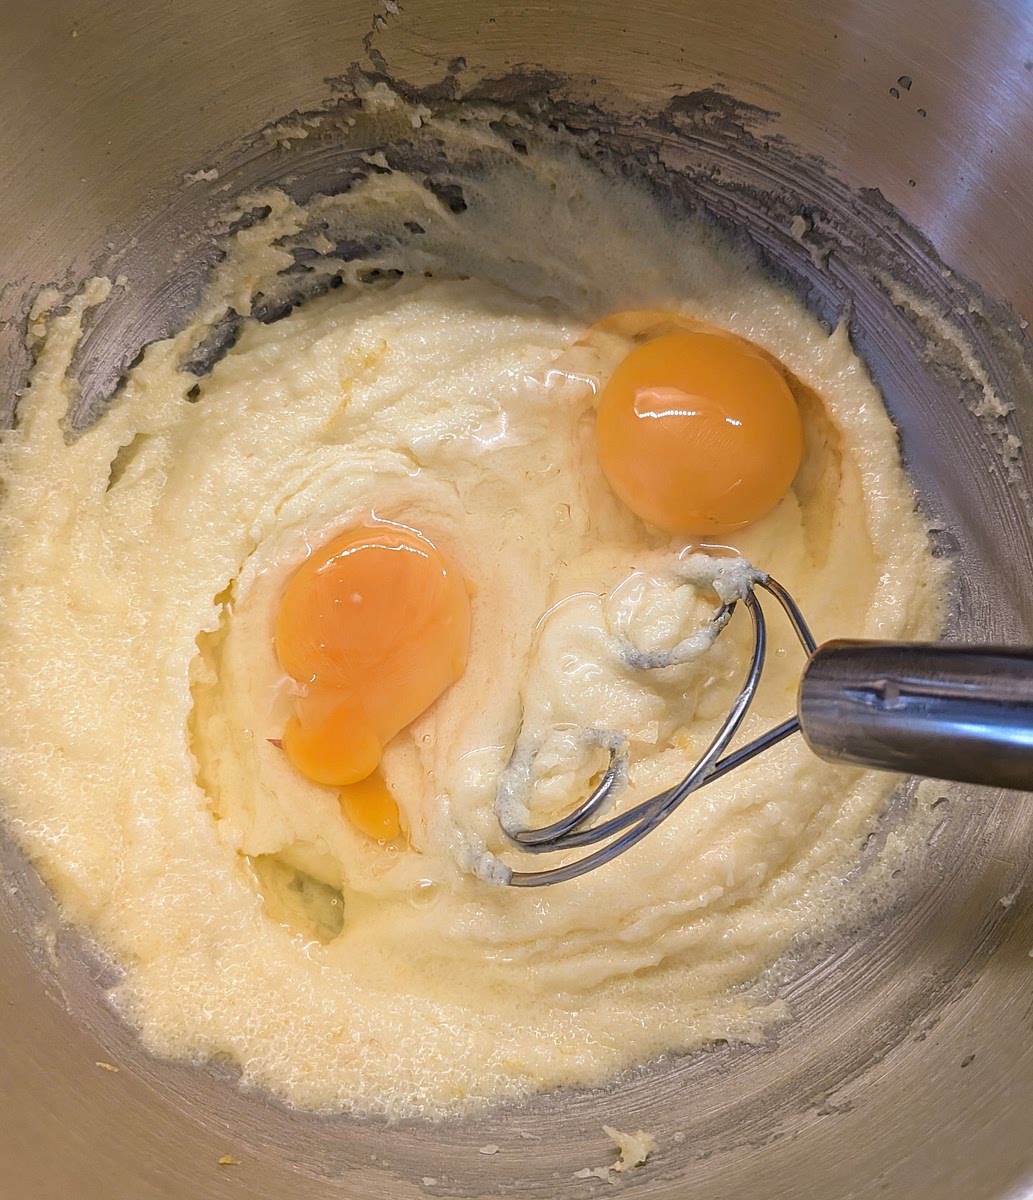
Add the large egg and yolk and beat until you get a homogeneous emulsion.
You can also do this step in a mixer with a beater attachment, but I prefer hand mixing it to minimise the heat added to the the dough.
Step 4
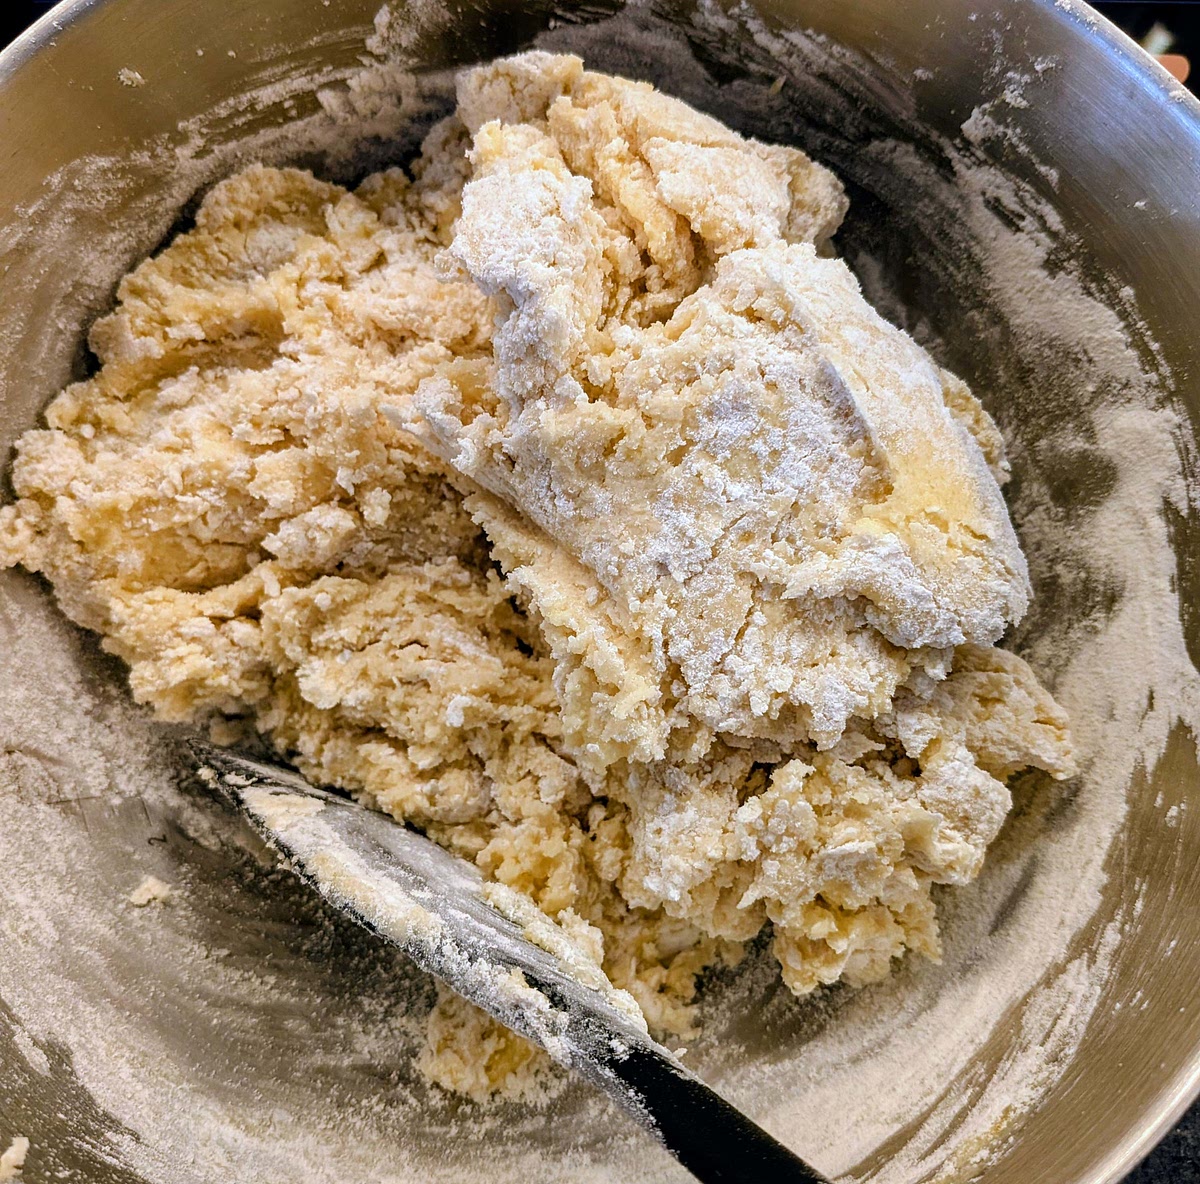
We don't want to develop or strengthen the gluten in this dough, so the pastry gets a crumbly soft texture. If you've been using a mixer, it's time to put it to the side.
Add the flour, salt and baking powder to the bowl, and incorporate as much of it as you can, by folding it in and pushing with a spatula, without stirring or over mixing it. When it looks like the flour is no longer integrating, stop.
Step 5
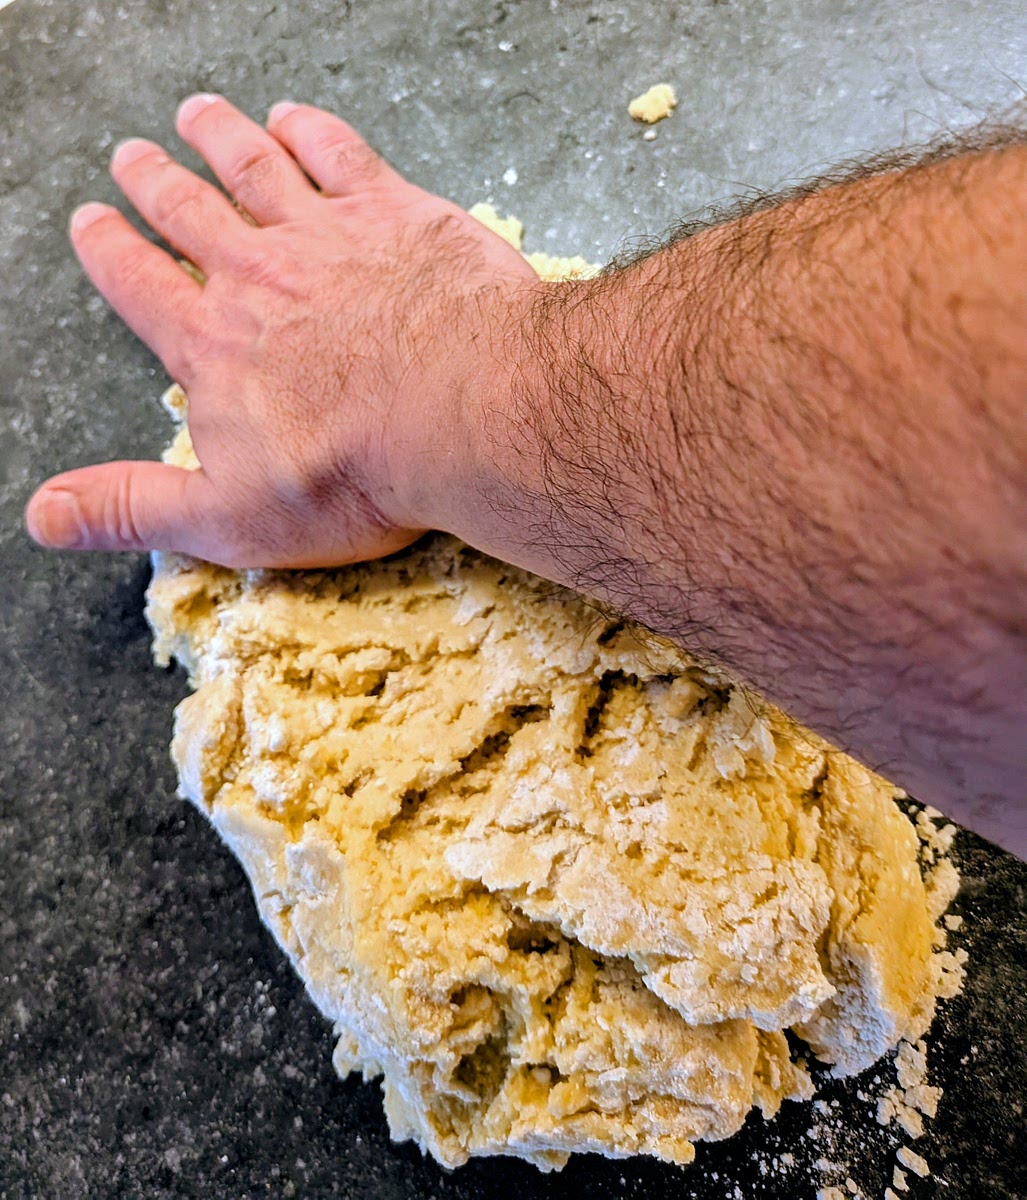
Pour the pastry mix on a working surface. Don't knead it hard, just push and drag bits of it, stretching it against the surface using the palm of your hand, just enough to integrate the flour that has not yet joint the mix. Should take one or two goes pushing over the whole dough to integrate all of the flour; don't do this for more than 3 times. Don't overwork or overheat the dough with your hands, as this will develop the gluten and affect the texture and finish.
Step 6

Make a big puck with the dough, wrap it in cling film and cool in the fridge for at least 2 hours. For best results, you should make pasta frolla the day before using it, and leave it resting overnight in the fridge, wrapped in cling film. This cools down and firms up the pastry, and allows butter to fully moisten the flour and sugar, for a better integration of the dough.
If you can't wait, you can accelerate the cooling in the freezer for 20 minutes; this will cool it and firm it up, but will produce a more crumbly and fragile dough than slow cooling it in the fridge, that will be harder to roll and transfer to the tin without cracks. It's not dramatic if that happens, as the rolled dough is easy to patch up
Step 7

Once the cooling time has passed, preheat the oven to 180ºC (350ºF).
Step 8

Line the bottom of a 25cm (10”) metal quiche tin with parchment paper. You can use a slightly larger tin, up to 28cm (11") with this amount of dough.
I use a non-stick tin with fluted sides and loose bottom. If yours isn't non-stick, it's probably wise to lightly butter the sides of the tin to ease getting the tart out once cooked.
Step 9

Get the pastry out of the fridge, cut it in 2/3 and 1/3 pieces. The 2/3 size piece will make the base of the tart and the rest will make the lattice. Re-wrap and return the 1/3 piece to the fridge while you work on the base of the tart. Lightly flour the working surface, the top of the dough and the rolling pin, and roll the 2/3 piece into a disc of about 7-8mm (1/3") thickness. I use a pastry mat to ease transfer of the pastry and make cleaning easier.
Step 10

With the help of a rolling pin or pastry mat, put the pastry over the quiche tin and using your fingers work it into the tin bottom and sides, leaving an even thickness of about 7-8mm (1/3"). Make sure that there's no air bubbles between the pastry and the tin.
Roll any pastry excess over the edge of the tin and pass the rolling pin over the top to cut any excess. Pierce the base and sides of the dough all over with a fork.
Step 11
If you are using a fan oven, blind bake the base for 10min at 180ºC (350ºF), to prevent ending up with a tart that has a soggy bottom. Note that it may rise a bit, but the piercing will minimise this. After the 10 minute blind bake, get the base off the oven, and wait a few minutes until the tin has cooled.
If you are using a non fan oven, you can skip this step.
Step 12
While the tin is cooling, take the rest of the pastry out of the fridge and roll it out over a floured surface until reaching a thickness of about 7-8mm (1/3").
Step 13

If the sides of the tart have shrunk or slid down a bit during blind baking, patch them up with the leftover pastry, so pastry is back up to the edge of the tin. Pour the 500g orange marmalade into the middle and flatten it to an even layer with a spatula. Paint the top of the edge dough with egg white, then cut the pastry in strips about 8mm wide and place them vertically leaving even spaces in between (1-1.5cm). Press each strip against the edge of the tin so it sticks to the base and cuts tidily. Once you are done with the vertical strips, paint them with egg white, then place the horizontal strips in the same way and paint them and the edges with egg white.
Step 14
If you are using a fan oven, bake the tart until the strips are getting golden (for 20-30min) at 180ºC (350ºF). Keep an eye on it as you don't want it to over bake.
If you are using a non-fan oven, bake the tart until the strips are getting golden (for 30-40min) at 180ºC (350ºF). Keep an eye on it as you don't want it to over bake.
Step 15

Once baked, remove from the oven and let it cool completely to room temperature before unmoulding. Enjoy!
BONUS RECIPE:
Step 16

If you have leftover pastry, roll it with a rolling pin to 5mm thickness, cut biscuits with a cookie cutter or small glass, paint them with egg white, and place them on a baking sheet lined with parchment paper.
Step 17

Bake them at 180ºC (350ºF) until slightly golden (about 15min). Let them cool down and enjoy delicious orange biscuits! Fantastic with your coffee!
Notes
1 liked
0 disliked
Crispy
Delicious
Easy
Fresh
Go-to