1/2
2/2
100%
1
By Vivek AB
Lilva kachori
41 steps
Prep:30minCook:20min
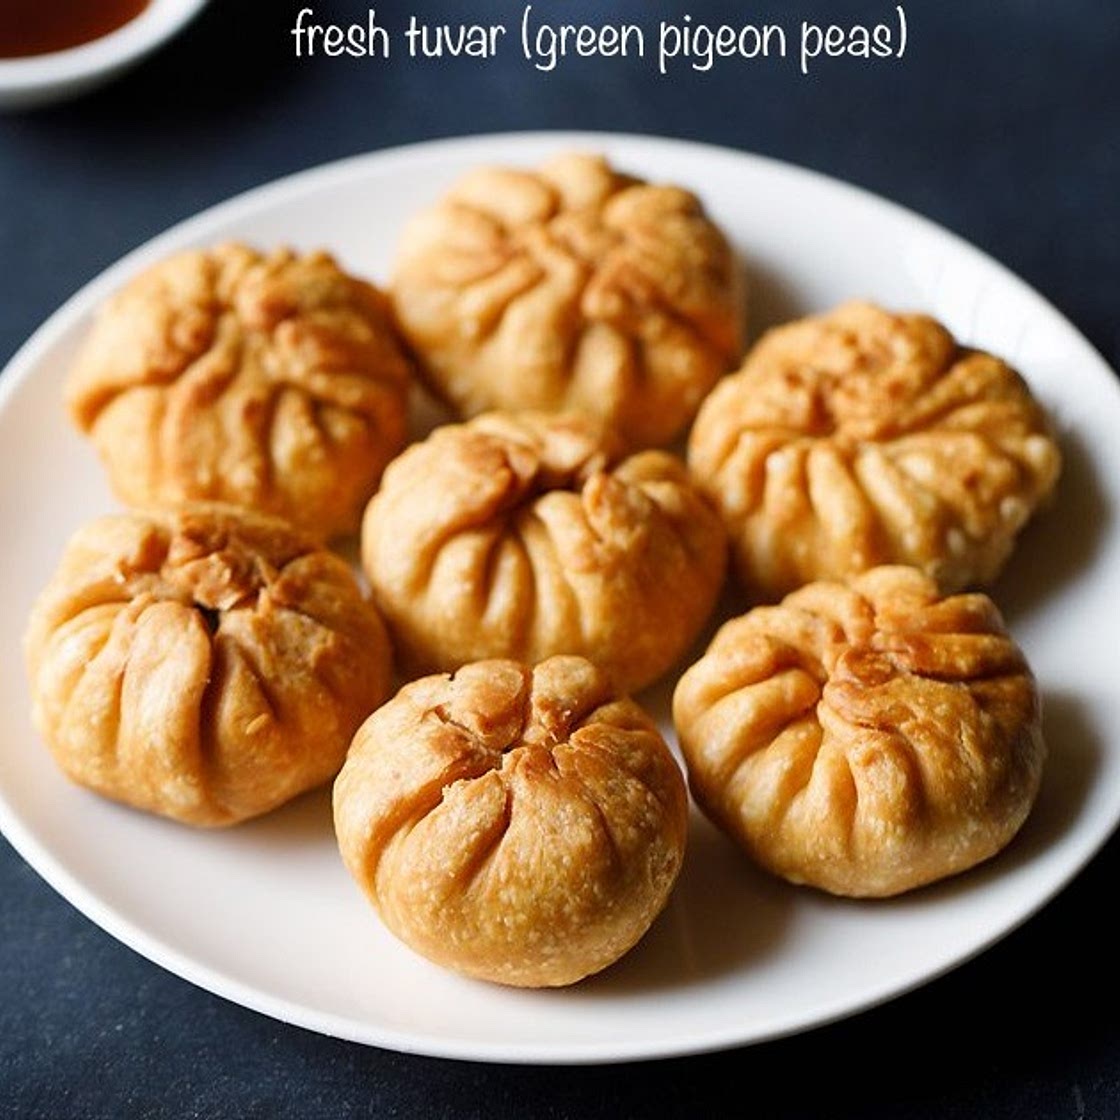
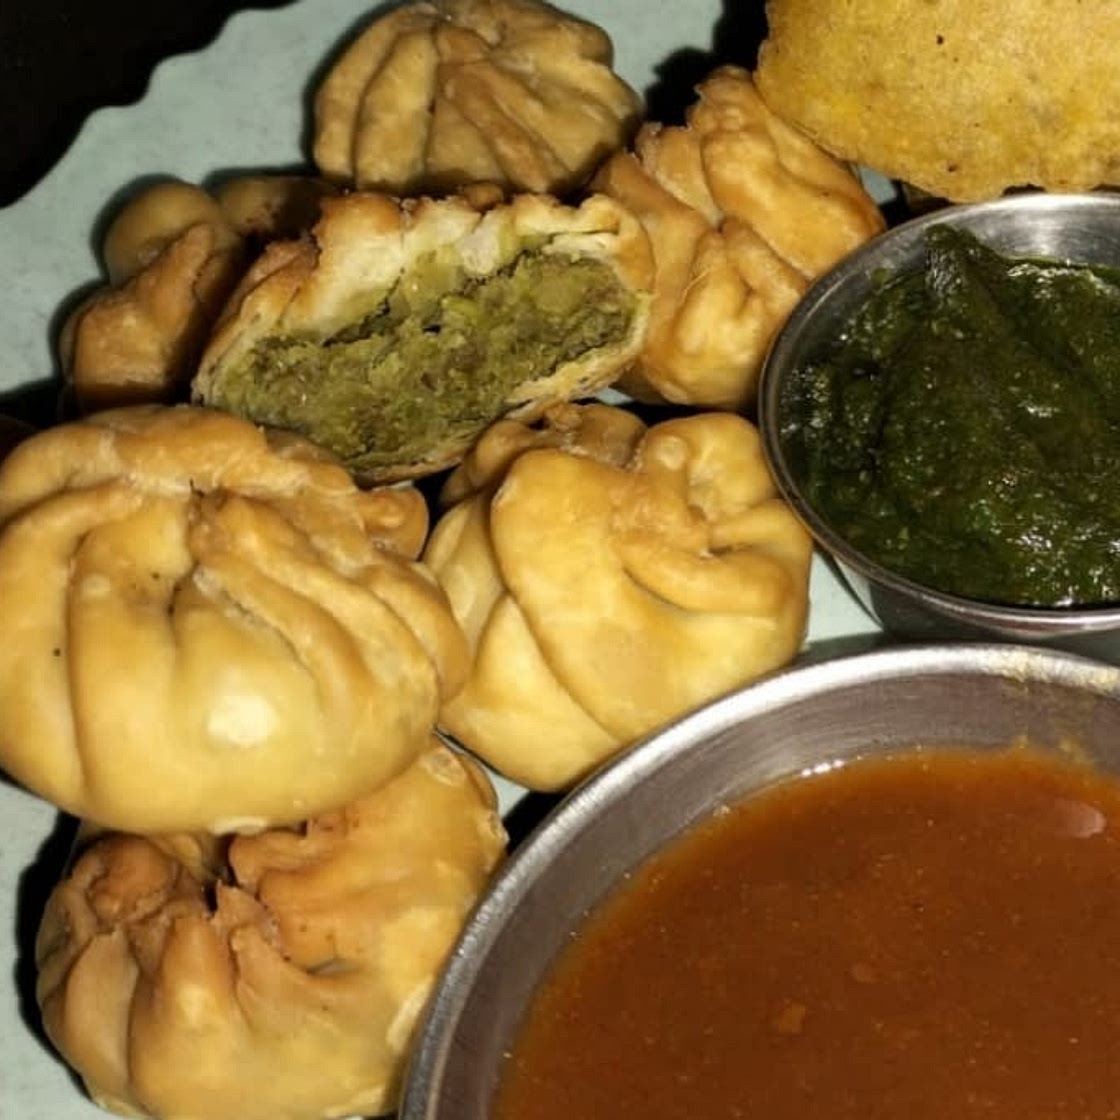
Lilva kachori is a delicious winter snack made with fresh tuvar (pigeon peas). These fresh tuvar beans are called as lilva in Gujarati language and hence the name lilva kachori. This lilva kachori recipe gives you one of the best kachori with a flaky crisp crust and a soft, lightly spicy, sweet and tangy filling.
Updated at: Wed, 16 Aug 2023 22:01:14 GMT
Nutrition balance score
Good
Glycemic Index
63
Moderate
Glycemic Load
11
Moderate
Nutrition per serving
Calories142.4 kcal (7%)
Total Fat6.5 g (9%)
Carbs18.1 g (7%)
Sugars1.8 g (2%)
Protein3.3 g (7%)
Sodium154.6 mg (8%)
Fiber1.7 g (6%)
% Daily Values based on a 2,000 calorie diet
Ingredients
13 servings
1 ½ cupsall purpose flour
maida
½ teaspoonsalt
or add as required
3 tablespoonsoil
6 tablespoonswater
1green chilies
chopped
1 inchginger
or 1 teaspoon chopped ginger
2garlic cloves
medium, chopped
1 ⅓ cupgreen pigeon peas
1 tablespoonoil
½ teaspooncumin seeds
jeera
1 pinchasafoetida
hing
½ teaspooncumin powder
½ teaspooncoriander powder
optional
½ teaspoongaram masala powder
2 tablespoonscashews
chopped
½ tablespoonsraisins
chopped
¼ cupcoriander leaves
chopped
2 teaspoonssugar
or add as required
3 teaspoonslemon juice
or add as required
salt
as required
oil
for deep frying, as required
Instructions
making dough for lilva kachori
Step 1
Take 1.5 cup all purpose flour (maida) and ½ teaspoon salt or add as required. Instead of taking only maida, you can also take half-half portion of both atta (whole wheat flour) and maida.
Step 2
Add 3 tablespoons oil.
Step 3
With your fingertips mix the oil with the flour for a few minutes till you get a breadcrumb like texture in the flour.
Step 4
When this mixture is pressed, it should not break.
Step 5
Add 6 tablespoons water in parts. Mix and begin to knead the dough.
Step 6
Knead to a a semi soft dough. The dough should not be soft like a chapati dough but slightly hard and slightly soft. Cover the dough and let it rest for 30 minutes.
grinding lilva beans
Step 7
Rinse 1.33 cup lilva beans in water.
Step 8
Add the lilva beans in a grinder jar or food processor.
Step 9
Without adding any water grind to a semi coarse paste.
Step 10
Do not make a fine paste. While grinding, you can use the pulse option in your mixer-grinder. Grind in short intervals of some seconds. Stop mixie, scrape the sides and then grind again.
making green chili+ginger+garlic paste:
Step 11
In a mortar-pestle take 1 or 2 green chilies (chopped), 1 inch ginger (chopped) and 2 medium garlic cloves (chopped). Note that garlic can be skipped. Instead of garlic, you can also use green garlic chives.
Step 12
Crush to a paste. Keep aside. The paste can also be made in a small chutney grinder with the addition of 1 to 2 tablespoons water.
making stuffing for lilva kachori
Step 13
Heat 1 tablespoon oil in a frying pan. Add ½ teaspoon cumin seeds.
Step 14
Let the cumin seeds sizzle and splutter. Keep the flame to a low.
Step 15
Now add the crushed green chili+ginger+garlic paste and 1 pinch asafoetida.
Step 16
Sauté on a low flame for some seconds till the raw aroma of garlic and ginger goes away.
Step 17
Add the coarsely ground lilva beans. Mix well. Sauté for 3 minutes on a low flame.
Step 18
Now add ½ teaspoon cumin powder, ½ teaspoon coriander powder (optional), ½ teaspoon garam masala powder and salt as per taste.
Step 19
Mix very well and continue to sauté for 2 to 3 minutes. Stir often so that the mixture does not stick to the pan.
Step 20
Switch off the flame and add 2 tablespoons chopped cashews, ½ tablespoons chopped raisins and 2 teaspoons sugar or add as per taste.
Step 21
Stir and mix everything very well.
Step 22
Add ¼ cup chopped coriander leaves. Some steamed and crushed green peas and mashed potatoes can be also added in the stuffing. Grated coconut or crushed roasted peanuts can also be added.
Step 23
Next add 3 teaspoons lemon juice or add as required. Mix very well.
Step 24
Check the taste and add more salt, sugar or lemon juice if required. Let this mixture cool completely. Do note that both sugar and lemon juice can be added less or more as per your taste preferences.
Step 25
Then make small balls from the mixture. You will get 12 to 13 balls. Cover and keep aside.
shaping and making lilva kachori
Step 26
Knead the dough again and pinch 12 to 13 balls. With your palms roll in neat balls and keep covered aside.
Step 27
Take each dough ball and roll in to a circle having 5 to 6 inches diameter. Keep the edges thin while rolling.
Step 28
Place the stuffing ball in the center of the rolled dough and lightly flatten it.
Step 29
Take the edges of the dough and begin pleating it as you do for stuffed parathas.
Step 30
Pleat all the way through and bring the pleated edges on top at the center. press all the pleated edges.
Step 31
Now gently flatten the pressed part. Flattening the top part makes it easier while frying. If you want you can just press the edges on top and remove excess dough without flattening the top.
Step 32
Make all kachori this way. Cover them with a cotton napkin or kitchen towel.
frying lilva kachori
Step 33
Heat oil for deep frying in a kadai. Keep the flame to a medium-low.
Step 34
To check the temperature while frying, add a small piece of dough to the oil. If it comes slowly and steadily to the surface, then the kachoris are ready to be fried. Gently slid the kachori in the hot oil.
Step 35
Fry 4 to 5 kachori or more depending on the size of the kadai. Fry on medium-low flame.
Step 36
When one side is light golden, turn over the kachori with a slotted spoon.
Step 37
Turn again and continue to fry. While frying turn them often to get an even color.
Step 38
Fry till the crust is crisp and golden.
Step 39
Remove crispy fried lilva kachori with a slotted spoon.
Step 40
Keep on kitchen paper towels for extra oil to be absorbed. This way fry all lilva kachori on a medium-low flame.
Step 41
Serve lilva ni kachori hot or warm with green chutney or coriander chutney or tamarind dates chutney.
View on vegrecipesofindia.com
↑Support creators by visiting their site 😊
Notes
1 liked
0 disliked
Crispy
Delicious
Easy
Kid-friendly

