By Claire Fosburgh
Hummus حمص
9 steps
Prep:1h
Steps 1-3 are not required, but highly recommended for creamy texture. If you choose to only boil the chickpeas or only peel them, both will individually improve the texture of the hummus. If you choose to boil AND peel them, the texture will be even better. If you don't want to boil or peel the chickpeas (as this adds on a good 30 minutes), the hummus will be just fine. However, you will likely not achieve complete smoothness; there will be small chunks and it will be more difficult to blend them down.
Here are are some solutions to common issues:
Too liquidy or smooth?
If the hummus is only a little bit too smooth, don't sweat it! It will thicken in the fridge and it always tastes better after it's been refrigerated. If it's worse, add more tahini or chickpeas (you'll have to get a new can of chickpeas).
Not smooth enough?
Blend until it is or add more water or a little olive oil if necessary.
Too salty?
You can add water or a little bit of plain yogurt to help neutralize it. However, once you add yogurt, the shelf life of the hummus is reduced, so be cautious of that.
Updated at: Tue, 08 Jul 2025 18:04:45 GMT
Nutrition balance score
Great
Glycemic Index
35
Low
Glycemic Load
3
Low
Nutrition per serving
Calories87.7 kcal (4%)
Total Fat5.3 g (8%)
Carbs7.9 g (3%)
Sugars0.3 g (0%)
Protein3.5 g (7%)
Sodium150.1 mg (8%)
Fiber2.6 g (9%)
% Daily Values based on a 2,000 calorie diet
Ingredients
10 servings
Instructions
Step 1
Open the can of chickpeas and pour into a strainer. Rinse very thoroughly with water until the foam goes away. I highly recommend using Goya chickpeas because they're large and soft, so they blend down very well (unlike some other brands).
Step 2
Fill a small or medium pot halfway with water and set to high heat, then boil the chickpeas uncovered for 20 minutes. You can reduce the heat if bubbling too close to the edge of the pot.
Step 3
Pour the chickpeas back into the strainer and rinse with cold water to cool them off. Begin peeling the translucent skins off of each one (which should slide off easily by pinching the chickpea with 3 fingers). Once you peel them, stick them in the fridge or freezer for a few minutes to cool off while you start putting other ingredients into the blender.
Step 4
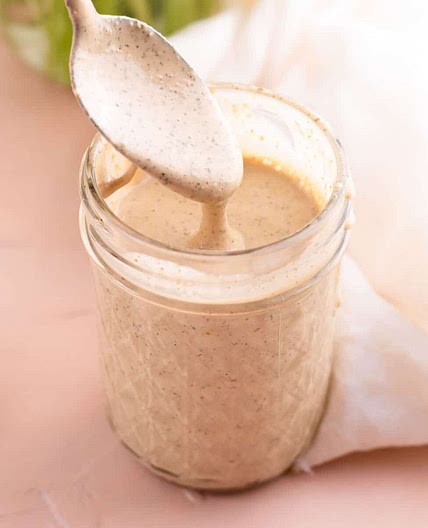
If in a jar, shake the tahini hard. However, if in another container (such as with the brand Joyva from Publix), you'll probably need to stir it with a spoon until it thickens and the oil is completely mixed in. I like to use Lebanon brand tahini in the brown container (not their new white packaging, because I found this new formula to be way too runny).
Step 5
Put 1/4 cup of tahini and 1/3 cup lemon juice (shake well first if bottled) into the blender. I like to add an additional 1/8 cup of tahini (so another half of your original 1/4 cup) and another splash or two of lemon juice. Total, that's 3/8 cup of tahini.
Step 6
Add 1/8 teaspoon of salt, a heaping 1/4 teaspoon cumin, a heaping 1/2 tablespoon of garlic (I use minced), and blend with short pumps. I actually do not add olive oil because it neutralizes the flavor.
Step 7
Add your boiled and peeled chickpeas and blend with short pumps. I always blend with about 20 short pumps so the chickpeas are about 70% blended down. Taste test before you keep blending them all the way to see what you need to add. It's better to taste it earlier in the blending process so that you won't be adding ingredients to your liking after your hummus is already the perfect consistency. This is because you might want to add lemon juice or olive oil to either boost flavor (with lemon) or make it less strong (with oil), and both will make the consistency thinner. You can add garlic, cumin, salt, and lemon as you please, or leave as is.
Step 8
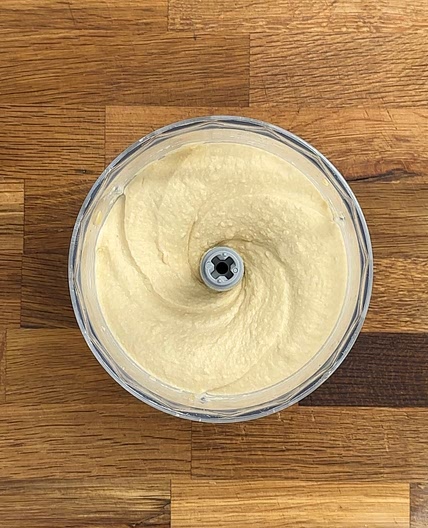
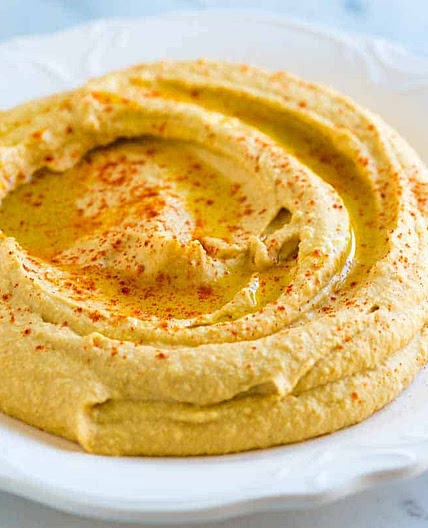
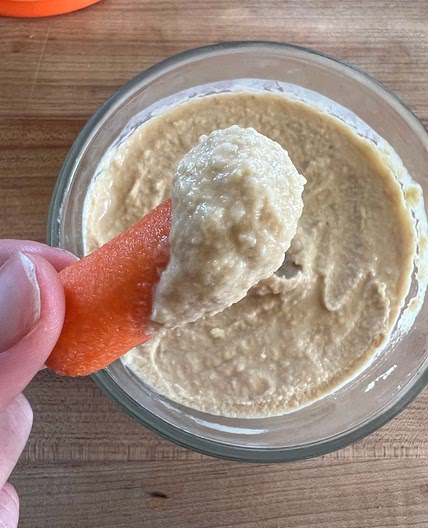
After taste testing and adjusting, I blend with about 30+ more short pumps just to really get those little chickpea fragments blended in smoothly. If you measured your ingredients well, blending it more won't make it runny - it'll make it smooth yet thick. My hummus does not drop from my spoon when I flip the spoon over - that sort of thickness is ideal! When you see the hummus start "caving in" on itself in the blender, this is a good indicator that it is a nice thick (yet smooth) consistency.
Step 9
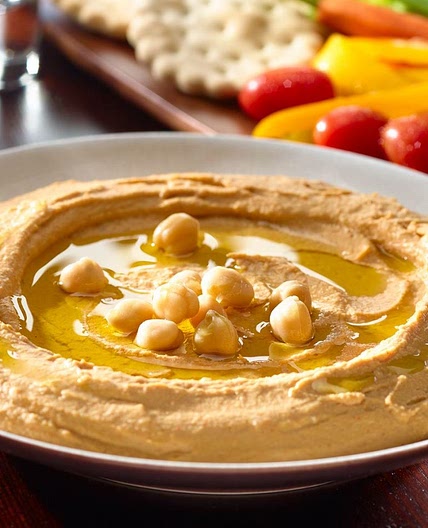
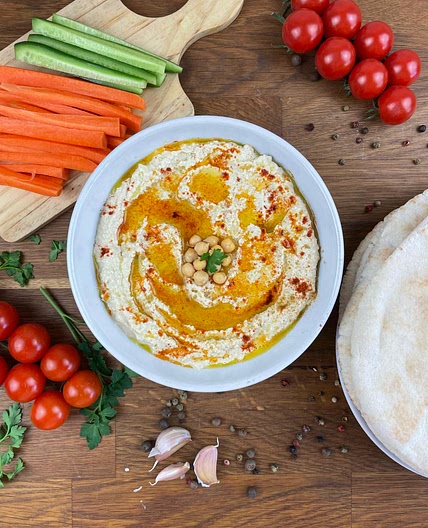
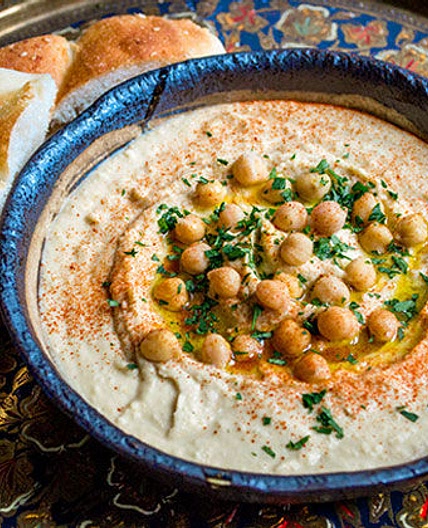
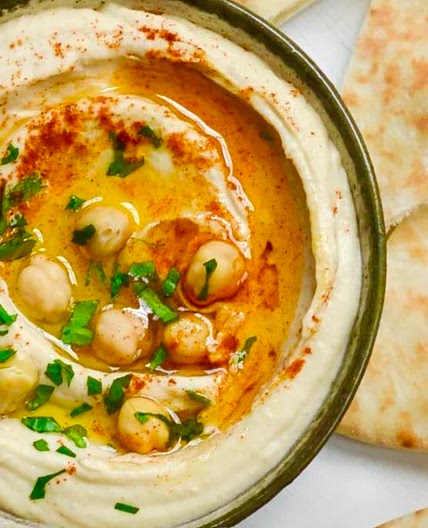
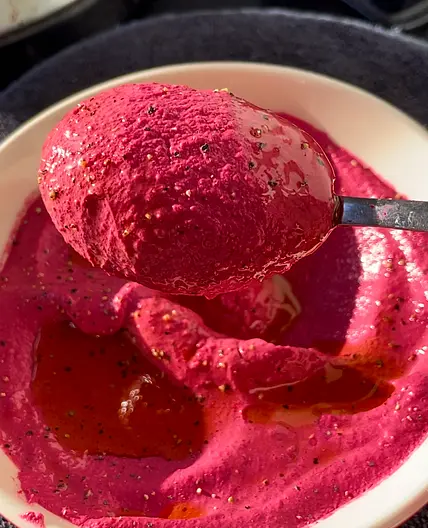
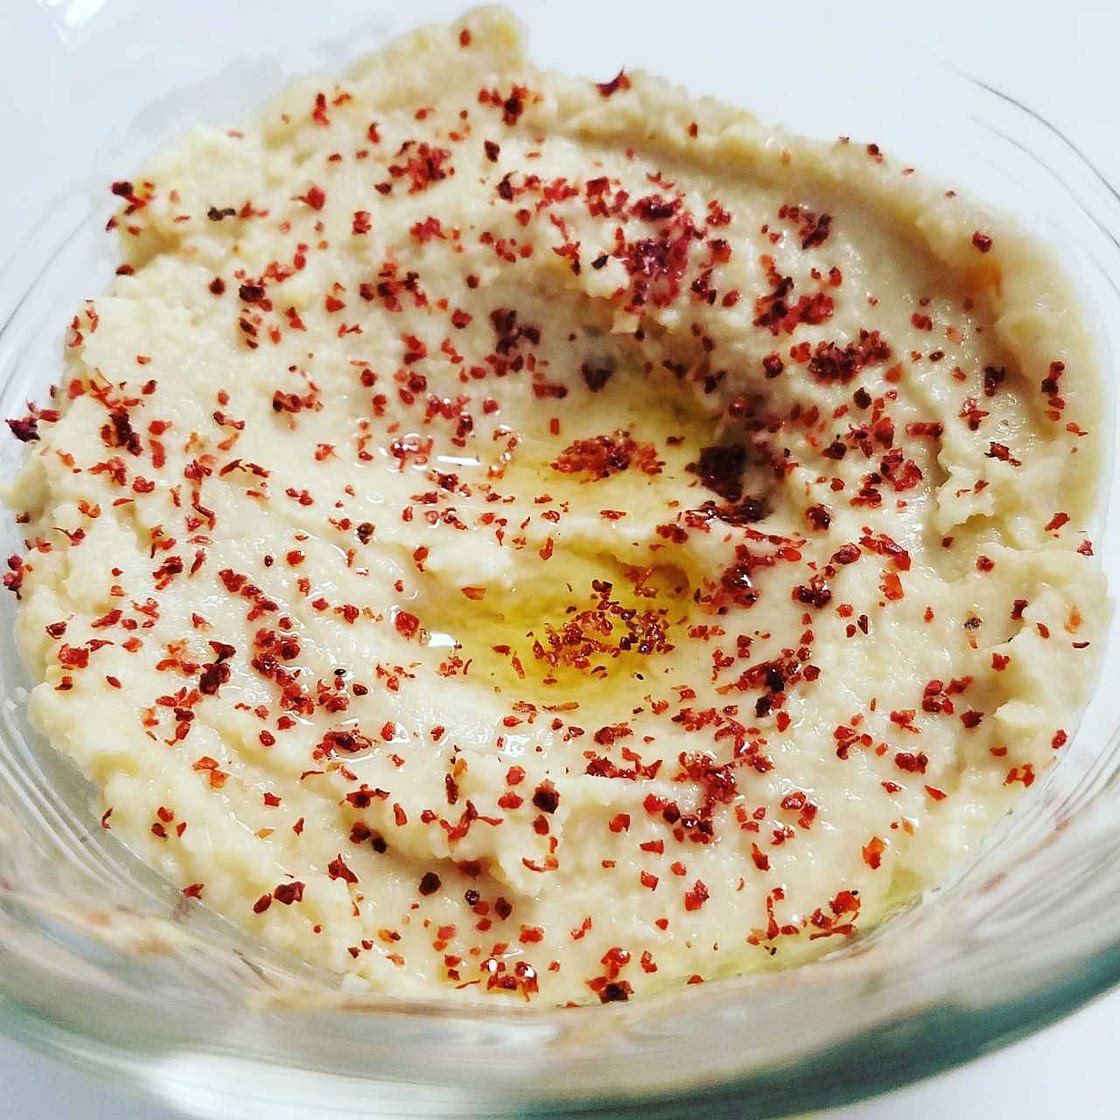
After you're satisfied with its taste and texture, put the hummus in the fridge. Don't let it freeze - it will become watery. The second or third row to the top of the fridge is the best place to put it where it won't get watery. If it does, just mix it in a little and it should be fine. If serving right away, put olive oil and sumac on top and serve with pita, pita chips, onion, etc. However, it is highly suggested that you leave it in the fridge for at least a little while before serving.
Notes
1 liked
0 disliked
There are no notes yet. Be the first to share your experience!