1/6

2/6

3/6

4/6
5/6
6/6
94%
6
By Lacey (Lace Bakes)
Mini Focaccia Pizzas
18 steps
Prep:2h 30minCook:18min
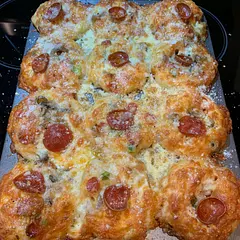
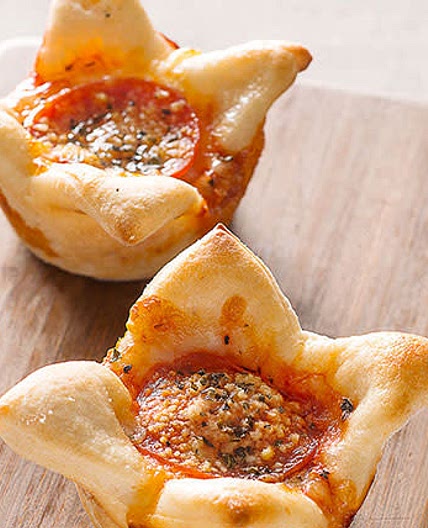
These Mini Focaccia pizzas are such a fun way to mix things up on pizza night. My kids love them in their school lunch boxes too! The beauty is here is that you can make a ton of different flavour combos in one batch - a great way to taste test before you commit an entire tray of focaccia pizza to one flavour. Great to make ahead for lunch boxes or to serve alongside a gorgeous summer salad for a little spin on pizza night.
Updated at: Thu, 17 Aug 2023 10:32:29 GMT
Nutrition balance score
Uh-oh! We're unable to calculate nutrition for this recipe because some ingredients aren't recognized.
Ingredients
20 servings
1 batchsourdough focaccia
overnight, same - day or, see my whisk profile or the lace bakes community on whisk for recipes
For the garlic butter
30gsalted butter
30mlextra virgin olive oil
4 clovesminced garlic
1 tablespoonfresh flat leaf parsley
chopped
salt
to taste
flaky sea salt
black pepper
freshly cracked, to taste
Pizza sauce of choice
Cheese
Shredded mozzarella cheese
small handful for each pizza
Parmigiano Reggiano grated
over the top when out of oven
Pizza topping ideas
pepperoni
salami
sausage
olives
basil
ham
pineapple
diced
pickled jalapeños
red peppers
onions
mushrooms
pre-cooked
To bake
Instructions
NOTE ON PORTION SIZE
Step 1
A full batch of focaccia will yield about 18/20 mini focaccia pizzas (50g dough each). If that’s too many, you can easily halve the recipe if you’d only like ten. Or you can make the full batch of dough, use ten for mini focaccia pizzas and proof/bake the other half of the dough in a smaller focaccia tray/loaf tin.
Dividing dough into muffin tins
Step 2
Prepare the focaccia dough as instructed in the recipe. The method will change at the point where it’s time for the focaccia dough to be transferred into the tray for its final proofing time.
Step 3
Instead of lining and oiling the tray, you’re going to liberally brush each compartment of the muffin tin with extra virgin olive oil. A teaspoon of olive oil in each helps to ensure these won’t stick!
Step 4
Now, gently tip your dough onto a lightly oiled surface. Using a dough cutter or knife, cut the focaccia dough into 50g portions (I weigh them using my digital scale). Plop each dough blob into an oiled compartment.
Step 5
Cover muffin tin with another tray (inverted) and let proof for about 1.5 hours. The dough will have puffed up to the top of the muffin compartment. If you’re using the same-day focaccia dough, this may only take an hour - there is more yeast in that dough and it’s not been refrigerated so it will rise more quickly.
Prepping the garlic butter and toppings
Step 6
While the dough is proofing, make the garlic butter. Heat butter and olive oil in small pan over med-low heat. Add in minced garlic and let simmer over low for 1-2 mins (be careful it doesn’t brown/burn)…add in parsley, a pinch of salt (if you think it's needed) and freshly cracked black pepper to finish. Set aside to let cool and get started on prepping the toppings.
Step 7
Slice the pepperoni or salami into strips, slice the olives, finely dice the peppers, onions or pickled jalapeños. Small-cut toppings are best for these so you can really push them into the dough - they'll be less likely to fall off when they bake.
Topping and baking the mini focaccia pizzas
Step 8
Preheat oven to 215C/420F. Place rack in bottom position of oven - this helps the base of the mini focaccia pizzas to get crispy and prevents the toppings from crisping up too much. If you have a setting on your oven that directs heat from the bottom, opt to use this (mine is called the pizza setting).
Step 9
One the dough is ready, spoon a bit of the garlic butter over each compartment, making sure to get some of the garlic and parsley on top of each one. You'll want to reserve about 1/3 of the garlic butter to brush over the tops of the pizza once they're out of the oven.
Step 10
Now, dimple the garlic butter into the dough using two oiled fingers (dimple 3-4 times for each compartment).
Step 11
Spoon or brush about a teaspoon or two of pizza sauce evenly over each compartment of dough.
Step 12
Add a few fresh basil leaves on top of the sauce (optional).
Step 13
Add a scattering of toppings of choice, and then add a small handful of mozzarella cheese on top of each compartment. Everything will look a bit overflowing, but this is okay...you will press everything in.
Step 14
Add another scattering of toppings over the top of the cheese, and then, using two fingers, dimple the cheese and toppings into the dough really well.
Step 15
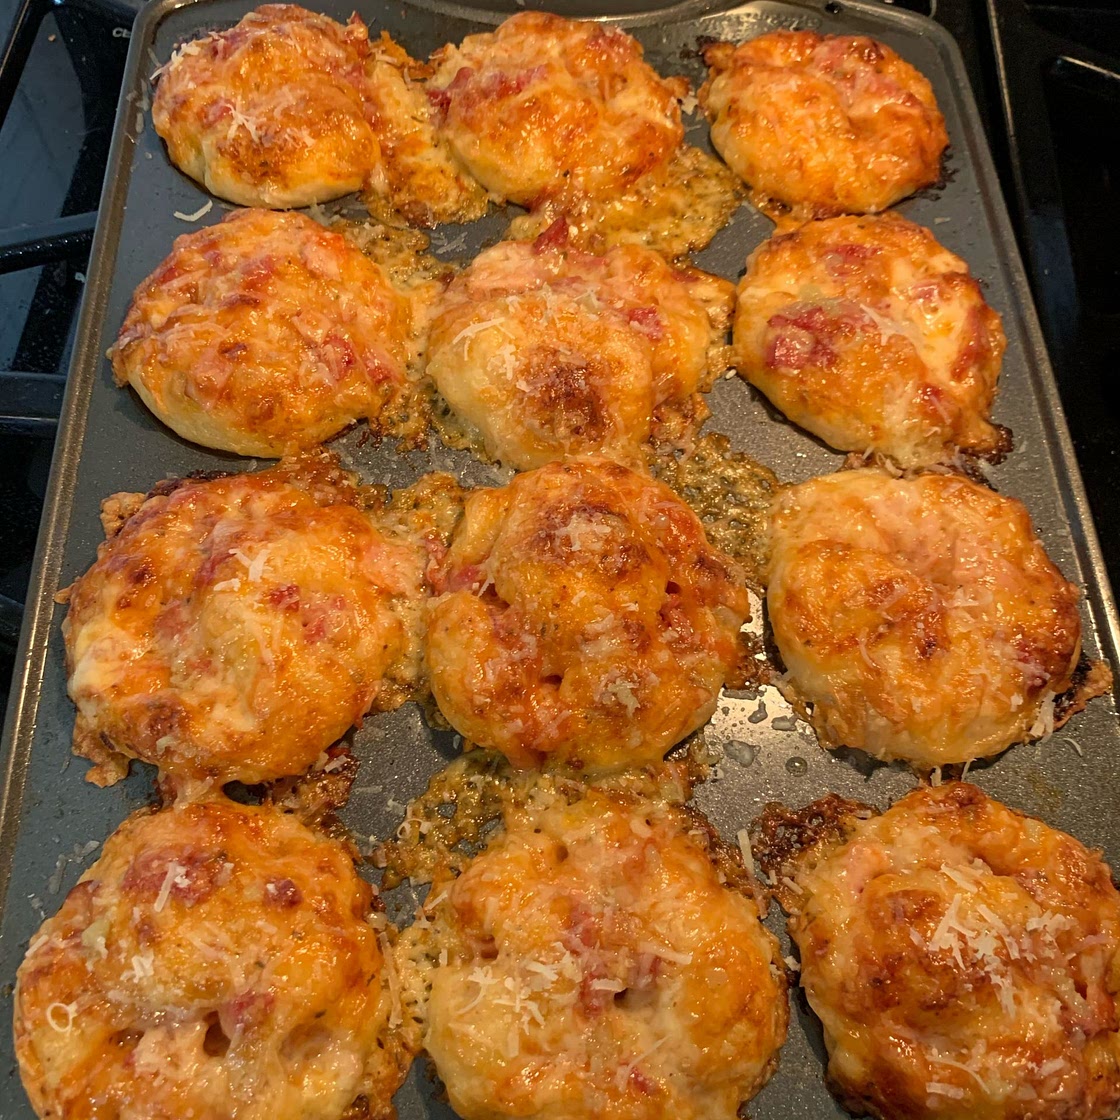
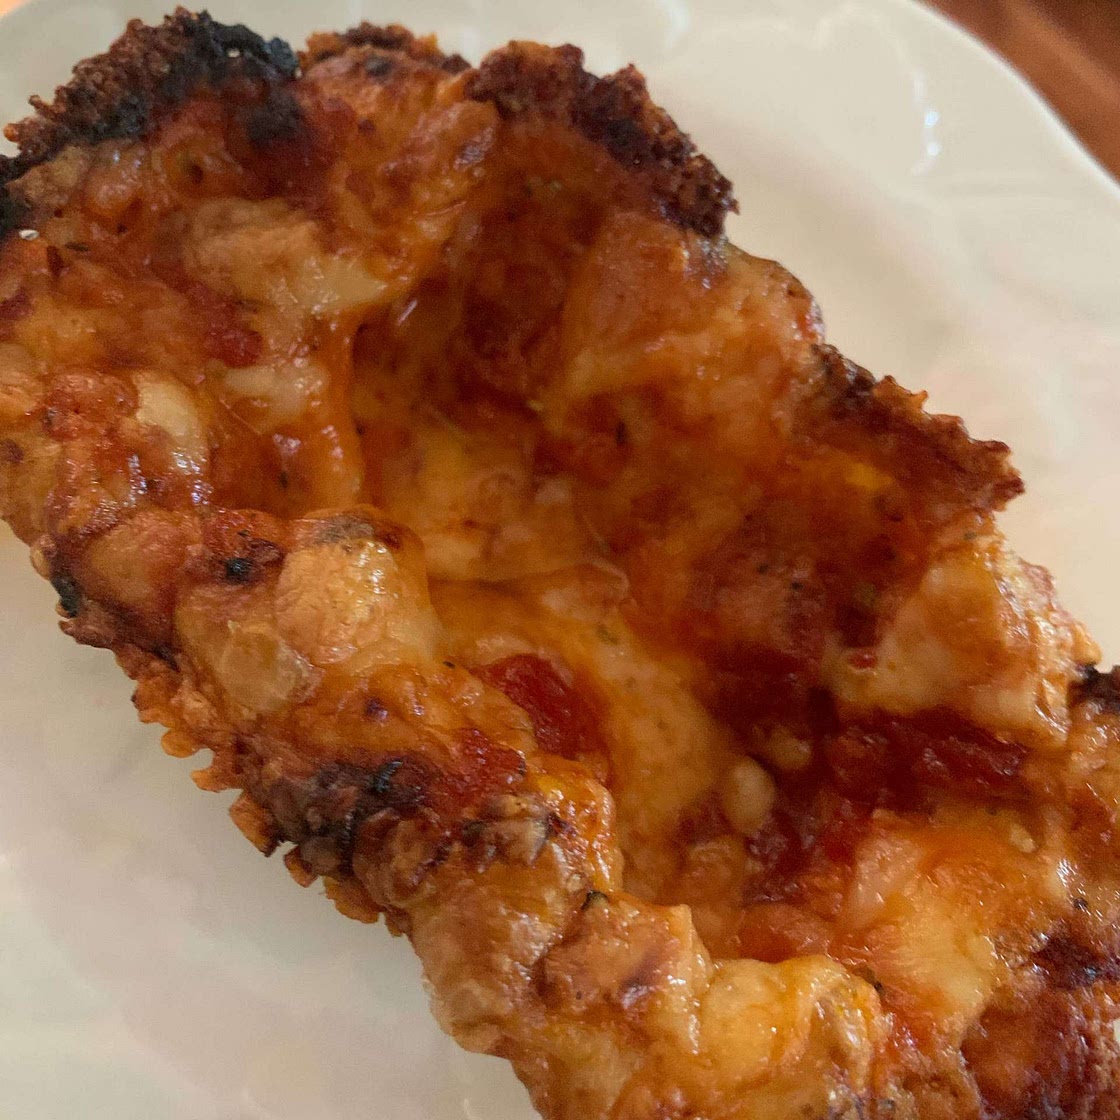
Place muffin tin(s) onto a large baking tray - a little oil from the cheese and garlic butter will probably sizzle over the side of the muffin tin, so this is just to protect your oven. Bake on lowest rack in oven for for 16-20 minutes until cheese is golden brown and toppings are crisping up. If cheese is starting to brown too much before the bottoms are crisp, then just tent some foil over the top for a few extra minutes. The cheese on top should be a nice golden brown, but the cheese that has been pushed into the interior should still be nice and gooey.
Step 16
Once out of the oven, brush more of the garlic butter over the top of each and then sprinkle some finely grated Parmigiano Reggiano over the top of each.
Step 17
Let cool in muffin tin for a few minutes before removing and enjoying warm (you may need to coax out with a knife because of the crispy cheese). If you would like to enjoy these later, then remove from muffin tin after a few minutes and allow to cool on a cooling rack. These can be stored in a plastic zip top bag and reheated in the oven (10 mins at 185C/365F) /airfryer (2 mins on high) on demand.
Step 18
If you wish to freeze them, let them cool completely before placing them into a freezer bag. Remove when needed, place on baking tray and cover with foil. Bake at 185C/365F for ten minutes with foil on, then remove foil for further 4-5 minutes so they can get nice and crispy again. They'll be as good as new!
Notes
37 liked
2 disliked
Delicious
Go-to
Easy
Crispy
Kid-friendly
