1/5

2/5

3/5

4/5

5/5
Leave a note
By Om Wellness Center
Banana Burgers
21 steps
Prep:1hCook:1h 40min
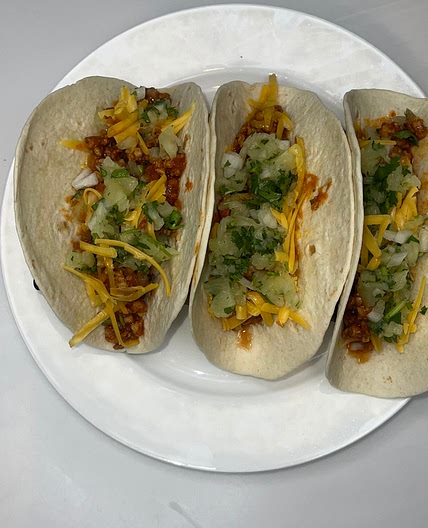
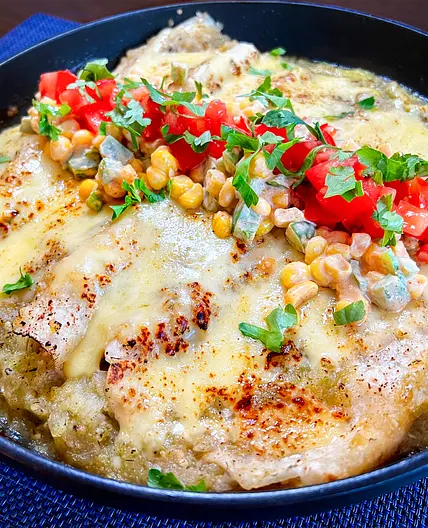
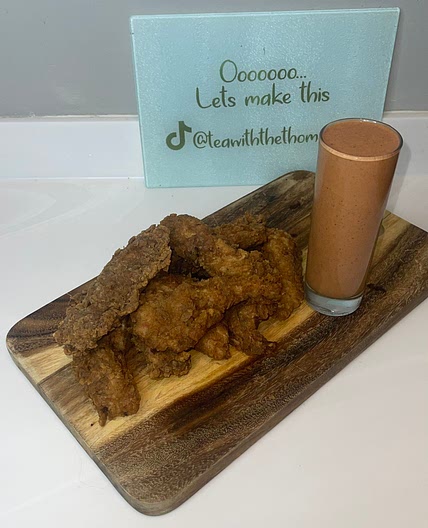
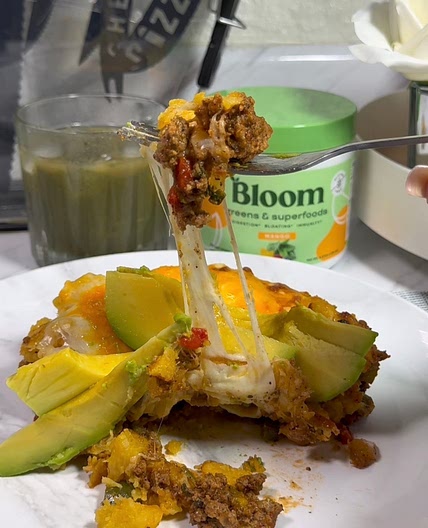
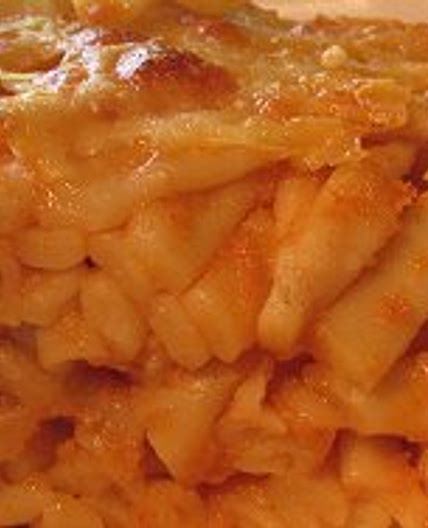
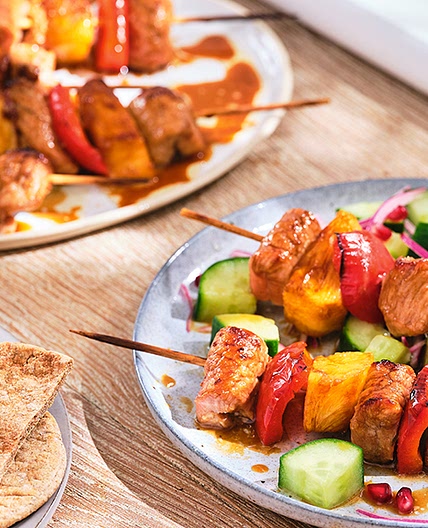
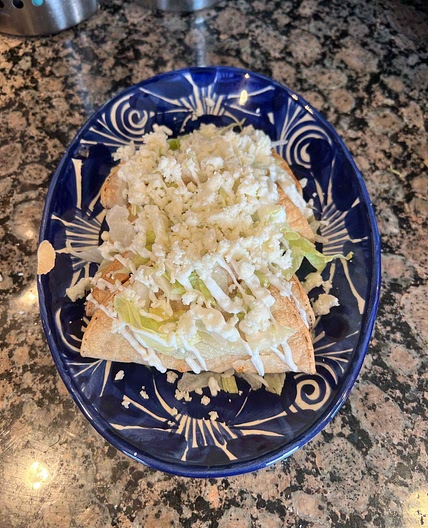
The main ingredient in this recipe is actually green plantains, but "Banana Burgers" seemed close enough. All of the ingredients are NATURAL, can be organically sourced, and are pretty easily obtained. There are no processed "plant proteins" or other funky powders, so the protein is a bit less than half of everyone else, but CHECK OUT all the vitamins and minerals in this baby! Clearly, it is overall MUCH more nutritious than beef, and the Beyond or Impossible burgers as well as containing more natural ingredients than those processed vegan alternatives! There is no added water (which is the primary, first-listed ingredient in both Beyond and Impossible burgers), and there are not a bunch of oils and extracts either. It does take some time to prepare. I have also successfully made a BBQ-beef-style sandwich and Spaghetti with "meat" sauce with this recipe. It soaks up the sauce perfectly. See the pics for the results!
Updated at: Sun, 07 Jan 2024 11:55:56 GMT
Nutrition balance score
Great
Glycemic Index
43
Low
Glycemic Load
14
Moderate
Nutrition per serving
Calories218.1 kcal (11%)
Total Fat7.9 g (11%)
Carbs31.9 g (12%)
Sugars3 g (3%)
Protein6.7 g (13%)
Sodium279.3 mg (14%)
Fiber6.1 g (22%)
% Daily Values based on a 2,000 calorie diet
Ingredients
10 servings
Boil & Mash
540ggreen plantains
peeled, boiled and mashed
14.5 ozcan Garbanzo beans
drained and mashed
1 teaspoonachiote paste
¼ teaspooncomplete seasoning
¼ teaspoonsalt
Sauté
Puree
½ teaspoonapple cider vinegar
¼ cuplime
juice of
¾ cuptomato
chopped
¼ cupcilantro
chopped
¼ cupbasil
chopped
¼ cupred onion
chopped
200gcarrot
extra large, shredded
Dry Ingredients
Instructions
Boil
Step 1

Break each of the peeled Green Plantains into 3 pieces and Boil for 10-15 minutes (until they float). When they are done you will put them in a strainer, but move on to Step 2 while you wait for the water to boil, and toss the plantains in when the water is ready.
Sauté
Step 2
Use the Olive Oil to sauté the chopped Yellow Onion for 5-7 minutes.
Step 3
Add the chopped Red Pepper and continue to sauté for another 5-7 minutes.
Step 4
Add the minced Garlic and sauté 2-3 more minutes. Then let the sauté cool.
Step 5
If the timer for them hasn't gone off already, check if your plantains are done boiling and you can pop them in a strainer.
Grind and Mix
Step 6

Use a blender or food processor to grind the Pecans
Step 7

Mash the Avocado and mix in the ground Pecans and the other Dry Ingredients in a large bowl and set aside. The Avocado is for an egg-like stickiness that should help the oats and the nuts and the yeast bind to each other and keep our burgers moist without making them fall apart.
Puree
Step 8

Put the Apple Cider Vinegar, Lime Juice and Tomatoes in the blender and puree. Add the Basil and mix. Add the Cilantro and mix. Next, mix in the Sauté from earlier (which should be cooled by now), then add the shredded Carrots a little at a time and mix until well blended (We shred them to make it easier on the blender. You can skip pre-shredding if you are using a food processor). The finally consistency of the Puree should be similar to applesauce.
Mix and Mash
Step 9

Add the Puree to the big bowl of Dry Ingredients you mixed together earlier. Mix it all together thoroughly and set this aside.
Step 10

Smash the Plantains flat, using a cutting board and the bottom of a glass or pot, or in a large bowl using a potato masher. Another way that worked for me is using my stainless steel lime press to do all the mashing.
Step 11

Put the smashed Plantains in a large bowl (if not already). Now use a small steak knife to shred the mashed Plantains until they a little like the crumble part of an Apple Crumble. They should be sticky and crumbly and fall apart fairly easily. If they become more like mashed potatoes, you have boiled them for too long! But if they are not mashed enough at this step, try using a fork instead of a knife.
Step 12
In case you didn't know, Aquafaba is the name they give the water you drain from your Garbanzo Beans. This can be saved and used for other recipes... just do a search for "aquafaba recipes". After draining, smash the Garbanzo Beans in a separate bowl with your potato masher.
Step 13

Slowly add the Garbanzo Beans to the smashed Plantains and keep on smashing and mashing away. The mix doesn't have to be smooth (and is actually better if not, for texture), but you want to make sure all the Garbanzos have been smashed and that the visible pieces in your mash are no larger than about 1/4" in diameter. Again here you can use the steak knife to shred, or a fork (to smash and shred both).. I am experimenting to see if leaving this mix in the fridge for a few hours or even overnight helps make the burgers even more firm.
Step 14

Slowly add the mashed Plantains and Garbanzo Beans to the large bowl with the other ingredients and mix aggressively, continuing to smash any whole Garbanzos or large pieces of Plantain you spot.
Chill
Step 15
Cover the bowl and chill your Banana Burger mixture for at least 30 minutes in the fridge to make it easier to handle.
Bake
Step 16

Preheat the oven to 390° F (200° C )
Step 17

Scoop out and form into 1/3lb. (151g) patties (by hand or your preferred method). I like to do it by hand, and squeeze into a ball first... (just a little bigger than an American Pool ball)... then flatten by patting. (that's why they call it a "patty" isn't it?)
Step 18

Arrange the patties on a greased baking sheet, keeping a little space between them.
Step 19

Bake for 30 minutes at 390° F (200° C), flipping halfway through. They will turn from pink to brown and look a bit like oatmeal cookies-- and like you would with cookies, let the patties cool before handling.
Fry 'em up!
Step 20

After you bake them, Banana Burgers can be cooked like you would a normal burger, on medium heat, 2-3 minutes per side, until dark brown. It helps to let them cool just a bit before frying so they are more firm. I suggest frying in olive oil, coconut oil or my favorite, Melt Butter Sticks (made from plants, mostly coconut oil). Then add them to your favorite bun and topping combos. They make an especially good pizza burger with some marinara and a few sprinkles of nutritional yeast on top! Before frying, you can also slice the burgers into 1/4" or 1/2" strips for "brisket-style" or cut the strips further, into square-shaped pieces for a ground beef substitute in things like tacos and spaghetti.
OR... Freeze for later!
Step 21

You can also let them cool and then freeze them. I like to wrap or layer them individually with wax paper in a sealed container or freezer bag. They will stay fresh about 1 week in the fridge or 3 weeks in the freezer. Since they are pre-baked you can fry them straight out of the freezer. Use medium heat, and fry 3-5 minutes per side. Because you need to cook them longer from frozen, make sure the heat is not too high so you don't burn them.
Notes
0 liked
0 disliked
There are no notes yet. Be the first to share your experience!