By Anthony Argeropoulos
Tiramisu
A home made Tiramisu is a delicious Italian dessert that consists of layers of coffee-soaked ladyfingers, mascarpone cheese, and cocoa powder. It is easy to make and requires no baking.
When making Tiramisu the limiting factor for how much you make is typically the mascarpone cheese. You should adjust the recipe based on the weight of how much mascarpone you have. From my experience the weight on the package is off by a lot.
One container of mascarpone is typically 225 grams, or 4 (very large) servings. 3 containers (or 12 very large servings) fills a typical tall sided baking pan.
It's also important to buy very high quality eggs. Pasture raised, or free range is typically the best. The eggs need to be as fresh as possible.
Updated at: Sun, 26 Nov 2023 21:54:00 GMT
Nutrition balance score
Unbalanced
Glycemic Index
63
Moderate
Glycemic Load
40
High
Nutrition per serving
Calories745.7 kcal (37%)
Total Fat48.9 g (70%)
Carbs63.1 g (24%)
Sugars35 g (39%)
Protein10.4 g (21%)
Sodium114.7 mg (6%)
Fiber1.2 g (4%)
% Daily Values based on a 2,000 calorie diet
Ingredients
4 servings
Cream
225 gramsmascarpone cheese
190 gramsheavy cream
50 gramsyolk
50 gramssugar
20 gramswater
1 tablespoonvanilla
Coffee syrup
Topping
Instructions
Before you start
Step 1
Weigh your mascarpone cheese. You'll need to adjust the recipe to the amount of cheese you have.
Step 2
If you're using coffee you're going to want to start brewing that now. When brewing the coffee you want to use about as much ground coffee as your basket can hold. You want to fill the water with bottled or filtered water, and you want to not brew a full pot. Only fill about 1.5 times what you need for the recipe. This will insure you have coffee of the right strength. I reccomend Peet's Coffee Grounds.
Making The Cream
Step 3
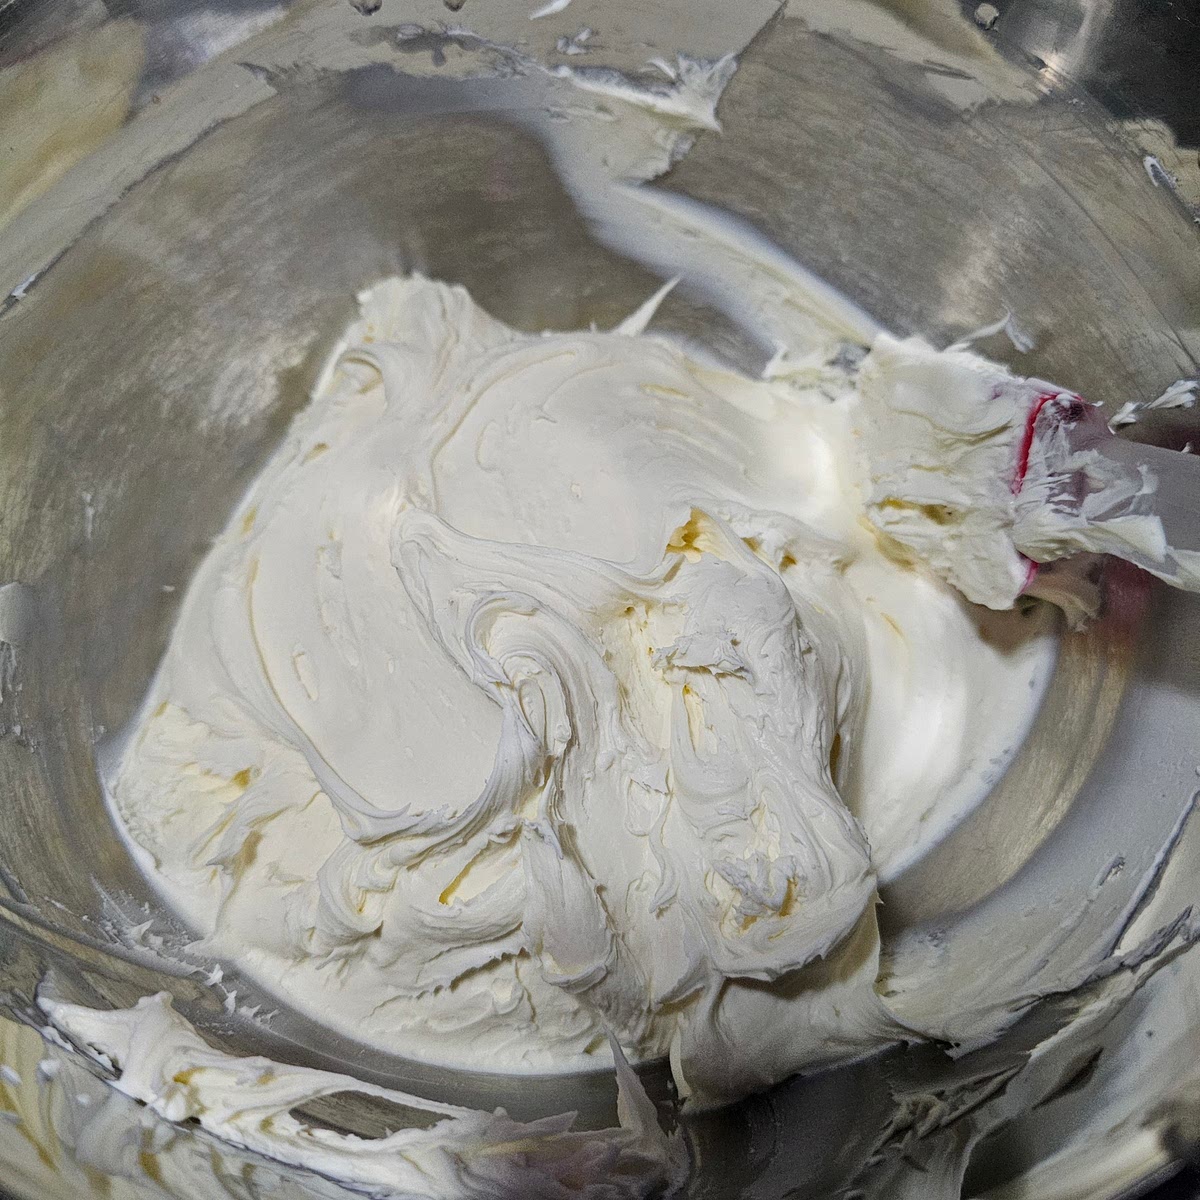
After weighing your mascarpone, add it to a large bowl and mix it with a powered hand mixer or table mixer. You're just getting it ready to incorporate with other ingredients. (See picture)
Step 4
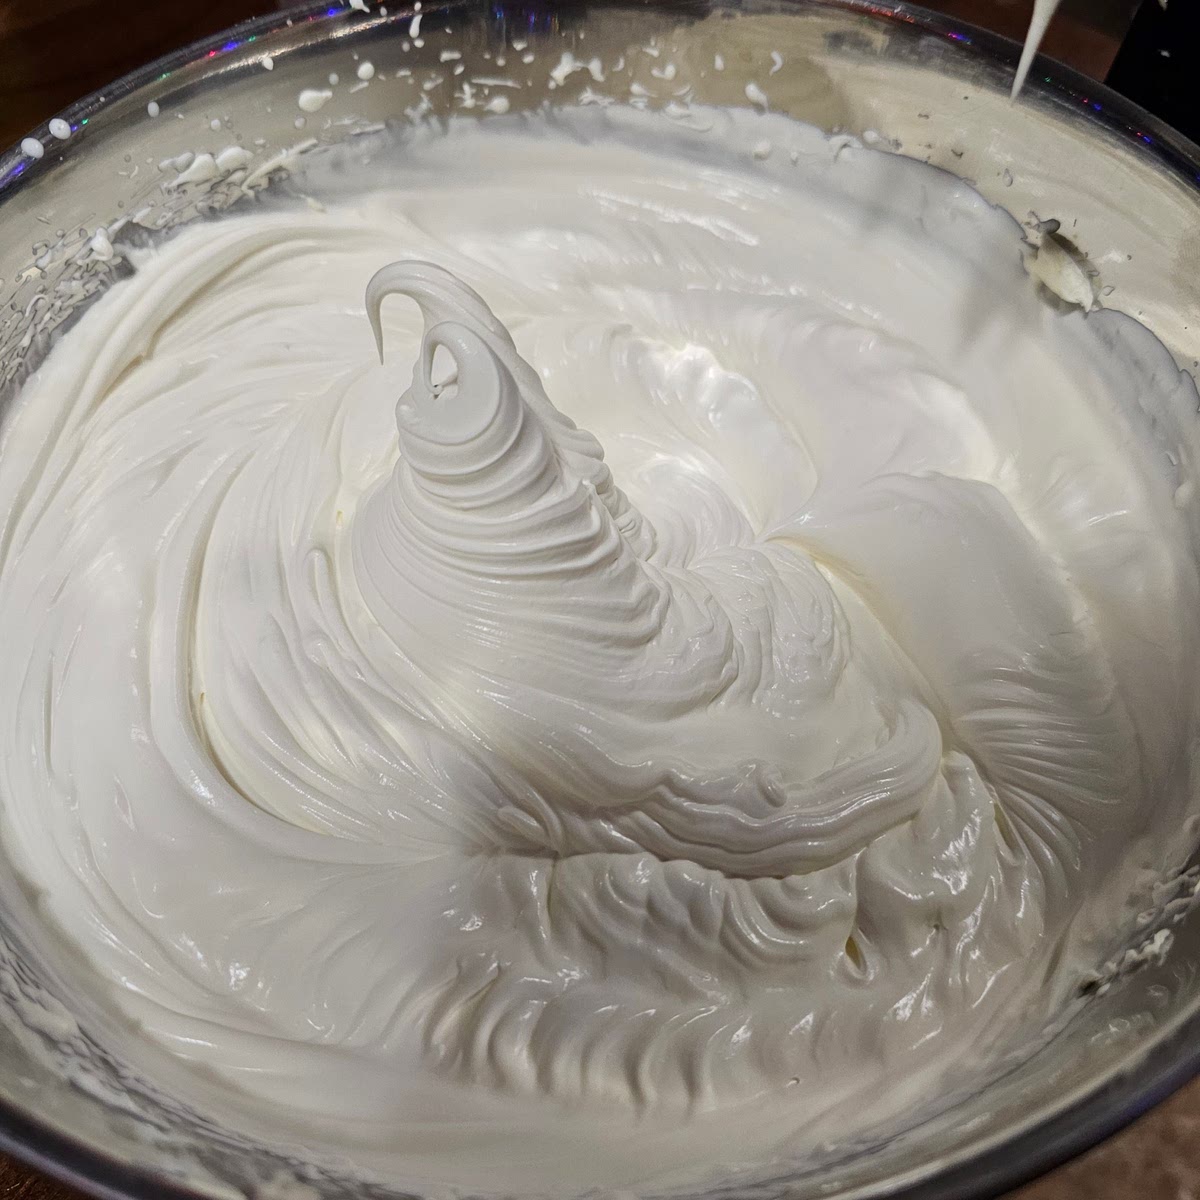
Add your heavy cream to the mascarpone. You're going to whip this to very stiff peaks. It should stand on its own. This will take a long time if you're making many servings. See the picture and how it stands up on its own.
Step 5
Take the whipped cream and cheese, wrap it air tight, and place it in the refrigerator until you're ready to use it.
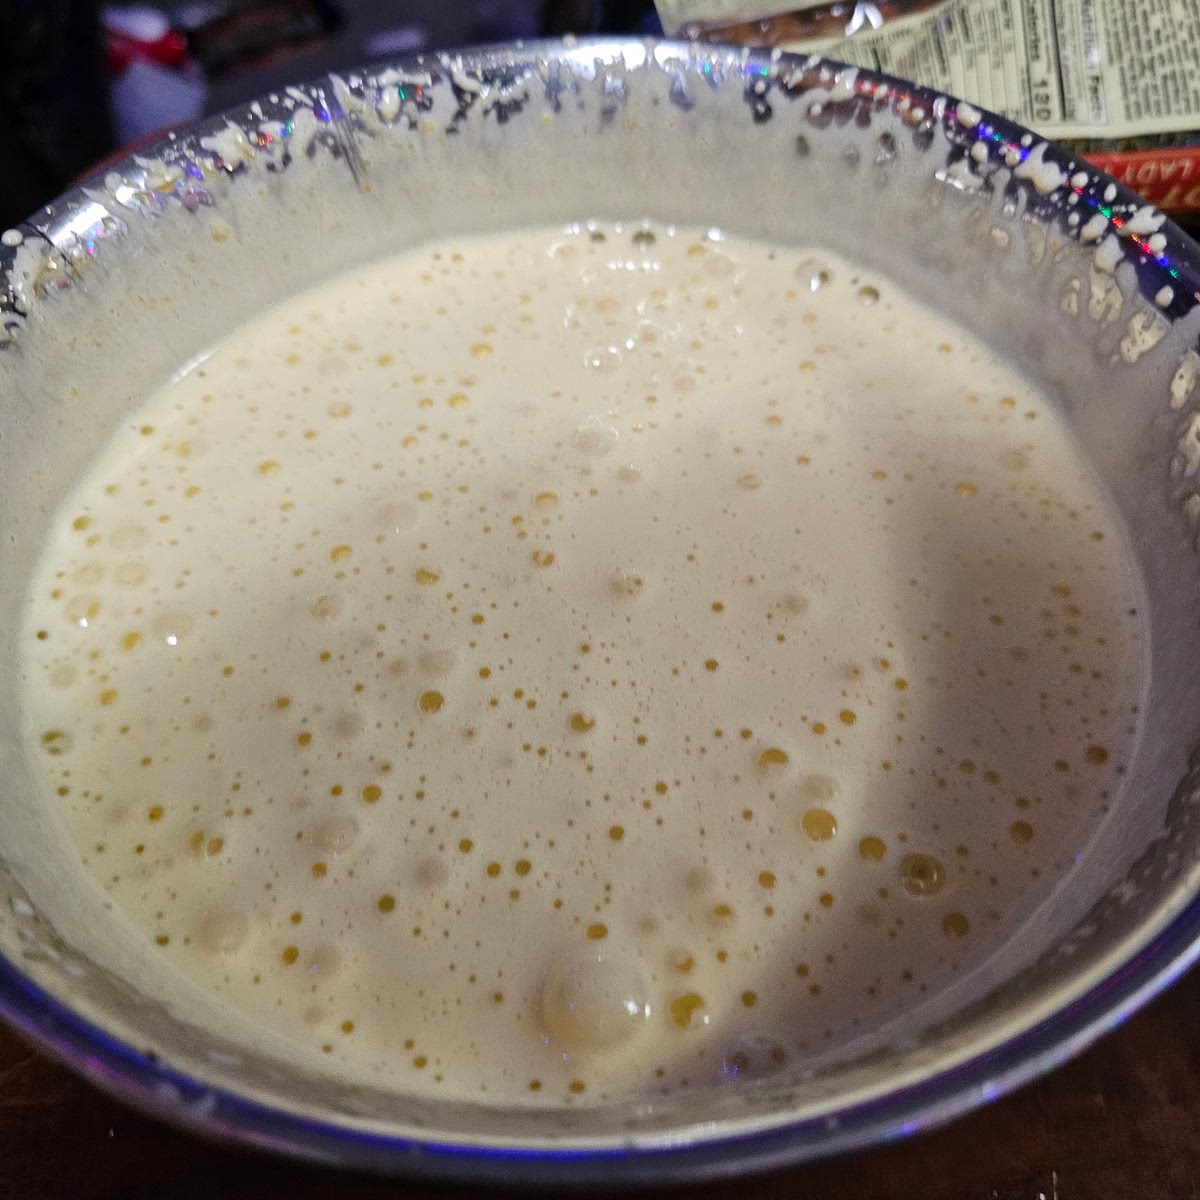
Step 6

Next we're preparing the eggs. You are able to skip this step if you trust youre eggs, or if you're using already pasturized yolks; however, we are going to pasturize the eggs. You're going to want to get a small pot of boiling water going. Such that the metal bowl you're using to whisk them will fit in the pot without touching the water. Take the sugar, egg yolks, and water, add them to the bowl and *continuously whisk* them until its reached a temp of 165 °F. The attached picture shows what the eggs should look like before starting. Do not scramble the eggs!
Step 7
After they come to temp, immediately remove from heat and whisk vigorously, ideally with a whisk attachment on a mixer. You're going to whisk until the egg mixture turns to a creamy color and becomes light and fluffy. See picture.
Step 8
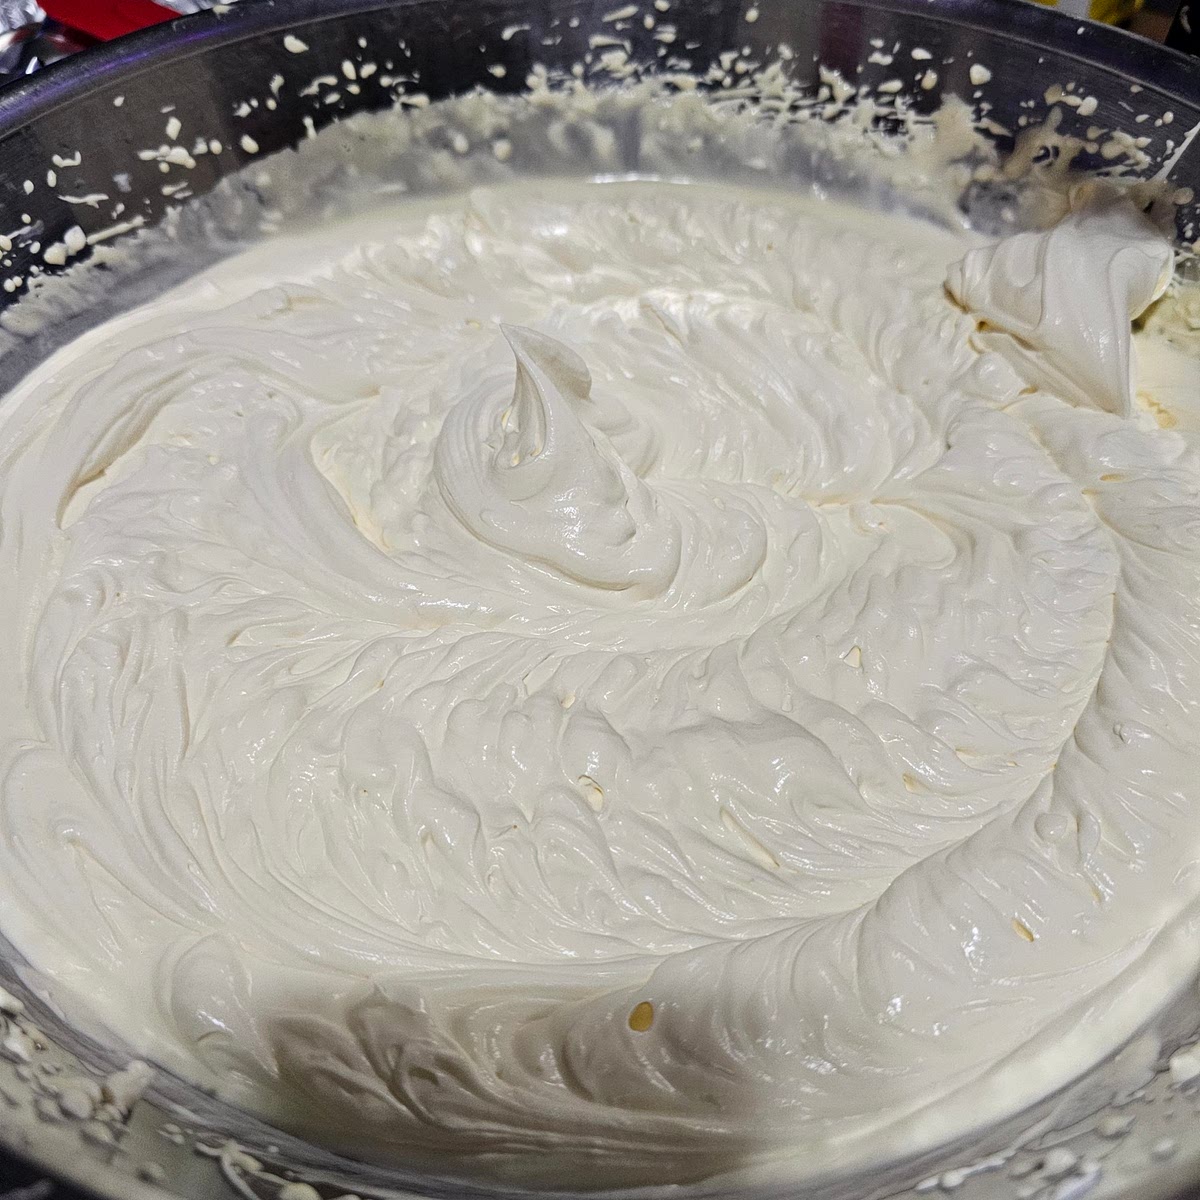
Finally, take the cream mixture out of the refrigerator, and combine it *carefully* with the egg mixture. You will need a larger bowl than it looks, this mixture will increase in size. Whip the mixture together until you have stiff peaks again. The mixture needs to be able to stand up straight on its own or the slices of Tiramisu will fall over. See picture.
Step 9
Wrap the mixture air tight and place it in the refrigerator in the refrigerator.
Lady Fingers and Assembly
Step 10
If you're using espresso, brew it now, if you're using coffee, freshly poor it into a container large enough to dip the lady fingers in. It should be hot.
Step 11
Combine the ingredients (sugar and rum/whisky) with the coffee and prepare to dip your lady fingers.
Step 12

Get your container for the Tiramisu, it would be easiest of you had a spring form pan of some sort, though I typically use a baking pan. Dip the lady finger in for 2 or so seconds, rotate it to the other side, for 2 or so seconds, then rotate again and pull it out. You won't be able to leave them in for too long without them falling apart in your hands. You just want to make sure it soaks enough coffee mix to not be crunchy. You'll want to have the bottom layer of lady fingers to be very tight together. This makes it easier to scoop out of the pan. See the picture.
Step 13
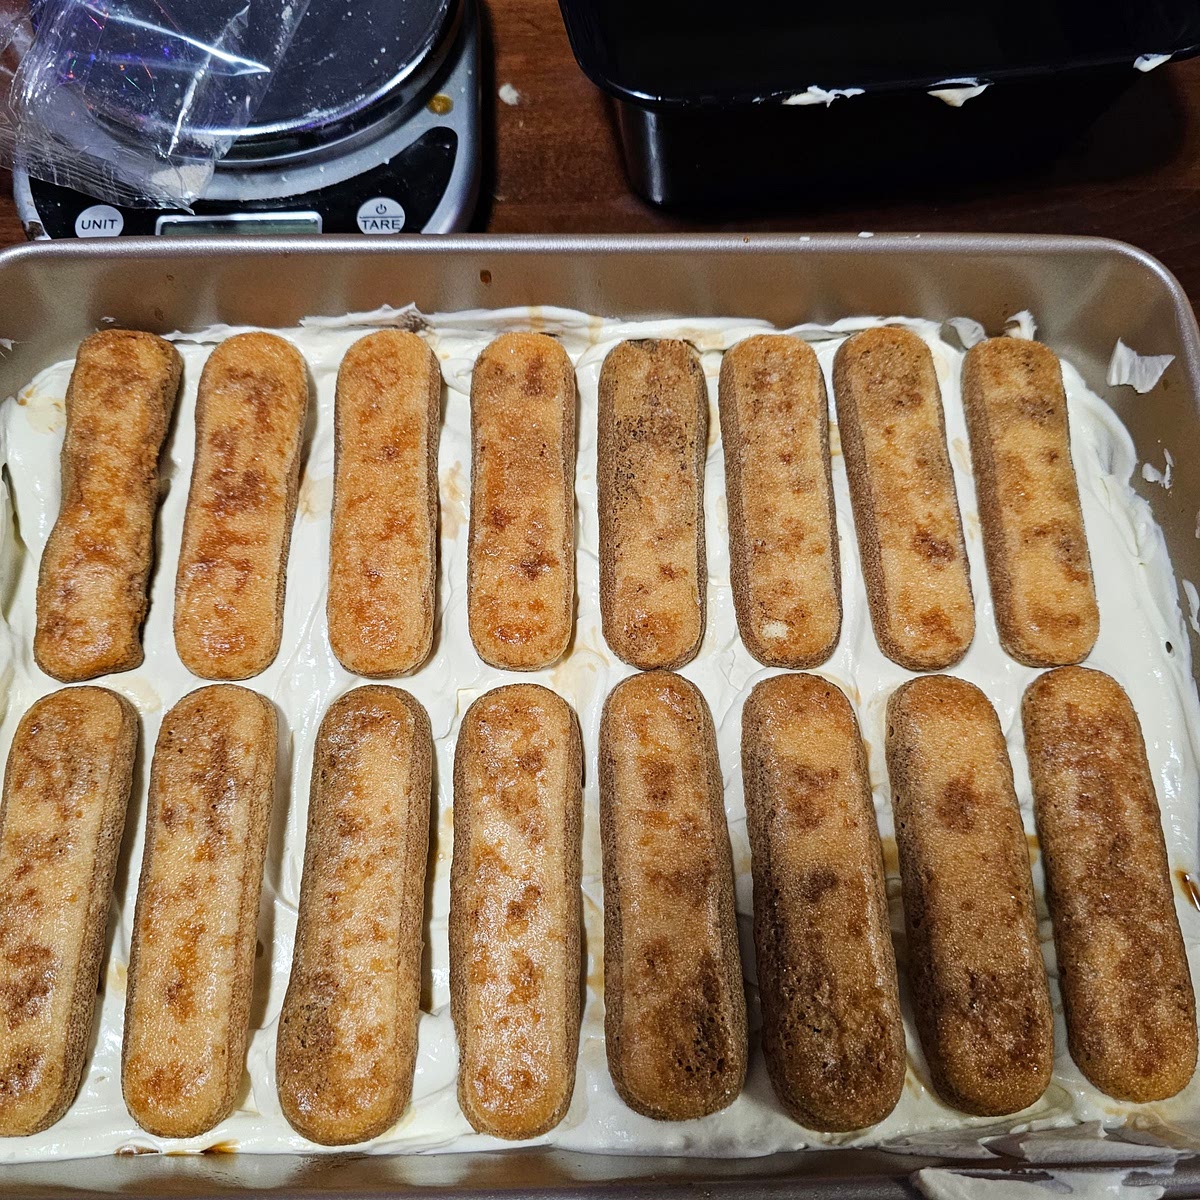
Layer on top some of the cream mixture. You'll want to leave room for another layer of lady fingers. For this layer you can space them out more, depending on how you want the cake to look. See the picture.
Step 14
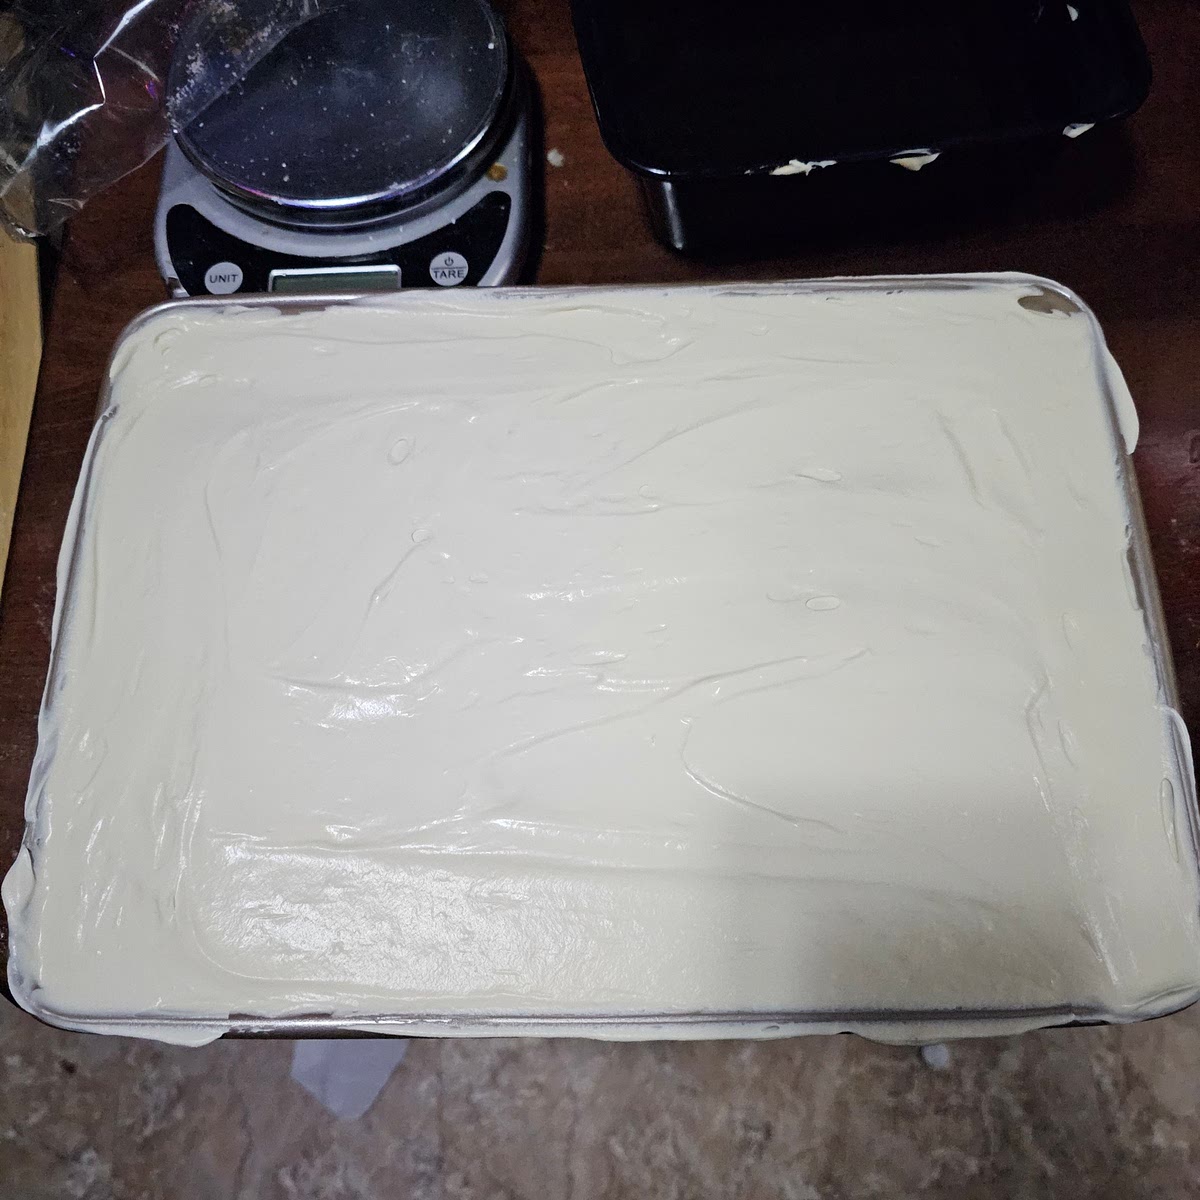
Finally add the rest of the cream mixture to fill the pan to the top. These cakes are typically rather tall. You do not want to add the powered sugar or coco powder on top until you're ready to serve. Wrap air tight and refrigerate for at least an hour, ideally two or three hours.
Serving
Step 15
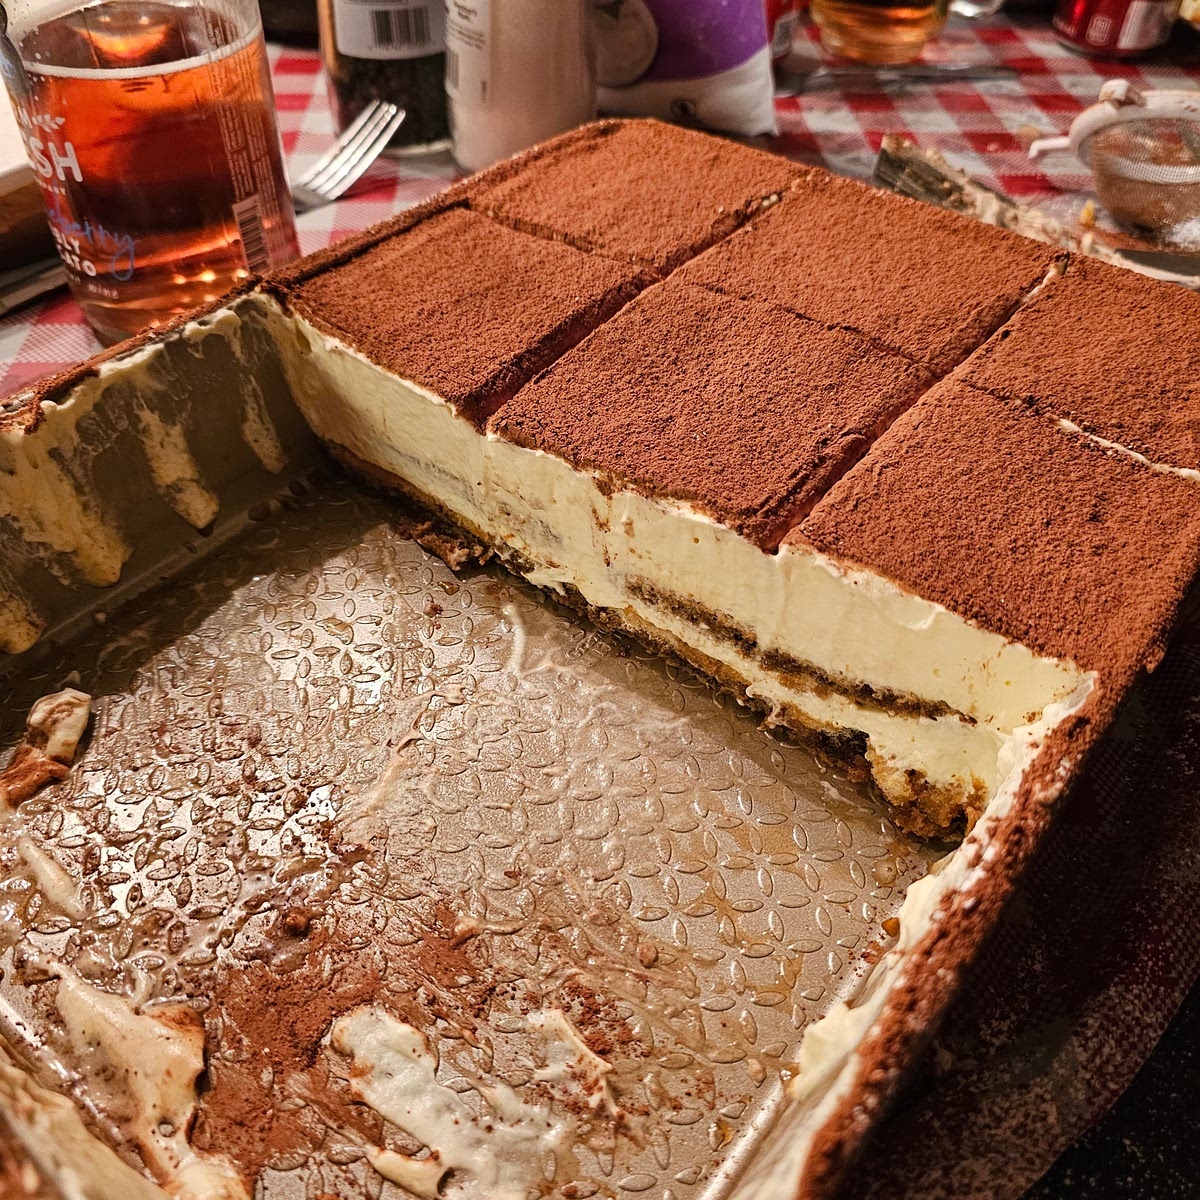
When you're ready to serve. Dust a generous layer of powered sugar, and then a generous layer of coco powder. You want to do this just before you serve because it will absorb the moisture of the cake if you put it on too early. It's very tricky to scoop the slices out of a baking pan, you will want to use a thin flat spatula.
Step 16
Enjoy :D
Notes
1 liked
0 disliked
There are no notes yet. Be the first to share your experience!