By Juna
How to: Sprouting
14 steps
Prep:10min
Let your curiosity & love for nature be your guide when it comes to sprouting.
It’s fascinating! No matter how many times I’ve sprouted, I still can’t help but fall in love with watching life begin.
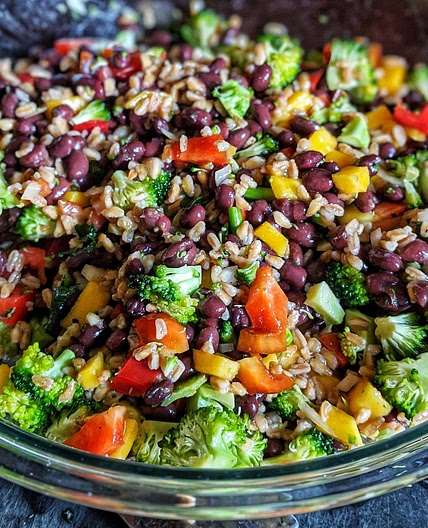
Sprouting is basically bringing a dormant grain, seed, nut or legume back to life.
It awakens its enzymes, reduces the percentage of anti-nutrients, changes the structure of its carbohydrate, and increases its protein content.
1. Sprouting increases the activity of enzymes and that in turn increases the bioavailibity of nutrients, vitamins and minerals. Basically increase the nutritional value of your food.
2. Sprouting reduces the percentage of anti-nutrients such as; phytate, lectin, glucosinolate. Sprouts have lower percentage of anti-nutrients, and that makes it easier for your body to absorb the nutrients of your meal.
3. Sprouting changes t
he structure of carbohydrates, by breaking down its starches, and using the sugar as food to grow the growth of the sprout, making it easier to digest and help with balancing its effect on your blood sugar.
4. It’s studied that the percentage of protein in sprouts increased by 9 to 12%. And that also makes easier to digest and gives a satiated feel.
5. Many studies showed it helps with fighting diseases, aid in weight loss, and also fight the formation of colon cancer cells.
A simple activity like sprouting, can help majorly in balancing us out not just physically. But on a more spiritual level.
I consider it a mini meditative practice, that connects me to life as a whole. You literally see it come to life in your hand.
It is a beautiful practice.
And please note that raw sprouts are not to be consumed by pregnant ladies.
Cooked is of course totally fine.
Updated at: Sat, 09 Dec 2023 12:58:49 GMT
Nutrition balance score
Great
Glycemic Index
33
Low
Glycemic Load
5
Low
Nutrition per serving
Calories86.8 kcal (4%)
Total Fat0.3 g (0%)
Carbs15.6 g (6%)
Sugars0.5 g (1%)
Protein5.4 g (11%)
Sodium119.3 mg (6%)
Fiber3.9 g (14%)
% Daily Values based on a 2,000 calorie diet
Instructions
Step 1
Wash the bean/grain thoroughly.
Step 2
Now to soak the beans. Firstly the water to bean ratio is 3:1, the water is beyond covering the beans here as beans will expand in size as they soak in the water.
Step 3
For every liter of water add a teaspoon of salt (rock or sea).
Step 4
Allow to soak for a minimum of 8 hours, that’s in the case of small grains & legumes like whole rice, quinoa, spelt, lentils & oats.
Step 5
Allow to soak for more than 8 hours to a max of 12 hours, that’s in the case of big legumes like chickpeas, butter beans & pinto beans.
Step 6
After the soak, strain and wash the grain/bean. And let it strain at an angle.
Step 7
The reason behind that is, we want the entirely of the water to drain out and not sit beneath the sprouted grain/bean or will start molding.
Step 8
You need to rinse your sprouted grain/bean every 6 to 9 hours, or whenever you see them drying up and in need of moisture.
Step 9
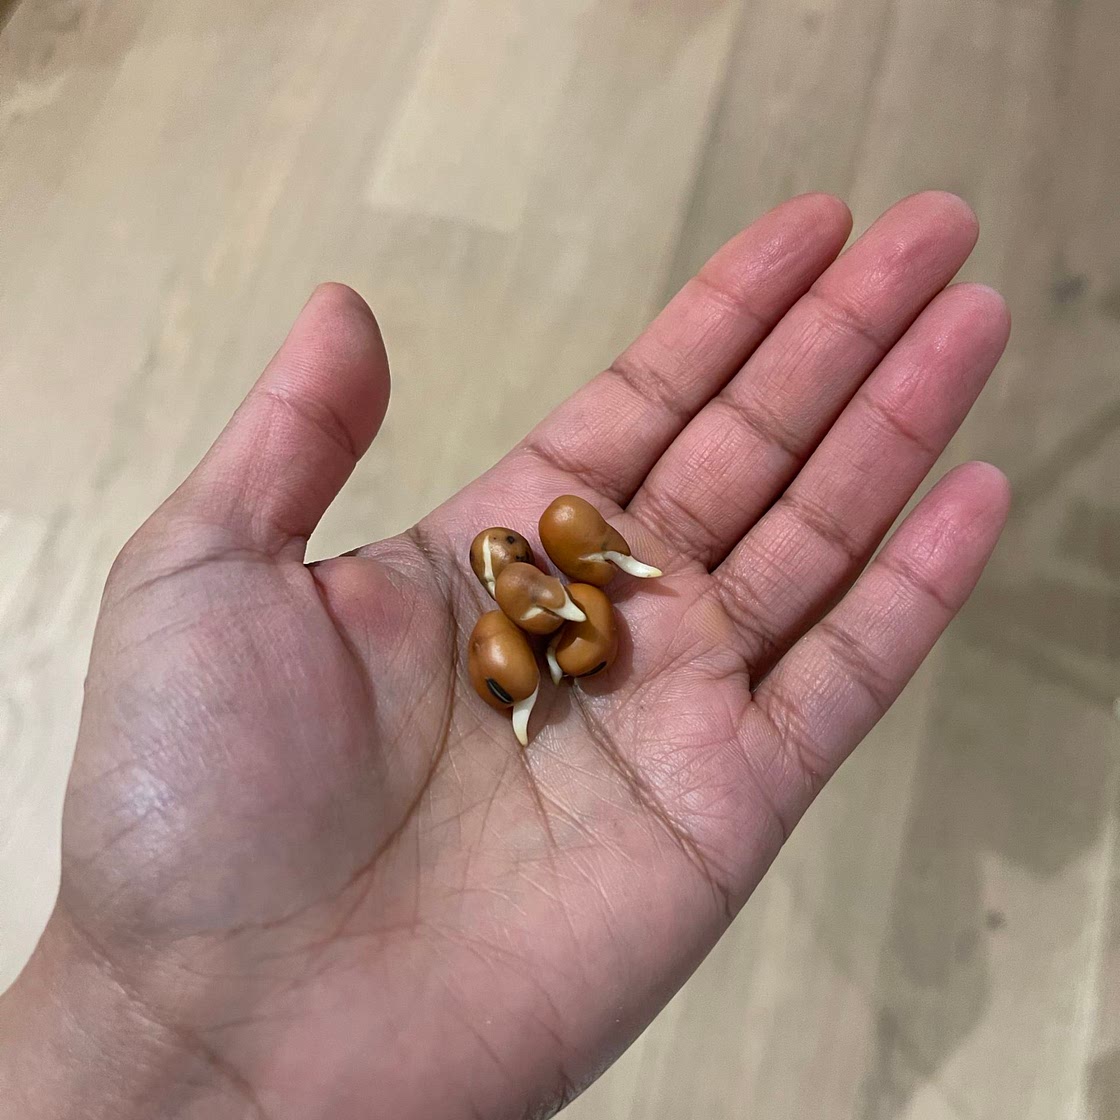
Small grains and beans will take 12 to 24 hours to sprout, once you see the tail they are ready to be cook. Wash and cook.
Step 10
Big grains and legumes can take up to 72 hours. After 2 days if you do not notice a tiny tail forming or piercing the skin out, then wash and cook your sprouted grain/legume.
Step 11
I prefer cooking sprouted grains/legumes than having them raw. Especially if the quantity I am making is big and the humidity can be a very good environment for harmful bacteria to grow.
Step 12
Raw sprouts are usually made in small batches for shorter time of sprouting to ensure safe consuming. Me, personally, I do not recommend raw sprouts as there minimal evidence of it being more beneficial than cooked sprouts.
Step 13
And please note that raw sprouts are not to be consumed by pregnant ladies.
Step 14
Cooked is of course totally fine.
Notes
0 liked
0 disliked
There are no notes yet. Be the first to share your experience!
