1/3

2/3

3/3
100%
0
By Miso Jen Kitchen
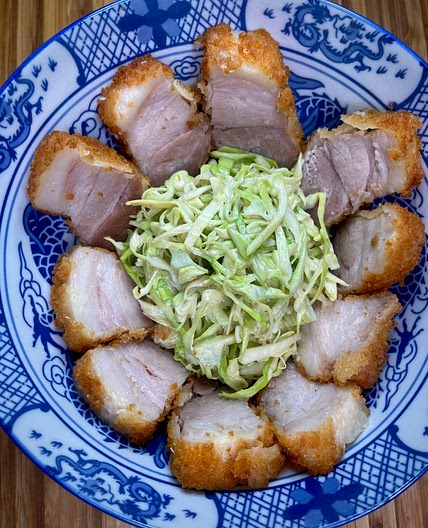
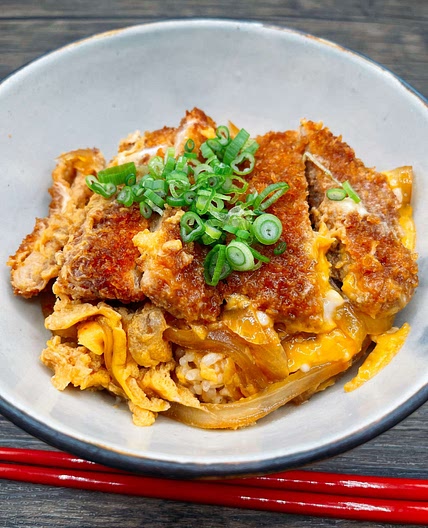
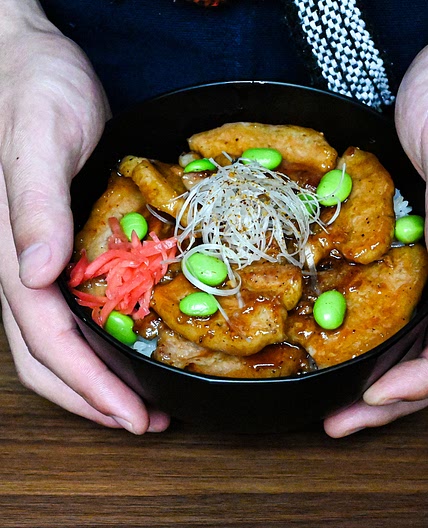
Pork Katsudon
19 steps
Prep:15minCook:20min
This is my favorite way to have pork katsudon. This method ensures that your pork katsu stays crispy!
Updated at: Wed, 21 Feb 2024 16:34:57 GMT
Nutrition balance score
Unbalanced
Glycemic Index
62
Moderate
Glycemic Load
22
High
Nutrition per serving
Calories385 kcal (19%)
Total Fat12 g (17%)
Carbs35.5 g (14%)
Sugars6.8 g (8%)
Protein31.4 g (63%)
Sodium996.1 mg (50%)
Fiber1.8 g (6%)
% Daily Values based on a 2,000 calorie diet
Ingredients
4 servings
Pork Katsu
Breading Stations
⅓ cupall purpose flour
2eggs
2 Tbspwater
½ tspsalt
½ tsppepper
½ cuppanko breadcrumbs
½ cupall purpose flour
Sauce
Instructions
To make the pork katsu,
Step 1

Pound pork slices to an even ¼ inch thickness (1/2 inch thickness if you like it to be thicker). Season both sides of the pork cutlet with salt and pepper.
Step 2
Set up your breading station (3 stations).
Step 3

In a shallow bowl or deep dish, combine eggs, water, salt, pepper and flour to make a batter. Mix until well combined.
Step 4

In separate dishes, place all-purpose flour and panko breadcrumbs separately into each.
Step 5

Dredge each pork cutlet in flour, shaking off any excess. Then, dip them into the batter, followed by an even coating in the panko breadcrumbs, pressing the cutlet gently to adhere.
Step 6
Set the cutlets aside for 5-10 minutes to allow the breadcrumbs to fully adhere to the pork.
Step 7

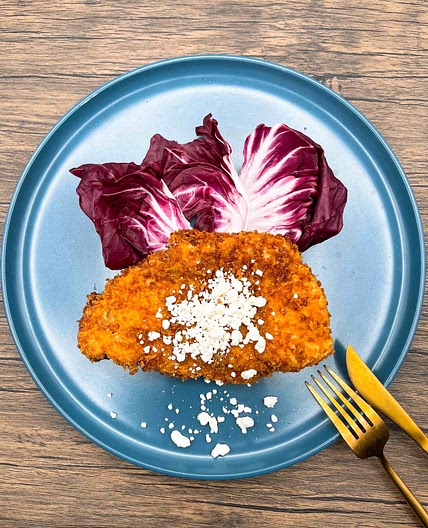
In a large skillet, heat vegetable oil over medium high heat. Once the oil is hot, carefully drop the cutlet away from you and fry each pork cutlet until they are golden brown and cooked through. This takes about 3-4 minutes per side.
Step 8
Transfer the pork cutlets to a plate lined with paper towels to drain the excess oil. Set them aside.
Prep the vegetables,
Step 9

Slice 1 medium onion very thinly.
Step 10

Chop 2 green onions finely for garnishing.
To make the katsudon sauce,
Step 11

In a large skillet, bring dashi stock, soy sauce, sugar, and mirin to a simmer.
Step 12

Add in the thinly sliced onions and simmer until the onions are soft and translucent, about 3-5 minutes. Taste and adjust the sauce before adding in the beaten eggs. Depending on your dashi stock, add more soy sauce/sugar as needed.
Step 13
In a bowl, lightly beat 4 eggs together.
Step 14

Pour the beaten eggs over the onions in the skillet.
Step 15
Cover and allow the eggs to simmer for about 3 minutes or until your eggs are cooked the way you like them.
To serve the katsudon,
Step 16

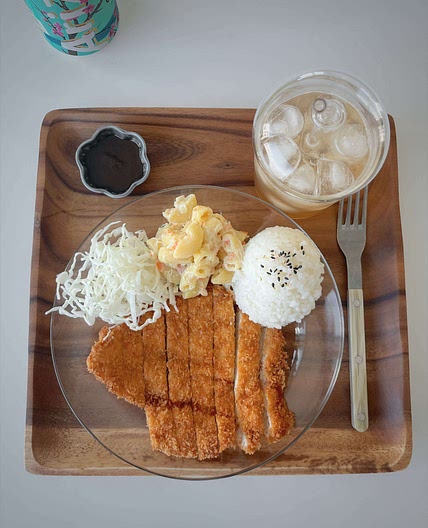
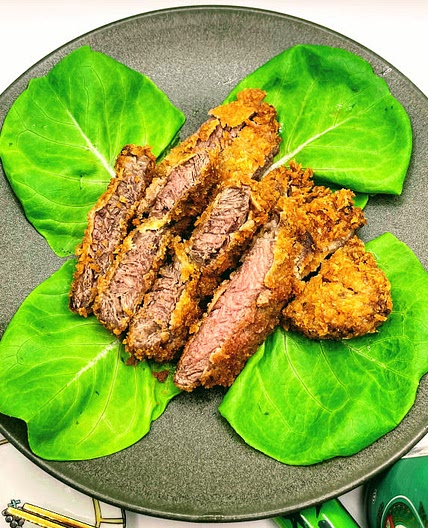
On a cutting board, slice your pork cutlets into strips.
Step 17

In a bowl or deep dish, place the sliced pork katsu over a bed of hot white rice.
Step 18

Gently scoop and place some of the eggs and onions over the pork katsu. Drizzle some of the simmering sauce over the pork cutlet and rice.
Step 19
Garnish with green onions and enjoy!
Notes
2 liked
0 disliked
There are no notes yet. Be the first to share your experience!