By Siana Gardner
Step By Step Sourdough Recipe — The Boy Who Bakes
You’ve created a sourdough starter, it’s rising and falling with regularity every time you feed it, its time to make our first loaf of sourdough bread. The topic of sourdough could and has filled endless books and you could spend a lifetime learning how to make it and then another lifetime learning
Updated at: Sat, 24 Feb 2024 16:32:11 GMT
Nutrition balance score
Uh-oh! We're unable to calculate nutrition for this recipe because some ingredients aren't recognized.
Ingredients
0 servings
Levain
25gstarter
mature, my starter is 100% hydration
50g50/50 flour blend
my blend of white and wholemeal bread flours used for the starter
50mlwater
at 27C
Sourdough Recipe
100glevain
20%
450gwhite bread flour
90%
50gwhite spelt flour
10%
375mlwater
75%, at 27C
salt
2%
Bulk Fermentation
2pm
Instructions
Step 1
An hour before the levain is finished rising, when its roughly 3/4 of the way to doubling, we mix together the flour and water (keeping back 25ml for a later use). To do this we don’t need to knead the dough, or develop the gluten, we just want to hydrate the flour. Squeeze the mixture through your fingers, until everything is moistened, scrape any dry bits from the side of the bowl and then cover the bowl and pop it the oven alongside the levain until it finishes doubling.
Step 2
Before we mix everything together, test that the autolyse is ready by doing a float test. The recipe for the levain makes a total of 125g and we only need 100g for the dough itself, the rest is for this stage. Take a teaspoon of the the levain and pop it into a bowl of water. If it floats the mixture is full of gas and is ready to bake with, if it doesn’t we need to leave it a little longer.
Step 3
Scrape 100g of the levain on top of the autolysed dough and use your fingers to dimple it into the dough. We want to fully distribute the levain so once the dimpling stops working I start folding the dough on itself until it feels more uniform. Leave the dough for 15 minutes before adding the salt.
Step 4
Sprinkle the salt over the dough and use that last 25ml water to pour on top of the dough to help the salt dissolve. Repeat the dimpling and folding process until the salt is distributed. At this stage the dough will separate a little due to the added water but just keep folding the dough until it becomes uniform. As with the levain I like to keep the dough in the oven for the whole bulk to control the temperature.
Step 5
The bulk should take a total of 4-5 hours depending on the temperature the dough rests at, and how warm the water you used was, and during that period you only have one job and that is to stretch and fold the dough. Stretch and folds are this recipes kneading and it thankfully takes less time and less effort. To stretch and fold the dough take a wet hand and scoop under the dough lifting it up, gently stretching until you feel some resistance then fold it over itself. You do this at the north, east, south and west points on the dough. This is one set of stretch and folds. We are going to do a total of four sets, spaced 30 minutes apart.
Step 6
Once you’ve done the stretch and folds we just wait. What we are looking for is a dough that has risen about 20-50% and shows clear signs of fermentation. This would mean a dough that jiggles when you rock the bowl gently and a dough that has bubbles on the top of the dough, especially around the edges. Once thats achieved we are ready for shaping.
Step 7
6-7pm - Shaping
Step 8
Lightly flour the work surface and use a plastic dough scraper to tease the dough gently from the bowl. At this stage the underside of the dough is floured but the top is still sticky. Using lightly floured hands we are going to do a brief preshape. Go underneath the dough and fold it over itself multiple times as you go around the bowl, forming it into a rough circle. Turn the dough over and cover with a clean kitchen towel and leave to relax for 20 minutes.
Step 9
Whilst the dough is relaxing prepare you proving basket or bowl. If you using a traditional cane basket lightly dust with rice flour. Rice flour is your best friend and is wont be absorbed into the dough and helps the dough release easily from the basket. If you don’t have a basket you can use a mixing bowl. Line the bowl with a clean kitchen towel and dust that with flour.
Step 10
To do the proper shaping lightly dust the top of the dough with flour and turn the dough over, using a metal bench scraper to help release it from the worksurface, turning it onto a non floured part of the work surface.
Step 11
Think of the dough as a compass. Gently lift and stretch the east point of dough up and over towards the west. Gently lift and stretch the west point of dough up and over towards the east. Gently lift and stretch the north point of dough up and down towards the south. Finally gently lift and stretch the south point of the dough up and over towards the north. Turn the dough over so the seams are on the worksurface.
Step 12
This rough shape now needs to be tightened up a little. Using both hands, which should remain in contact with the work surface the whole time, cup the dough and drag it towards yourself for a drag of about 15-20cm. The dough should drag along the work surface and you should feel the ball tighten up. Rotate the dough 90 degrees and repeat the dragging, doing this a few times until the dough is taught and round. Be careful at this stage as doing this too many times will tear the dough.
Step 13
Carefully lift the dough and turn it into a proving basket, the seams should be showing.
Step 14
7.30pm - Proving
Step 15
Pop the dough into the fridge and leave overnight
Step 16
8.30am - Preheat The Oven
Step 17
We are going to bake the bread in a cast iron pot, something like a large le creuset (I use a pot called a Lodge Cast Iron Combi-Cooker which I love for bread). We want it blisteringly hot so preheat it, as high as it will go, at least 250C, for a full hour.
Step 18
9.30am - Baking
Step 19
Take the dough from the fridge and carefully turn it out onto a crumpled piece of parchment. You can either leave the dough as it is or dust with little flour. If you leave it as it is the ridges for the cane basket will be more visible, which is a nice look.
Step 20
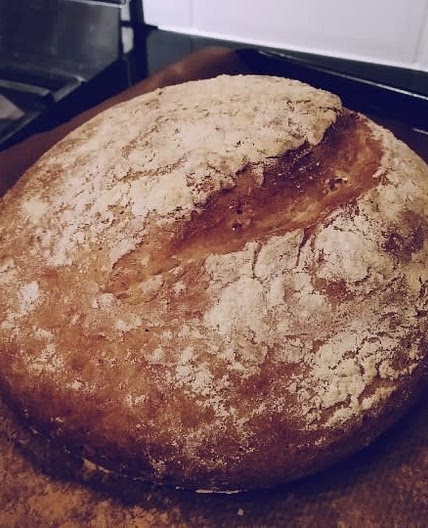
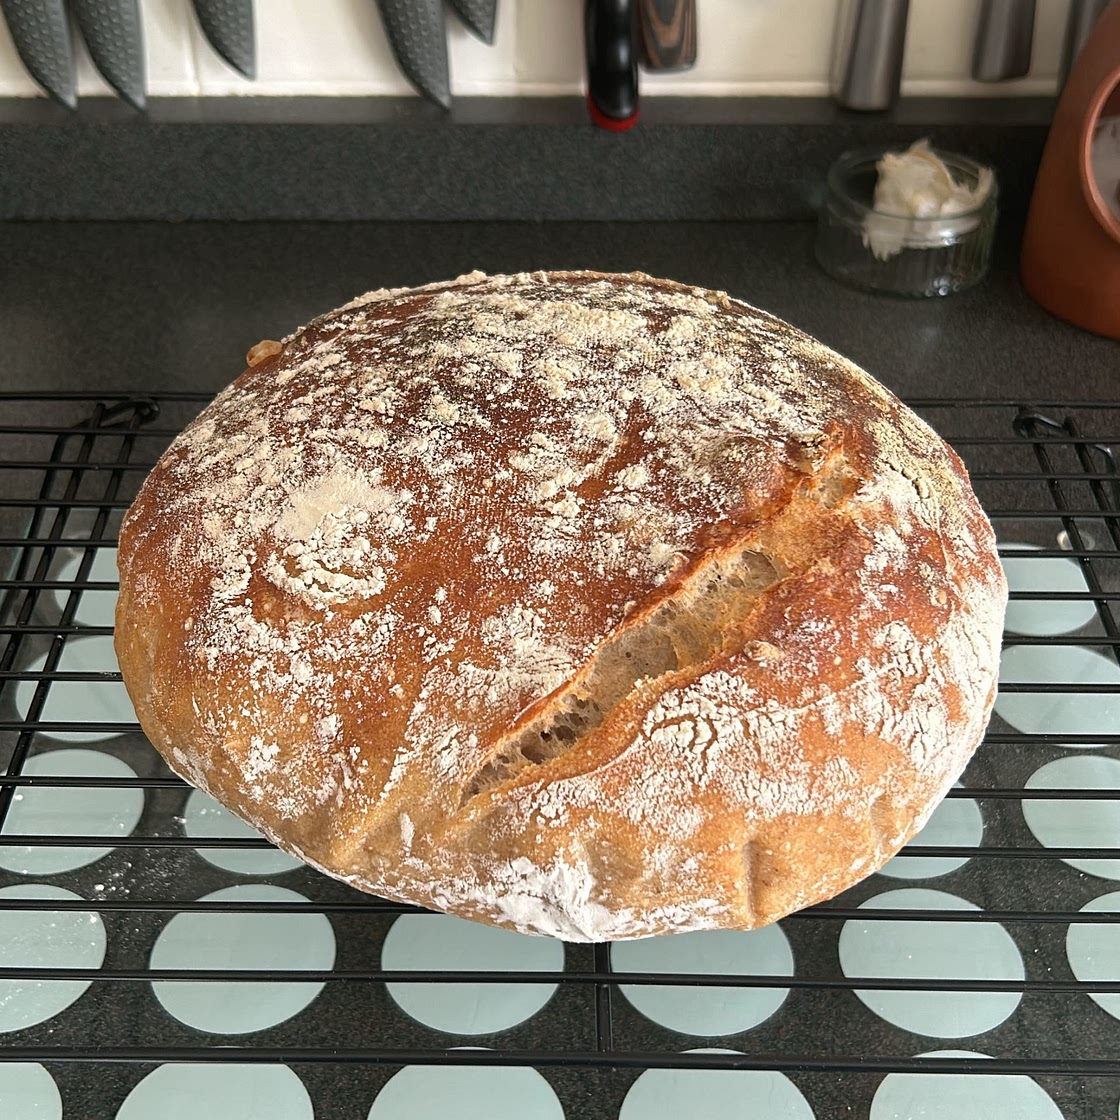
To control how the dough opens up as it bakes we are going to score it with a sharp blade. I use the traditional lame, a razor blade attached to a handle, but you can happily start with a sharp bread knife. The key to this stage is depth and speed. We want a cut that wont disappear as the dough bakes and we want to work with speed so the cut is nice and clean. To start off I simply do a single cut along the length of the dough. I hold the blade at an angle, almost perpendicular to the work surface which encourages the cut to open up into whats called an ear, a bit of the crust that goes really nice and crisp. Trust me when I say it takes a few goes to get a little more confident with this so don’t worry if its not perfect the first time. If we don’t score the bread it will rip and tear randomly so scoring is advised.
Step 21
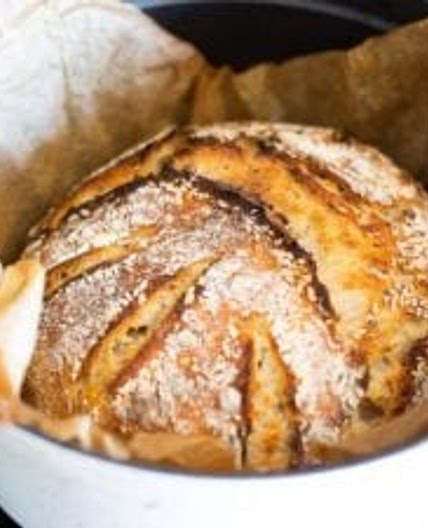
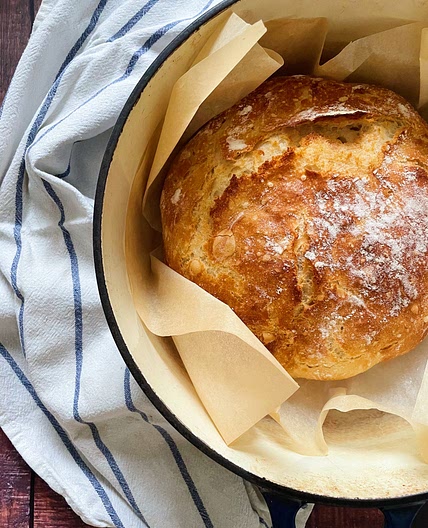
Remove the cast iron pot from the oven and remove the lid. Cut away the remaining parchment and carefully transfer the loaf to the pan and place the lid back on. I advise you to do this wearing oven gloves, even if I don’t wear them, as this pan will be blisteringly hot. Bake in the preheated oven for 25 minutes. Baking the loaf in the pan helps to trap the moisture from the dough, creating steam so the crust is slow to form and the bread can rise to its full potential. Reduce the temperature to 220C and remove the lid and bake for a further 20 minutes or until the crust is nice and dark. If the loaf browns too quickly, in under 10 minutes, you’ll find the crust will soften quicker than desired. If this happens reduce the temperature next time to 200C after removing the lid.
Step 22
Even though it is very tempting to cut into the bread immediately leave it at least an hour before enjoying otherwise it will be a little gummy.